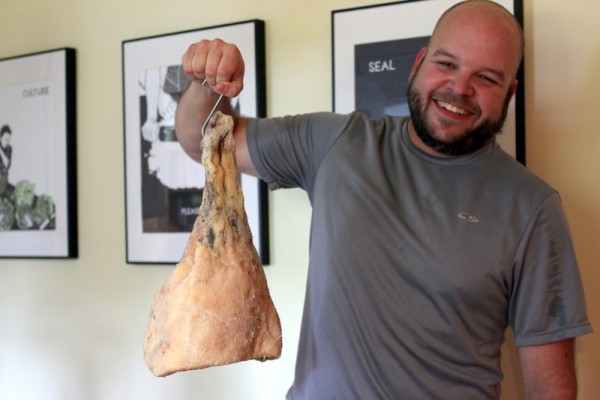
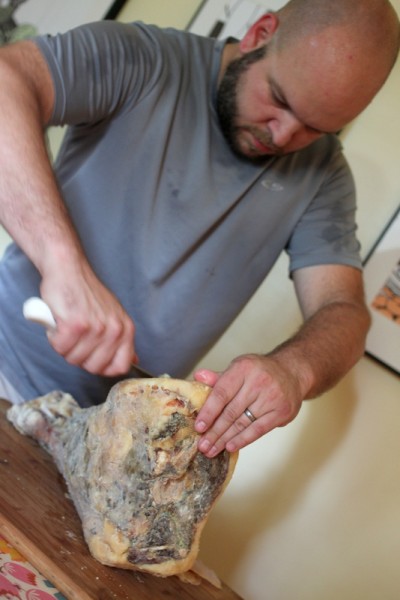
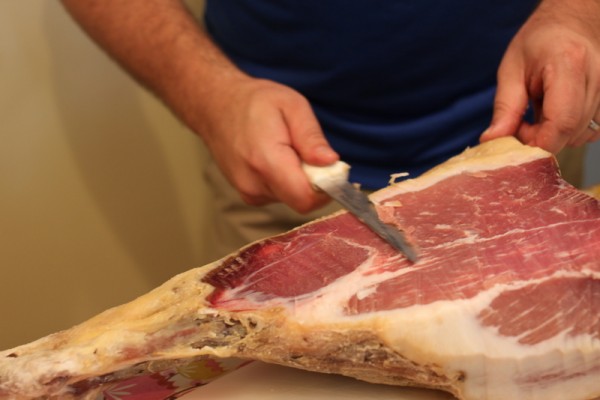
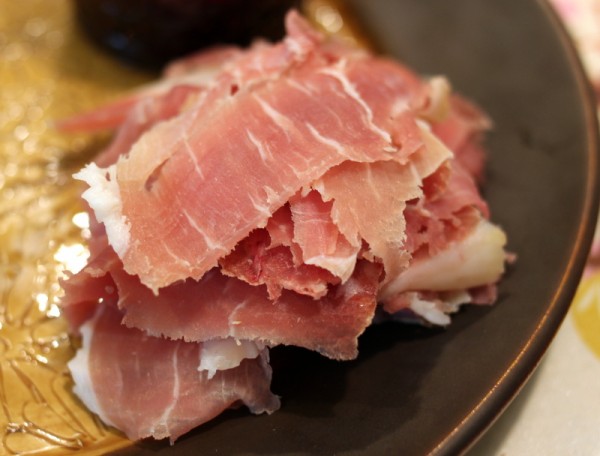
Homemade Dry Cured Ham {Silent Sunday}
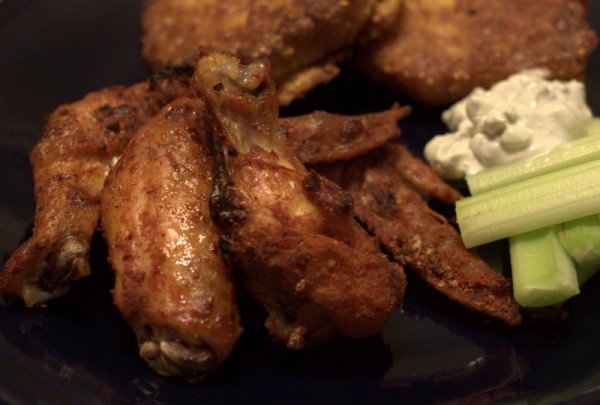
Alex's Baked Chicken Wings
We like chicken wings. Who doesn't? But chicken wings at restaurants are often disappointing and almost never from locally sourced meat.
Alex has been honing his homemade version for years. His secret is not a special ingredient but a specific methodology.
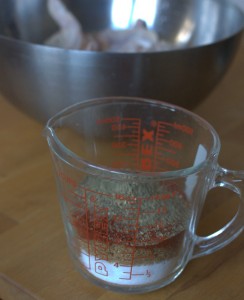
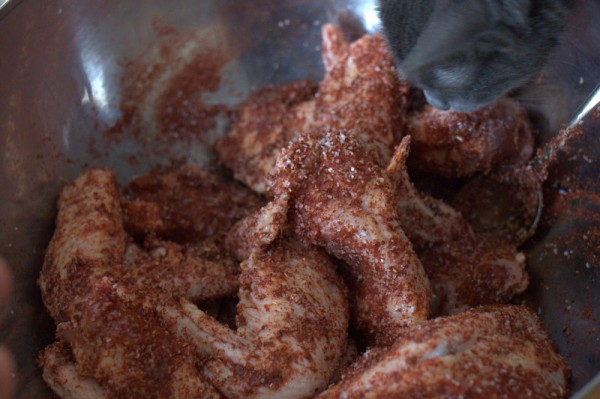
The recipe starts with a spice rub. Paprika is a major component in our rub but you could add any dry spices you want. I prefer a little cayenne but this batch was for Lil too so we left it out. Add a little ginger and garlic and you'll have a teriyaki flavor. Skip the paprika entirely for a plain chicken wing to douse with barbeque sauce later.
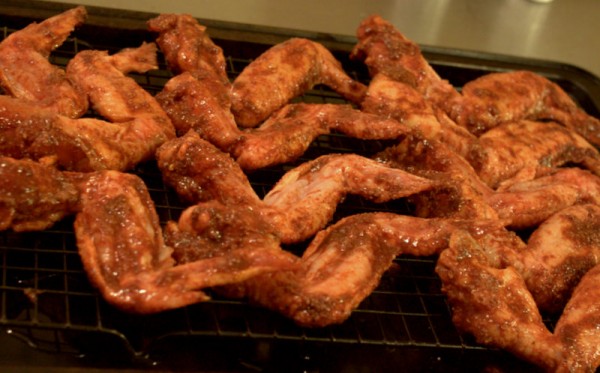
The key to great no-fry wings is to steam bake them at a middling temperature first. During the baking phase, layer rubbed wings on a cookie cooling rack that fits inside a covered cookie sheet. This way, the baking sheet catches the drips but the wings cook without browning.
Turn up the heat or fire up the grill to finish the wings. The high heat will give wings a little char and ensure that the skin is succulent and crisp. If you're making wings for a party, bake them and hold in the fridge for up to a day before the final broil or grill step.
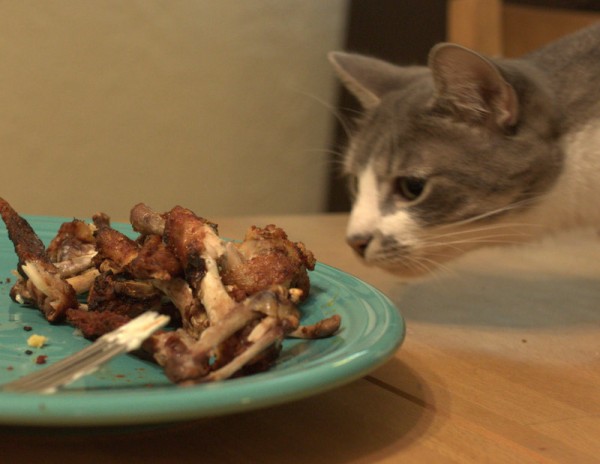
While deep fried wings have their place, we don't always want to fire up the oil. These oven wings will satsify completely - even cat Moonshine found them irresistible.
Baked Chicken Wings Time: 3 hours (30 minutes active) Makes: 2-3 dozen wings
1/3 cup salt 1/3 cup brown sugar 1/4 cup sweet paprika 2 teaspoons freshly ground black pepper 2 teaspoons coriander seed, ground in mortar and pestle 1/2 teaspoon ground cayenne pepper, optional 3 pounds chicken wings
1. Mix first five ingredients. Pour over chicken wings in a large bowl, turning to cover evenly. Set aside for at least thirty minutes and up to four hours. 2. Shake off excess rub. Place wings in a single layer on a cooling rack nestled in a baking sheet. Cover the baking sheet with aluminum foil, crimping at the edges. 3. Bake wings in a preheated 350 degree F oven for 30 - 45 minutes or until chicken is cooked through. 4. Remove from oven. Optionally, cool and store in the fridge for up to one day. 5. Heat oven to high broil or light grill. 6. Place wings under broiler or on very hot grill for 2 minutes. Turn once. Cook again for 1-2 minutes or until skin is crispy. 7. Enjoy immediately and protect from marauding cats.
Tackling the Oddest Cut & Making Head Cheese
 In all our charcuterie practice, there's one part of the pig that we've never fully explored. We finally faced the meat and it returned a couple pounds of tender succulent pulled pieces, 7 quarts of stock, and one specimen for anatomy study. What was it?
The head.
When we contracted with a butcher to eviscerate and skin our last pig from Six Bucket's Farm, it arrived head on. "What will we do with that?" we wondered as we dutifully packaged it for the freezer. Our next pig is growing large and almost due to head to the butcher as well, so we're clearing out the freezer. The head demanded our attention.
Making Head Cheese
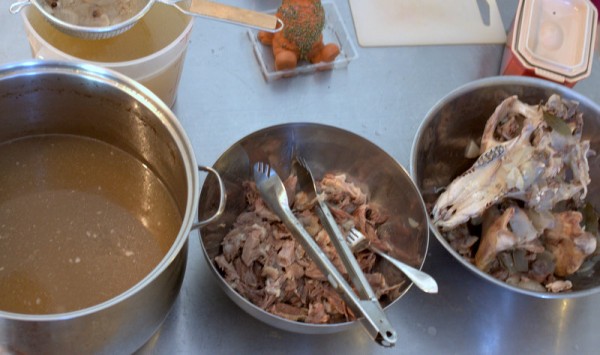
Alex started the cooking by simmering the head and a ham hock in a large pot of water with onions and garlic overnight in a low stove. (This is the way we make all stock now, by the way.) Next, he picked the meat off the bones, reserving the liquid stock. Lil loved these meat pickings, eating two meals of pork chunks alone.
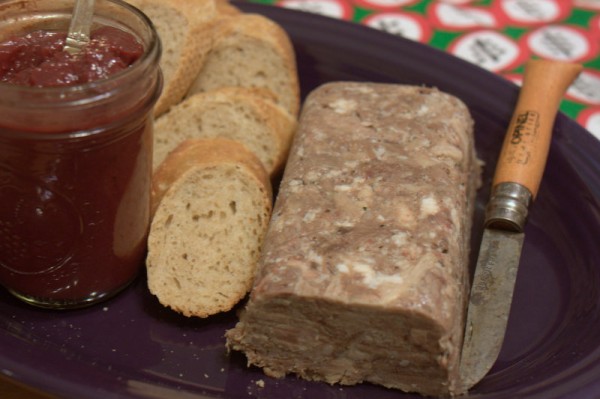
To make the terrine, Alex combined the meat with spices and a bit of stock. He compressed this mixture in a mold overnight. Find a full recipe in Charcuterie: The Craft of Salting, Smoking, and Curing
"Why does this have to be called head cheese?" I moaned to Alex. It's a seriously delicious potted meat with a name that turns so many people away. The 'cheese' part is a complete misnomer because it's not made of milk or cured with lactofermentation or melty or anything like cheese. Pork terrine is a generic but adequate descriptor. Charcuterie friends also suggested pig parts terrine, souse, or braun.
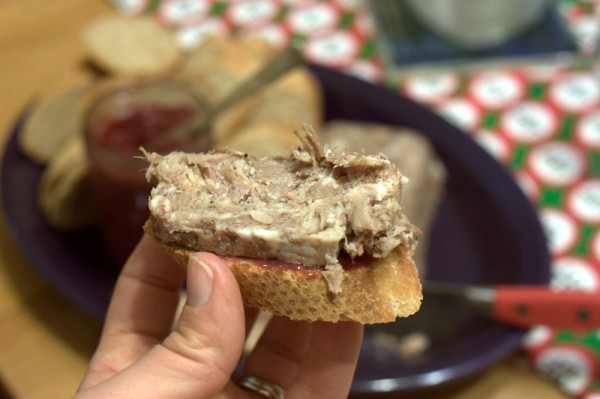
We're fortunate to have culinarily curious friends who were able to get over the name and try our head cheese. Served on homemade baguette with sour cherry spread, they loved it.
Using Every Last Bit
Later, I reheated the strained stock, sanitized jars, and pressure canned it. Our selection of nourishing stock makes warm meals simple - open a jar, add veggies, meat, noodles, and/or dumplings, and soup is served.
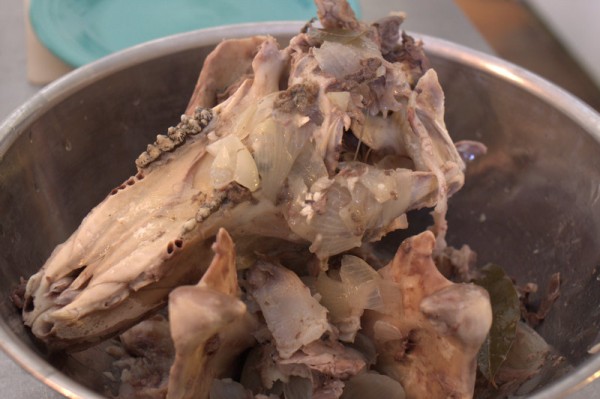
Finally, we needed to dispense of the large skull and jaw bone. The chickens would love cleaning the bones, but instead we delivered them to Alex's mom, a teacher at the School for Young Children, a play-based preschool. She sanitized the bones and added them to the SYC nature table. Lil demands that the next skull can't be given away because she wants it for herself to study.
Meat is Meat is Meat
In processing the pig's head for edible meat, we concluded again that there are no 'good cuts' and 'odd cuts'. It's all just meat.
Some choose not to consume animal flesh, and that's OK. But for those of us who do, what's the difference between eating an animal's thigh versus the cheek? Flesh and fat can be enjoyed from any part of the animal. Bacon, the revered 'makes everything tastier' meat, is from a belly that wallows in mud, if the animal lives a good life.
If you're eating meat at all, you owe it to the creature to use every part. Now we know that the head isn't just an odd cut to be conquered, but one full of succulent meals.
Have you made or eaten head cheese?
Tackling the Oddest Cut & Making Head Cheese
 In all our charcuterie practice, there's one part of the pig that we've never fully explored. We finally faced the meat and it returned a couple pounds of tender succulent pulled pieces, 7 quarts of stock, and one specimen for anatomy study. What was it?
The head.
When we contracted with a butcher to eviscerate and skin our last pig from Six Bucket's Farm, it arrived head on. "What will we do with that?" we wondered as we dutifully packaged it for the freezer. Our next pig is growing large and almost due to head to the butcher as well, so we're clearing out the freezer. The head demanded our attention.
Making Head Cheese
Alex started the cooking by simmering the head and a ham hock in a large pot of water with onions and garlic overnight in a low stove. (This is the way we make all stock now, by the way.) Next, he picked the meat off the bones, reserving the liquid stock. Lil loved these meat pickings, eating two meals of pork chunks alone.
To make the terrine, Alex combined the meat with spices and a bit of stock. He compressed this mixture in a mold overnight. Find a full recipe in Charcuterie: The Craft of Salting, Smoking, and Curing
"Why does this have to be called head cheese?" I moaned to Alex. It's a seriously delicious potted meat with a name that turns so many people away. The 'cheese' part is a complete misnomer because it's not made of milk or cured with lactofermentation or melty or anything like cheese. Pork terrine is a generic but adequate descriptor. Charcuterie friends also suggested pig parts terrine, souse, or braun.
We're fortunate to have culinarily curious friends who were able to get over the name and try our head cheese. Served on homemade baguette with sour cherry spread, they loved it.
Using Every Last Bit
Later, I reheated the strained stock, sanitized jars, and pressure canned it. Our selection of nourishing stock makes warm meals simple - open a jar, add veggies, meat, noodles, and/or dumplings, and soup is served.
Finally, we needed to dispense of the large skull and jaw bone. The chickens would love cleaning the bones, but instead we delivered them to Alex's mom, a teacher at the School for Young Children, a play-based preschool. She sanitized the bones and added them to the SYC nature table. Lil demands that the next skull can't be given away because she wants it for herself to study.
Meat is Meat is Meat
In processing the pig's head for edible meat, we concluded again that there are no 'good cuts' and 'odd cuts'. It's all just meat.
Some choose not to consume animal flesh, and that's OK. But for those of us who do, what's the difference between eating an animal's thigh versus the cheek? Flesh and fat can be enjoyed from any part of the animal. Bacon, the revered 'makes everything tastier' meat, is from a belly that wallows in mud, if the animal lives a good life.
If you're eating meat at all, you owe it to the creature to use every part. Now we know that the head isn't just an odd cut to be conquered, but one full of succulent meals.
Have you made or eaten head cheese?
Tupperware Season-Serve {One Great Tool}
 I can hear you out there. "Tupperware, Rachel, really?" you're saying. But hear me out because this one item reduced our household's plastic freezer bag consumption by a huge amount - and is useful for storing other items too.
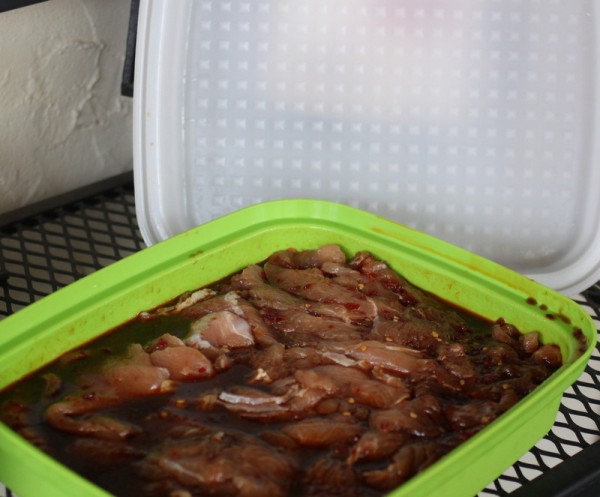
Alex used to use gallon bags constantly to cure meat - pork bellies for bacon, marinating jerky, and salmon in rub. Often after the meat was cooked, he used another bag to store it in the fridge or freezer. The waste really added up, but even I won't re-use plastic bags that hold raw meat.
Then I went to a party at my friend Patti's house with Dee W. Ieye, the fabulous cross-dressing Tupperware mega-seller. The show was, as advertised, a riot. I'm not really a Tupperware girl but I perked up when Dee mentioned a marinating container.
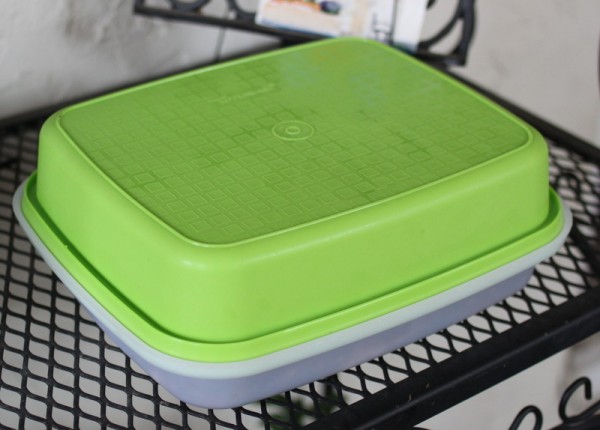
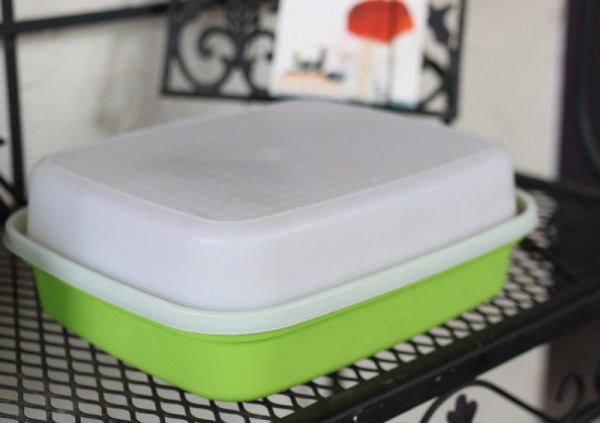
The Tupperware Season-Serve is two deep plastic pans, each of which is lined with small raised dots that hold meat slightly off the bottom. The pans seal together, forming a container that can be flipped without spilling - exactly what you need to do once a day for most charcuterie.
We've used the Season-Serve for a few months now and it is everything I had hoped - it holds meat juices without spilling, is easy to stack in the fridge, and has saved at least a box of freezer bags so far. If you, like me, find yourself in a Tupperware party hosted by an over-the-top faux-Southern lady, order the Season-Serve. Or skip the show and buy one online.
Scotch Eggs - Better Than Fair Food {Recipe}
 The Ohio Poultry Association invited Lil and I to an eggstravagana at the Ohio State Fair this year. We learned how to make the perfect omelet, talked to poultry farmers, pet chickens, ate Ohio-farmed food for lunch, and indulged in Ohio ice cream while basking in the glow of the butter cow. My friend Kristin aka CbusMom has a great recap of the day including a picture of yours truly riding the giant slide.
There was only one problem with our visit. The Ohio Poultry Association fed us so well that we were too full to experience the deep-fried goodness of street fair food. The meals we ate in the Taste of Ohio center nutritious and filling but I left wanting some indulgence.
Fortunately our extended family was happy to appease this desire on our recent vacation to the Eastern Shore of Virginia. Inspired by the Ohio Poultry Association and our abundance of backyard eggs, we made a British creation for the first time: Scotch eggs.
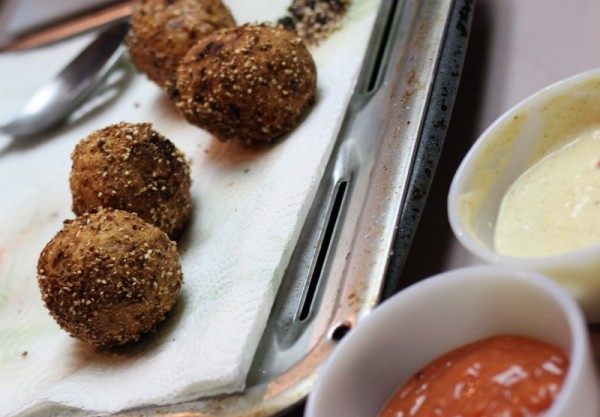
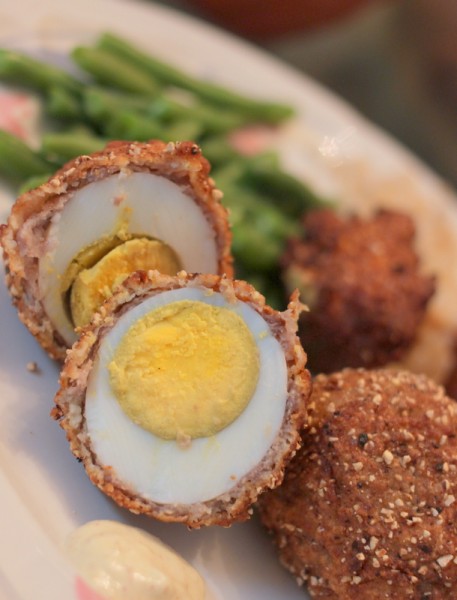
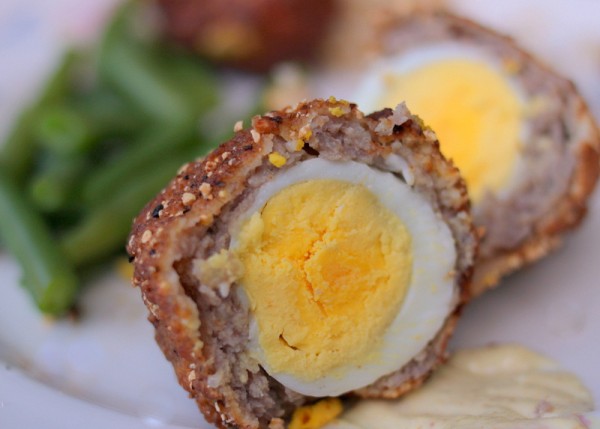
Scotch eggs are hard-boiled eggs nestled in sausage, rolled in a bread crumb coating, and deep fried. We used backyard eggs and homemade bulk breakfast sausage because even fried food can be locally sourced.
Hearty does not begin to describe this protein-packed treat. We gobbled up scotch eggs for dinner one night. Most of us couldn't finish more than one so we chilled leftovers overnight in the fridge. Cold scotch eggs are a familiar train stop food in Great Britain; Alex and others were happy to much on them for breakfast the next day.
Maybe next year we'll see Scotch eggs at the fair!
13 fresh eggs, divided 1 pound bulk (not stuffed) sausage 1 cup all-purpose flour, divided 1/2 cup cornmeal 1/2 teaspoon salt 10 grinds fresh black pepper 1 teaspoon Old Bay or other spice mix, optional 1 gallon lard or peanut or other oil for frying
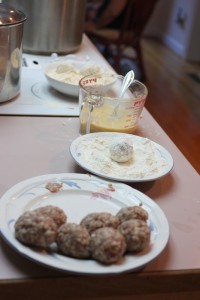
1. Hard-boil 12 eggs in your preferred manner. I cover mine in cold water in a heavy-bottomed pan, heat the pan until boiling, turn off the heat, cover, and time for 10 minutes. After 10 minutes, fill pot with cold water and ice until eggs are chilled. This step may be done up to five days ahead. 2. Peel eggs. 3. Use approximately three tablespoons of fresh sausage to completely cover the eggs in an even layer. Set eggs in a single layer on a plate or tray and refrigerate until use. 4. Heat a pot of lard or oil to 375 degrees F for deep frying. Always use a tall, heavy-bottomed pan for deep frying and never fill more than half way. Keep a fire extinguisher and/or can of baking soda nearby in case of a fire. 5. Meanwhile, make a three-bowl breading station. In the first bowl, pour 1/2 cup flour. In the second bowl, mix one fresh egg with 2 tablespoons water. In the third bowl, mix 1/2 cup cornmeal, 1/2 cup flour, salt, pepper, and optional spice mix. 6. When oil is ready, retrieve sausage-covered eggs from the fridge. 7. Roll eggs in the breading bowls in this order: flour, eggs, cornmeal. 8. Using a slotted spoon, gently transfer eggs to the hot oil in small batches. Cook for approximately five minutes or until the breading browns. Drain on a towel-lined cooling rack. 9. Serve warm or cold with mustard.
Disclosure: The Ohio Poultry Association provided my family with Ohio State Fair tickets, parking passes, food vouchers, and ride wristbands. All opinions about the deliciousness of homemade fair food are our own.

