Beet Creme Brulee {Recipe}

One birthday tradition in our family is that the birthday girl selects the dessert for the day. My dad always has German chocolate cake; Alex and my sister Megan usually share a pie; Lil likes chocolate cake (homemade, of course). Now that my youngest sister Heather is a trained pastry chef and freelance cake and truffle maker, I usually give her a few ideas and tell her to make me something tasty. This year, I wanted to see her interpret the trend I see of including beets in desserts.

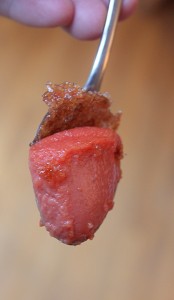
beet creme brulee recipebeet creme brulee bite

Heather served up two awesome sweets for my beety birthday earlier this month - chocolate beet cake and beet creme brulee. KatySheCooks has a great chocolate beet cake recipe.

The first thing one notices about beet brulee is that it is shockingly pink. The color would lend itself to a baby girl shower or Halloween 'bloody brulee' treat.

The earthy beet flavor compliments the eggy custard nicely. It is great on its own, as we ate it, but we all thought it might be fun to play with additional flavors - perhaps a tiny bit of smoky paprika in the crust, or a tad of spicy ancho powder in the custard. If you try it with an extra flavor, let me know!

[print_this]

Beet Creme Brulee
courtesy of Taysetee Pastry chef Heather Tayse
Makes: 4-6 servings, depending on the size of ramekins
Time: 30 minutes active cooking, 1 hour baking, 12 hour cooling

2 2/3 cups cream
pinch salt
2-3 medium sized beets, peeled and roughly chopped
1 cup egg yolks (approximately 16 eggs worth)
1 cup granulated sugar
1/2 t vanilla
2 tablespoons turbinado sugar
2 tablespoons granulated sugar
1. Pour cream, salt, and beets into a saucepan and bring to a boil.  Cover, and set to a very low simmer for 45-60 minutes or until the cream has a deep pink color and tastes of beets.
2. Pour hot cream mixture into a blender and blend until fully smooth - this step may need to be done in batches, or you can use an immersion blender.
3. Whisk yolks, sugar, vanilla, and salt together until ribbon stage. (Light and fluffy)
4. Temper the egg mixture into the cream mixture by pouring a little bit of hot cream into the yolks and whisking. Add a little more cream and whisk again. Pour both yolks and the rest of the cream back into the pot.
5. Cook over medium heat, whisking constantly, until the mixture thickens to coat the back of a spoon.
6. Strain through a fine sieve and cool over a water bath, then chill 4-8 hours to let flavor's mellow (over night is better).
7. Pour into oven safe ramekins or bowls and place into a deep casserole dish (or a pan with at least 2" sides).
8. Place into a 325 degrees F pre-heated oven.
9. Pour hot water into the casserole dish to come at least half way up the sides of the brulee dishes, being careful not to splash any water on the dessert.
10. Cover entire dish with a cookie sheet, sheet pan, or aluminum foil.
11. Bake for 30-90 minutes (depending on the size of ramekin/bowl you use), or until when the creme brulee is gently shaken, the mixture is no longer in a liquid form.
12. Remove from oven, being careful not to spill the water bath into the brulee.  Immediately remove dishes from the water bath and let cool to room temperature.  Once at room temperature cover each individually with plastic and refrigerate for at least 3 hours before serving so they are thoroughly chilled.
13.  To brulee: Place a thin layer of turbinado and granulated sugar on the surface of the brulee and using a blow torch very carefully caramelize the sugar.  Let cool for 2-3 minutes before serving.[/print_this]

Added to Hearth and Soul.

Beets & Sweet Potatoes a Picky Kid Might Eat!

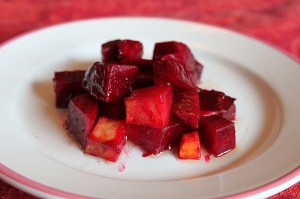
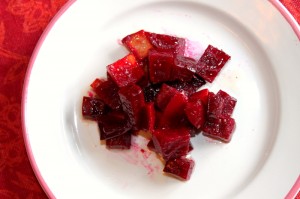
roasted beets and sweet potato recipeDuring last week's Friday Five, I revealed my delight that I found a way Lil would eat sweet potatoes and beets. My daughter is not the most adventurous eater and I was floored that she not only tried but ate almost a whole serving of root vegetables prepared in the recipe below. There are four reasons this preparation works so well:

1. cubed vegetables give textural interest 2. the small size allows vegetables cook quickly 3. fresh beets lend an intriguing deep red color to the dish 4. a familiar flavored dressing entices selective palates

    roasted beets and sweet potatoes

    [print_this]

    Cubed Roots serves 6 as a side dish preparation time: 15 minutes, cook time: 30 minutes

    4 medium sized beets 1 large sweet potato 1/2 cup italian style salad dressing or 1/4 cup olive oil, 1/4 cup cider or white wine vinegar, 2 tablespoons dry italian herbs, 2 tablespoon shredded Parmesean cheese, 1/2 teaspoon pepper

    1. Heat oven to 375 degrees F. 2. Peel beets and potato. 3. Cut vegetables into 1/2 inch cubes. Do this by slicing from top to bottom into 1/2 inch segments. Holding these together, turn the vegetable on its side. Slice from top to bottom again in 1/2 inch segments. You now have 1/2 inch sticks. Cut from the end in 1/2 inch lengths. 4. Place cubes into a glass roasting pan. 5. Add dressing and stir to coat. 6. Roast for 30 minutes, stirring every 10 minutes, until vegetables are cooked through.

    NB: This roasting recipe would work well with any other root vegetables including carrots, white potatoes, parsnips, etc.

    [/print_this]

    If you missed it the first go-round, watch the goofy video I made for Newman's Own about making Cubed Roots.

    Added to Hearth and Soul 38.

    Making Pickled Beets with a New Knife

    Roasted beets are my favorite.  Earthy, sweet, and purple, my favorite color!

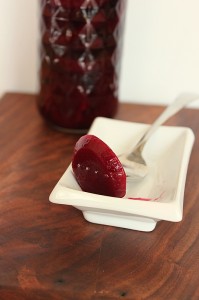
    pickled fresh ohio beet recipePickled beets are my grandmother's favorite.  Last year my mother made them for her and this year I decided to do the same.

    I shared that I was pickling on twitter and discovered that my friend Susan of Travels with Pirates also loves pickled beets.  We made a deal that if she bought the beets (locally from Sippel Farm) I would pickle them.

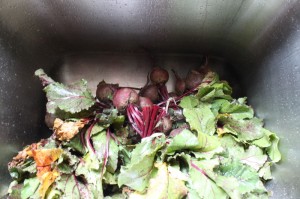
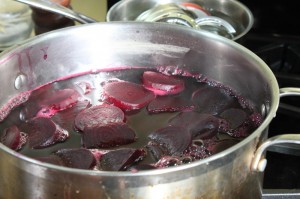
    beets in the sinkbeets boiling before picking

    So it was on a recent Saturday that I set out to make pickled beets for the first time.  I removed the greens from the beets and scrubbed off the dirt. I boiled them in water until tender.

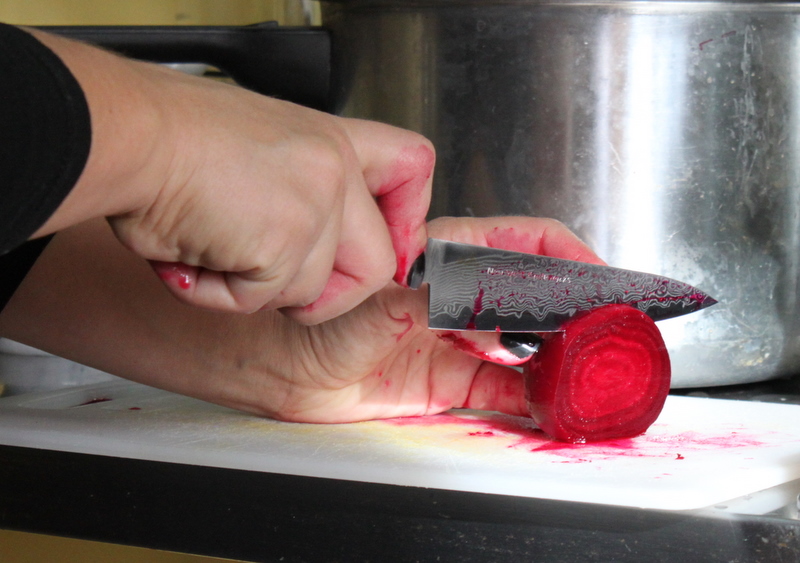
    cutting beet with new west knifeworks

    I removed skins, trimmed, and sliced the beets with my New West Knifeworks Petty Utility Knife.  I won this knife by correctly guessing the weight of the White on Rice couple's biggest beet.

    new west knifeworks perry knife cutting beets

    I LOVE this knife.  It is perfectly suited to my sized hands, ridiculously sharp, thin enough to be flexible and full tanged for sturdiness.  It came with a custom fit sheath and I know it will accompany us often on camping and road trips. beets pickling in brine Anyways, back to the beets.  After slicing the beets boil in a vinegar brine flavored with allspice, clove, and cinnamon for five minutes.  Then I hot packed them into jars and water bath canned the jars.

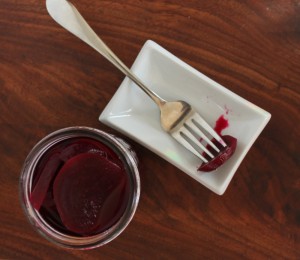
    pickled beets in jar

    One jar didn't seal so I kept that for myself and am learning to like pickled beets.  Pickling adds flavors that marry well with the natural earthiness of beets. The color remains as stunning as a harvest sunset.

    Pickled Beets

    I used the recipe from PickYourOwn.org without onions.

    • 7 to 8 lbs of fresh beets
    • 4 cups vinegar (5% acidity)
    • 1½ teaspoons canning or pickling salt
    • 2 cups sugar
    • 2 cups water
    • 2 cinnamon sticks
    • 12 whole cloves  - about 1 tsp
    • 12 allspice nuts (whole) - about 1 tsp

    1.  Scrub beets and remove tops.

    2. Boil in water for 20-30 minutes or until beets are cooked through but not mushy.

    3. Remove skins (they should fall right off after being in boiling water) and slice evenly into 1/2 inch slices

    4. Meanwhile, mix vinegar, salt, sugar, water, and spices.  Bring to boiling in a large pot.

    5. Add beet slices to vinegar brine and simmer for five minutes.

    6. Remove beets with slotted spoon and place into sterilzed jars, filling to 1/2 inch from the top.

    7. Ladle hot vinegar solution on top to reach 1/2 inch headspace, using a knife to release any air bubbles.

    8. Wipe rims and screw on sterlized lids.

    9. Place in boiling water bath for 30 minutes.

    10. Remove from water and allow to cool for 24 hours.

    11.  Remove rims, clean jars, label, and store in cool dark place for up to 1 year.