The lovely Catherine of Photo Kitchen came over last week to take photographs. We ended up doing so many fun things with eggs, including decorating and eating them, that will be sharing them for the next five days during Hounds in the Kitchen Egg Week. Inspired by Vanessa Prentice's workshop at the Ohio Ecological Food and Farm Association annual conference, I wanted to try my hand at making natural egg dyes this year. I suspected they might be really cool and wanted to create eggs that would last for years. A boiled egg in shell wasn't going to cut it and, besides, there are only so many boiled eggs our family wants to eat.
So I blew out some eggs. Removing the raw yolk and white from the shell to preserve the shell is relatively simple and allows the eggshell to be decorated and displayed for years to come. Here's how I do it:
 First, create a small hole in each end of the egg. I find that a sharp short nail (this one came from a picture hanging kit) works well. I grasp it and the egg firmly and tap gently until a hole is started. I try to punch through the hole so that it takes the round shape of the nail.
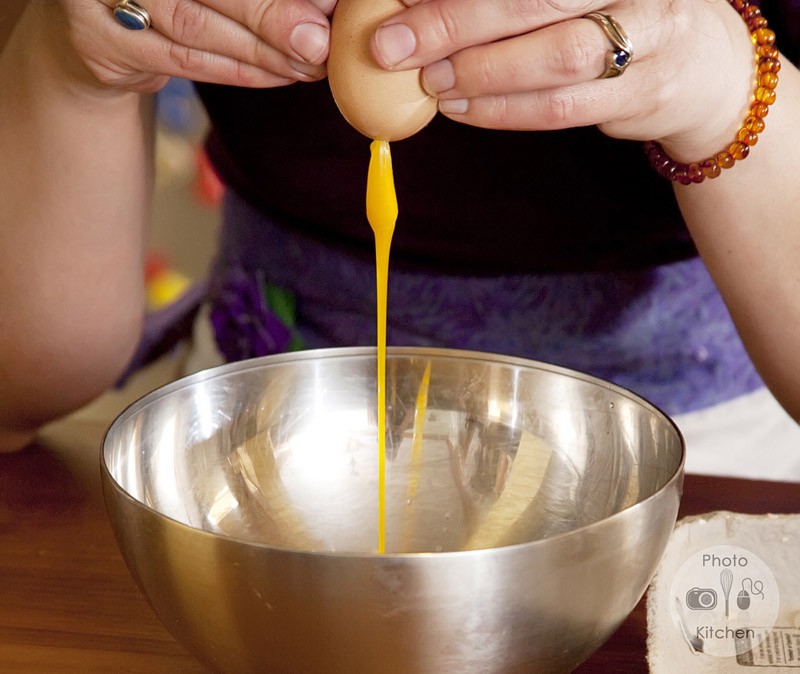
Gently shake the egg to break the yolk. Then, place your lips over one hole and blow with pressure over a bowl. To be sure you aren't going to contract salmonella, use a fresh egg from a known source and try not to ingest the raw contents. The white and yolk will slowly drip into the reservoir.
When the white and yolk have totally escaped, rinse the egg. Put it somewhere safe to dry thoroughly before decorating. You can use the egg contents for cooking. They keep in the refrigerator for a few days.
Come back tomorrow to see how we made and used natural dyes from edible materials.
All photos with the Photo Kitchen watermark were taken by Catherine and generously shared here. You may purchase copies and view the whole set of photographs in the online gallery with password lileaster. Use the coupon code houndscrossover to receive 25% off prices until May 15.

