Every year I force bulbs into blooming to brighten the dull days of winter. Alex delights in the 'dominance over nature' implied by forcing but Lil and I just love watching things grow.
This year, our bulbs became a science project for Lil.
 Lil chose several paper white narcissus and one amaryllis bulbs from our favorite local nursery, Oakland Park. Fancy-grade amaryllis can be very pricey but the $6 version thrill kids just as well as the unusual and expensive bulbs.
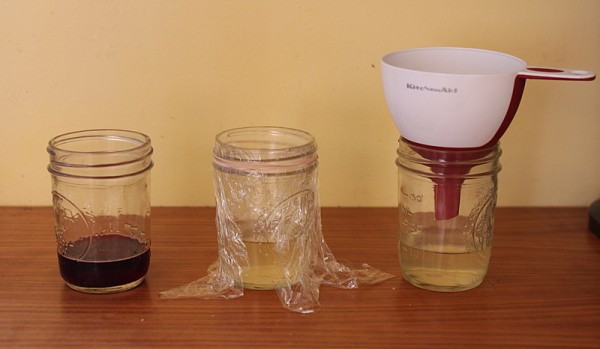
We set up the bulbs in little pots and jars around our dining room with south facing sun. Lil chose three that we would study.

We worked together to make a graph that would measure the height of the bulb. We labeled the x-axis with 'date' and the y-axis with 'height in centimeters'. We decided to measure from the top of the round part of the bulb and recorded our first height. Lil chose three symbols to represent the three different bulbs so we could record them all on the same graph.
Every two or three days, Lil measured and recorded again. After one week we had to add a second sheet of graph paper for the ever-increasing height of two of the bulbs.
In two weeks, two bulbs had bloomed and reached their maximum height. We thought we had a dud in the third bulb but now, three weeks after the forcing began, the third bulb is growing.
I used a similar set of bulb activities to teach measuring, estimation, and natural science to a class of second and third graders when I worked for Torah Day School of Virginia. They loved watching their individual bulbs grow, though we all agreed that twenty blooming paper whites in a room created an overwhelming smell.
Below, find a basic lesson plan for anyone who is unfamiliar with forcing bulbs and might want to do this with a group of children.


[print_this]
Forcing Bulbs Activity
Age: 6-10 years old
Time: two weeks divided as 1 30-minute set up, 1 30-minute conclusion, 10-minutes every two-three days
Objective: Gain experience measuring, estimating, and graphing. Observe parts of a plant and bulb growth.
Materials:
2-4 paperwhite or amaryllis bulbs per individual or small group of 2-3 students; bulbs should be specifically labeled for forcing, i.e. they have been exposed to very cold temps for at least 3 weeks.
one half pint jar or other container per bulb
sterile peat moss (for amaryllis)
toothpicks
graph paper (print your own here)
foot-long ruler
bamboo stake and twist ties (optional)
pencil with eraser
Procedure:
1) Use toothpicks to suspend bulb just under the top of the jar or container. The thick base of the bulb should be slightly submerged in water when you fill the jar. For amaryllis, plant in a pot of peat moss with the skinny top well out of the soil.
2) Fill jars with water and water amaryllis pot.
3) Set up a graph with date along the x-axis and height in centimeters on the y-axis. Allow space for at least 14 days and 70 centimeters.
4) Use foot-long ruler to measure the initial height of all bulbs. Choose a consistent base from which to measure which might be the emergence of the white tip out of the brown bulb.
5) Every two or three days, measure height and record on the graph. Water when bulb is no longer touching water or soil is dry. Optionally, ask children to record their observations in a log for every measuring date.
Questions to pose:
What is happening to the bulbs? Look on the top, the bottom, the sides.
What are the parts called? Reference this bulb anatomy diagram as necessary.
What do you think will happen next?
How much do you think this bulb will grow in the next few days?
When do you think it will bloom? What makes you think that?
Which plant has grown the most? Which grew fastest? Use student generated graphs to answer.
6) As the plant becomes very tall, insert a bamboo stake in the jar/pot and use twist ties to stabilize if necessary.
7) Conclude by asking students to draw, verbalize, or otherwise express what they learned.
8 ) Enjoy the blooms!
[/print_this]
Are lesson plans something you would like to read more often? If so, what additional info do you need or what is extraneous?

