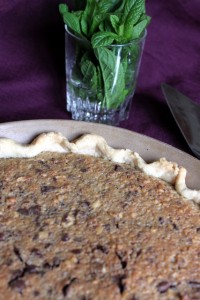
 When I wanted to make a derby pie for the Kentucky Derby over the weekend, every recipe I could find included a store bought pie crust. Crazy!
Pie crust isn't hard, folks. Why shell out a few bucks for an over-processed, floury, off-tasting crust when you likely have the ingredients right at hand? With the fresh fruit pie season approaching, now is a great time perfect your pie crust.
Anyone can make a crust as good as store bought in fifteen minutes at home. With some practice, home cooks can make an outstandingly flaky and tasty pie crust. The techniques are few but important.
Science Behind the Perfect Crust
Whenever I struggle with something in the kitchen, I attempt to find out the scientific methods behind the results I want. In the case of pie crust, we're talking about melting temperature and mixtures.
An ideal fluffy and tender crust contains hundreds of tiny pockets of air. These are made by tiny bits fat that melt and poof up layers of flour. To get tiny bits of fat into flour layers, a pie maker cuts cool fat into flour. Chilled water is added to hold the dough together. Everything must be cool so the fat stays as whole pieces trapped in the flour. When baked in a hot oven, the fat melts and creates the pockets of air that result in a flaky texture.
If a crust is overworked or the fat is too warm, the flour absorbs the fat before baking. This creates a dense crust.

Ingredients and Techniques
The perfect crust, in my opinion, has a delightful texture and subtle flavor. The baker can change the flavor by changing the fats used. I use mostly vegetable shortening with a few tablespoons of cultured butter.
Flour should be unbleached all purpose or pastry. While I have made pie with whole wheat flour, the bran in the flour weigh down the crust and add a nuttier flavor.
My favorite pie pan is the pictured Hartstone Pottery pie plate baking stone made in Zanesville Ohio. It evenly holds and distributes heat, creating a crisp bottom to the crust. A glass pan is the next best choice. Avoid metal pans as they tend to not heat as evenly.
Because all pie crust ingredients must remain cold and be brought together quickly, mise en place is important. Measure the flour and set aside. Measure the fat and chill. Put aside a glass of water with ice, along with some excess flour in case the dough sticks. Lay out a pastry cloth pin, and your pie pan of choice.
The final trick is to remember that there's nothing better than a rustic pie. Little hiccups in the appearance are the delightful reminders that your pie was made with love.
The Recipe (for a single 9 inch crust)
Using knives or a pastry cutter, cut 1/3 cup plus 1 tablespoon fat into 1 cup flour plus 1/2 teaspoon salt. Keep working until the mixture is in the size of small peas.
Add two tablespoons of icy cold water and stir just until combined, adding more water if necessary.
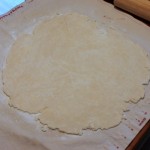


Turn out the dough on a floured cloth. Quickly form into a thick round with your hands. Handle as little as necessary to keep the dough cool.
Gently but swiftly roll into a bigger circle. Turn the dough regularly to be sure it is not sticking to the cloth. Stop rolling when the dough is 4 inches bigger than the size of your pie plate.
Carefully fold the dough into quarters. Line up the center with the center of the pie plate and unfold.



Trim the edges to the height of the pie plate. Fold the edges under and then press between your fingers or use a fork to decorate the crust.
If at any time you must attend to something else, place the crust in the fridge to stay cool. Before filling or baking, I recommend chilling the crust for 15-20 minutes.
Homemade pie crust is more delicious, more fresh, and less costly than buying from a store. Will you try to make your own?
Added to Hearth and Soul blog hop 47.
 I'm not sure I ever watched the Kentucky Derby as a child. I certainly have no memories of it.
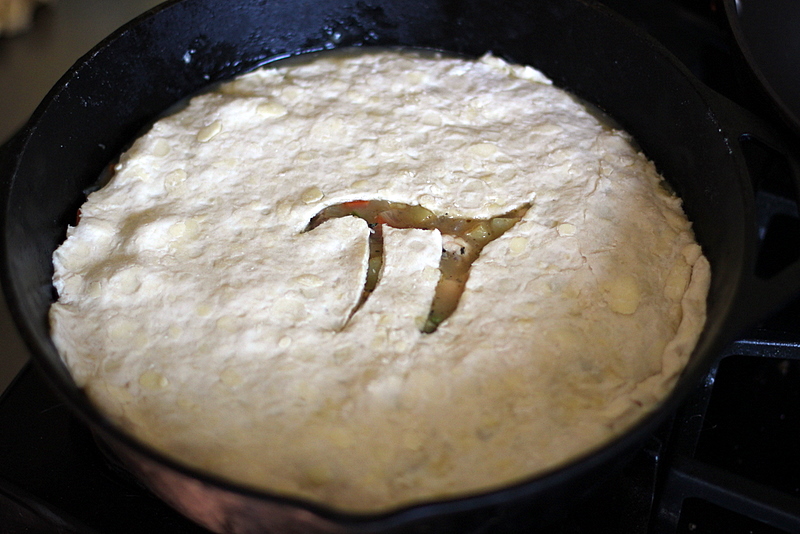


 by Jillian Stewart
Makes: 8 entrée servings
