How To Fence Raised Beds

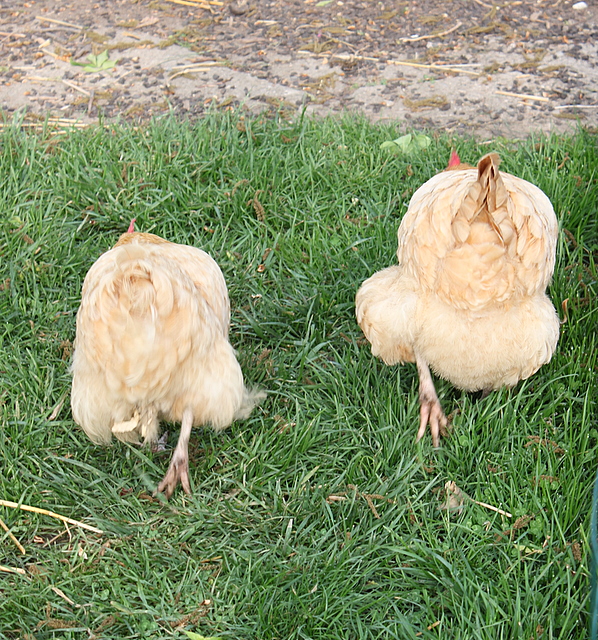
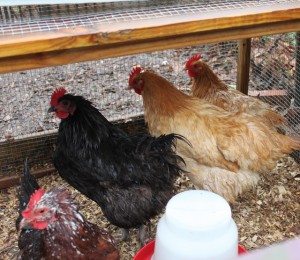
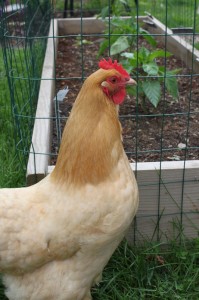
chicken looking at fenced raised bedThe chickens eye the tomatoes, the dogs walk all over the bean bed, and the squirrels want into everything. What's a space intensive gardener to do? Fence around the beds. Yet every spring I resist. Fencing is ugly and expensive. It is a pain (literally, I have a hole healing in my finger from a wire poke) to install and remove. Grass is hard to cut around the edges.

This year I was intentional about planning and installing fencing. I finally have the perfect balance of function and aesthetics. Here's how I fence our raised beds:

1) Use the same style throughout the garden. My cousin Todd of Combs Landscape Design advised that if all the fencing is the same, it disappears visually. I prefer vinyl coated wire fencing because it is less apt to poke fingers during installation and removal.


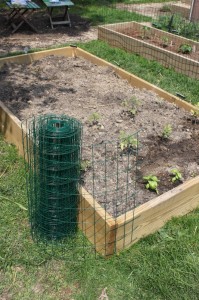
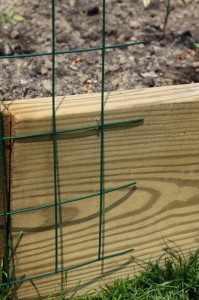
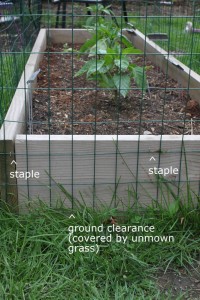
roll fencing wrapping around a raised bedstapling garden fencingstaple spacing on fence

2) Install the fencing 2-3 inches above ground level. With this clearance, you can use an edger or scissors to cut grass missed by the lawn mower.

3) Staple every 12-15 inches. If you pull the fencing taught between staples, this is sufficient to hold. Every staple you put in during the spring must be removed in the fall. Don't be like my husband, who put a staple every inch last spring and then had his wife remove the fencing in the fall. She will not enjoy removing hundreds of staples when a dozen would have done the job.

4) Fold corners into right angles. This defines the space visually and also adds stability.

5) Remove and re-roll the fencing in the fall. This will allow the chickens to do their dirt turning business and saves the fence from excess wear and tear. I use pliers to remove the staples and store the fencing in the loft of our garage.

How do you fence?


Added to Simple Lives Thursday 45.

Baked Egg Cups & Saucy Mama Giveaway

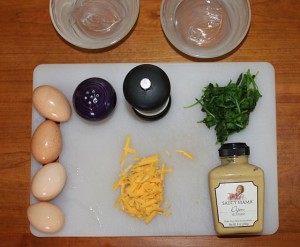
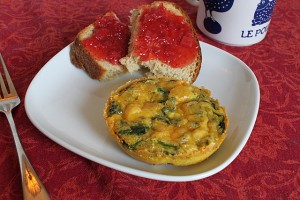
baked egg cupI like a good cooking challenge. When I heard about Saucy Mama's Fabulous with Five contest for food bloggers, I had to give it a shot. The competition required creating a recipe with a Saucy Mama condiment and only five additional ingredients. baked egg cup ingredients Having an abundance of backyard chicken eggs, I devised a simple and healthy breakfast or lunch dish. Each individual serving includes plenty of protein and, thanks to wilted spinach, a good dose of vitamins and minerals.

The recipe is perfect for a family on the go: make a triple batch and keep in the fridge for quick breakfasts or healthy packed lunch protein. It can easily be adapted to include the type of optional cheese and vegetables your family likes best.

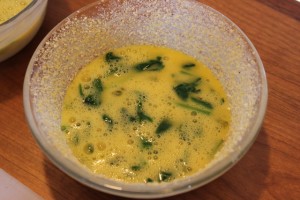
baked egg cups before bakingbaking egg cups To make Saucy Mama baked eggs, butter two dishes. Swirl in cornmeal for a crunchy crust. In a separate bowl, whisk together eggs, mustard, salt, pepper, and wilted spinach. Don't like spinach? Try steamed broccoli, wilted kale, cooked carrots, or boiled potatoes.

Pour the egg mixture into the prepared bowls and top with your favorite kind of cheese if you like. The pictured dish includes a cheddar cheese topping.

Bake for 25 minutes and serve warm or at room temperature. Store in the fridge for up to four days.

baked egg cup recipe

In addition to providing me with a sampler of mustards and sauces, Saucy Mama wants to give away a condiment package of Saucy Mama Sweet Heat Marinade, Saucy Mama Tarragon Lemon Mustard, and Saucy Mama Pacific Rim Ginger Dressing to one of you!

{Update 5/20: Giveaway has now closed.} To enter the giveaway, comment below with your favorite way to use mustard. Comments must be received with a valid email by midnight on Thursday, May 19. A winner will be chosen by random.org and announced on the Hounds in the Kitchen facebook page and via email on May 20. The winner will have 48 hours to respond or a new winner will be selected.

[print_this]

Saucy Mama Breakfast Egg Cups makes 2 meal sized servings

1 teaspoon butter 2 tablespoons cornmeal 4 eggs 1/2 teaspoon salt 1/2 teaspoon freshly ground black pepper 1/2 cup wilted fresh spinach (about two large handfuls) or thawed frozen spinach or your favorite vegetable 1 teaspoon Saucy Mama dijon mustard 1/2 cup shredded cheese (optional)

1. Butter two one-cup sized oven safe dishes. 2. Place 1 tablespoon cornmeal into each dish and turn to coat the butter with cornmeal. 3. In a small bowl, whisk eggs, salt, pepper and mustard. Stir in wilted spinach. 4. Pour egg mixture between two dishes. Top with shredded cheese, if using. 5. Bake in a 350 degree F oven for 25 minutes or until cooked through and browned on top. 6. Eat in the cup or turn out of cup to serve.

NB: You can bake these cups ahead and store in the fridge for up to four days. Eat chilled or reheat for 30 seconds in a microwave.[/print_this]

Friday Five: Facts about Backyard Chicken Eggs

The talented Catherine of Photo Kitchen came over last week to take photographs for Hounds in the Kitchen Egg Week. Today's conclusion follows tutorials for blowing out eggs, making natural dyes, baking a dutch baby, and creating eggshell seedling cups. child holding a backyard eggA year and a month after collecting our first pullet egg, we have learned a few things. Today we share our top five facts about backyard eggs.

1) Eggs are laid with a special impermeable coating that keeps them fresh at room temperature. So long as we have space, we still refrigerate ours, but it's nice to know that they are edible for weeks if we want to store them on the counter.

2) Fresh eggs, hard boiled, are difficult to peel. As eggs age, they lose moisture and naturally detract from the shell. Very fresh eggs are so full of moisture that the white sticks to the shell like it is hanging on for dear life. Adding a few tablespoons of white vinegar to the boiling water increases 'peelability'.

3) Hens lay eggs without a rooster. Eggs are the product of a hen's menstural-like cycle, one which goes on whether a rooster is around or not. Conversely, eggs will not develop into chicks unless a rooster fertilizes them. Children are usually sad to learn that our eggs will not turn into baby chicks.

4) Each breed has a uniquely colored and shaped egg. We can identify who is laying and who is not simply by the color and shape of the eggshells collected. Some breeds, like the Aracuana and Barnevelder, are recognized for the unusual color of their eggshells.

child collecting eggs in a backyard coop

5) Collecting eggs is a treasure hunt for the most versatile ingredient we can raise ourselves. Whether Lil up-ends herself into the coop or Alex and I reach into the nest box, we are delighted on a daily basis at the golden jewels we find.

All photos with the Photo Kitchen watermark belong to Catherine and were generously shared with me. You may purchase copies and view the whole set of photographs in the online gallery. Use the coupon code houndscrossover to receive 25% off prices until May 15.

P.S. Happy Earth Day! May you challenge yourself to a greener lifestyle, enjoy America's natural resources, and perhaps even procure some free earth-friendly goodies like a Northstar veggie burger.


Added to Fight Back Friday April 22.

Making and Using Natural Egg Dyes

The lovely Catherine of Photo Kitchen came over last week to take photographs for Hounds in the Kitchen Egg Week 2011. Yesterday, I shared how to blow out eggshells. Continue reading for recipes, tips, and even an eggshell planting project. eggs in natural dye

Encouraged by my friend Vanessa Prentice, I made egg dyes from edible materials this year. I was surprised to find that natural dyes are easy to make, completely safe to consume, and don't stain your fingertips.

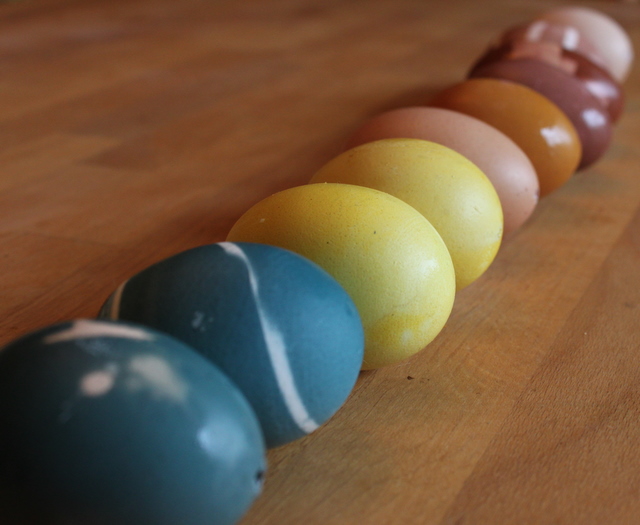
I made dyes from purple cabbage, red beet, and ground tumeric, pictured left to right above. Other edibles that Vanessa recommends include blueberries (purple color), tea (light brown), and coffee (dark brown). Green is a particularly difficult color to achieve, she says.

I boiled the edible materials in water with a splash of vinegar to act as a mordant. A mordant is a chemical that encourages dye to attach to a surface. These mixes simmered until the colorful edible until the liquid was brightly colored, about an hour.

I strained out the solids and poured the liquids into jars. Because I was using them the next day, I stored the dye in the refrigerator overnight.

Next, I gathered the prepared the eggs for decorating. Some were boiled and most were blown out for a more permanent canvass.

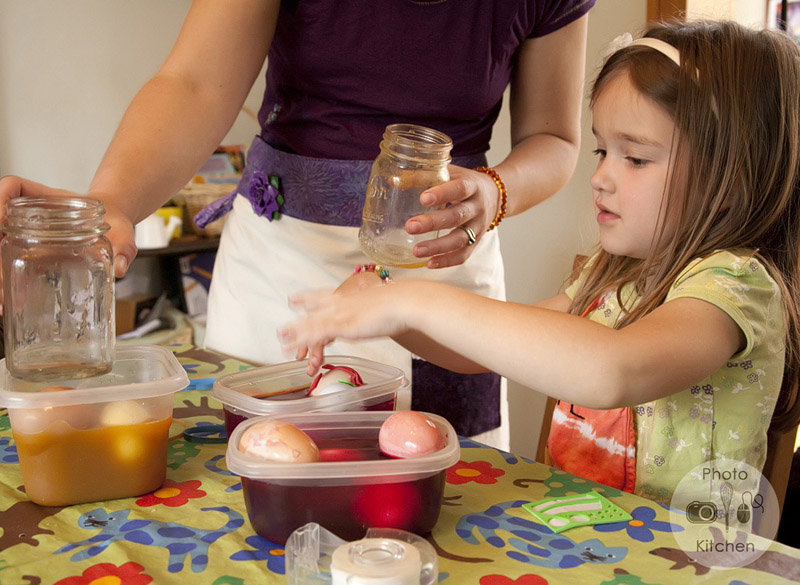
Lil wrapped the eggs in string, tape, or rubber bands for patterns. Shaped stickers also make white space on the shells.

eggs wrapped in rubber bands for resist dying

Finally, it was time to dunk the eggs. I should have predicted that the hollow eggs would float, but I didn't until we actually observed them. Because we wanted solid colored eggs, I gently weighed them down with glass jars on top of the dye.

weighing down blown out easter eggs with jars

The hardest part came next: waiting. Natural dyes make the deep rich colors if left in the dye bath for 24 hours. The blue egg in the picture on left was in the bath for about 2 hours; the one on the right soaked for 24 hours.

blue easter egg dyed with red cabbage leavesblue egg dyed with red cabbage

Finally we had a rainbow of dyed eggs with fun patterns! Are you dying eggs this year? Will you experiment with natural dyes?

rainbow of naturally dyed eggs

All photos with the Photo Kitchen watermark belong to Catherine and were generously shared with me. You may purchase copies and view the whole set of photographs in the online gallery. Use the coupon code houndscrossover to receive 25% off prices until May 15.

Added to Hearth and Soul Volume 44.

Five Signs of Spring

This week has been the essence of spring. Ohio has felt downpours of rain, blustery days so chilly Alex lit the wood stove, and sunshine that made me weak in the knees. Best of all, it is the growing season! In the spirit of Friday Five, here are spring scenes from the homestead this week:

wet chickens from thunderstorm1) Backyard hens soaked to the core during Monday's rainstorms. It isn't true that a chickens are so dim that they will drown in rain, but they do not seem inclined to take shelter.

painted lady caterpillar2) The painted lady caterpillar I purchased from Franklin Park Conservatory is a delight to watch as it grows visibly every day. It will form a chrysalis soon and then emerge as a butterfly!

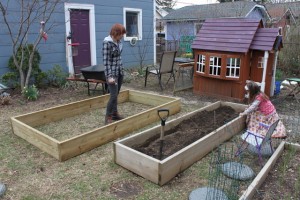
newly built raised beds3) Intern Keara and I moved garden beds and made new ones on Thursday. We added 42 square feet of planting space!

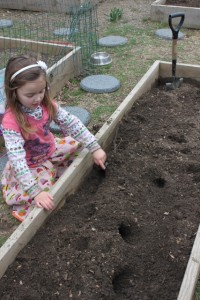
dirtville a child's creation in soil4) When asked to spread soil in a bed, Lil responded by occupying herself for almost an hour creating 'Dirtville'. She says the people who live there are very clean and tidy, but they make their homes out of dirt. In 'Houndsville', springtime requires more frequent baths. ;)

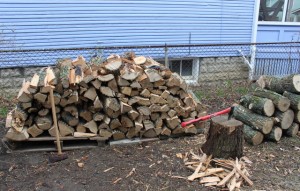
hand split wood pile5) Alex worked his tail off splitting ash this week. Look at this amazing wood pile!


Added to Fight Back Friday April 8.

The Making of a Cover Model Chicken

newspaper cover model chickenOur australorp hen is on the cover of this week's Columbus Alive! Read raising the roost about keeping 'pets with benefits' in the city. Learn a little more in the two sidebars, keeping chickens 101 and why to raise chickens.

I love sharing about our homestead. Along with an interview for the article, I had the pleasure of watching a professional search for the perfect chicken pictures.

First, photographer Jodi Miller came out with writer John Ross on a drizzling cold day. She shot for almost an hour. I posed with the chickens and baited them with stale corn chips to do their thing. My girls are so tame that they rarely gave Jodi the 'crazy' she was looking for.

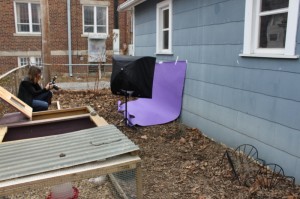
photo shoot for a chickenA few days later, Jodi returned with a background and different lights. This time she had the idea to try to catch a hen in mid-flight.

Because the girls don't jump up unless surprised and it would be impossible to catch them doing so against the background, there was only one choice: drop them.

I held a hen a few feet off the ground and released on Jodi's count. She spotted the ground and flapped to a gentle landing. I don't think this counted as animal torture, as the hens jump farther to get out of their coop several times a day.

Sadly, none of the flapping chicken pics ended up in the Alive. It was reassuring, in a way, to watch a professional straining to capture the vision she had in her mind. I go through a similar struggle on a daily basis!