Plant Your Trash
I am the first to admit that I love free food. It's one of the chief reasons that I garden - I can make a salad with no exchange of money. What's even better than paying for garden seeds is getting these for free too. Most of us toss viable plant starts into the trash or compost bin regularly.
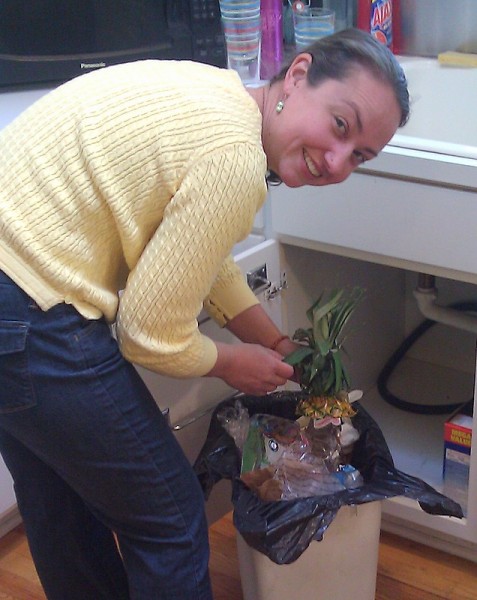
Alex captured me rescuing a pineapple top from my parent's trash. Settle a pineapple in a container filled with soil and it will sprout roots and continue to grow. I have kept pineapples as house plants for years and have yet to coax one to fruit, but others report it is possible.
Ever found a garlic clove that is sprouted? Chefs reject these because the garlic itself can be bitter. Pop that sprouted garlic in soil (indoors or out) and the greens will grow. Viola! Garlic chives!
Whereas most fruit pits do nothing in the soil, an avocado pit will sprout a thick stem and long green leaves in a container. The plant will not fruit without a graft of a producing tree, but an avocado makes a great house plant.
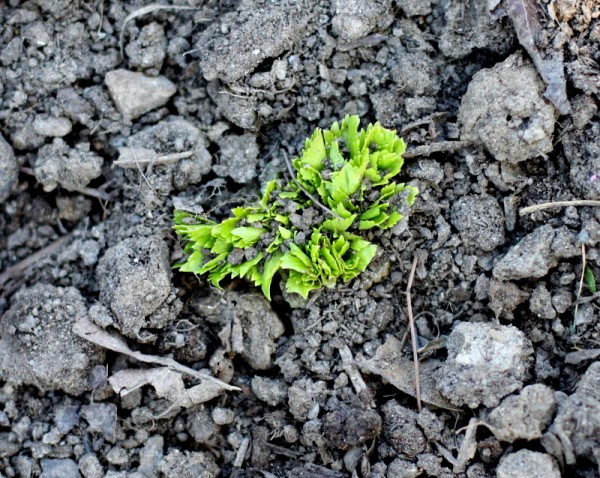
My latest experiment in compost gardening is celery. I planted the base of a store-bought celery stalk approximately 2 inches under the soil in one of our outdoor raised beds. Guess what started peaking through this week? Celery leaves! Even if the plant doesn't produce thick stalks, I know the leaves will be tasty in soup or salad.
Obviously, traditional garden plants that produce well will be grown from quality seeds. But if you have a little extra soil, it can't hurt to grow some unusual plants for free from your food waste!
I am this month's Once A Month Mom Get Real guest blogger and my first post - Edible Gardening Basics - is up. I hope you will read and follow the discussion!
Week of July 18, 2011 {Meal Plan}
Ingredients and Inspiration Obligations:
- It's going to feel like a bajillion degrees outside this week
- Lots of fresh broccoli, corn, zucchini in the fridge
- Green beans, kale, herbs available in the garden
- I teach Tuesday and Wednesday nights and volunteer at OSU most of the day Thursday - Saturday with the Labo/Ohio 4-H exchange program.
- Alex's parents and my parents are on vacation right now. I agreed to take care of their gardens. Per point one, I will need to water there at least a few times during this busy week.
Monday - italian style pasta salad with broccoli, zucchini, cheese, basil, chorizo and sweet corn
Tuesday - Rachel teaching, Alex makes chicken, rice, stir fried broccoli, green beans, and onion for he and Lil
Wednesday - Rachel teaching, Alex make spaghetti with kale and tomato sauce for he and Lil
Thursday - Family meets our exchangee at OSU for pizza dinner!
Friday - Rachel dinner at OSU, Alex and Lil eat with friends
Saturday - Freezer meal - we have homemade frozen empanadas, samosas, and tamales
Sunday - Family dinner
Bonus Material: Lil talked Alex into buying and making Jello, her first experience with the stuff. I recorded this video of her tasting it for the first time.
Five Signs of Spring
This week has been the essence of spring. Ohio has felt downpours of rain, blustery days so chilly Alex lit the wood stove, and sunshine that made me weak in the knees. Best of all, it is the growing season! In the spirit of Friday Five, here are spring scenes from the homestead this week:
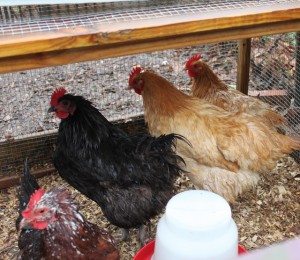 1) Backyard hens soaked to the core during Monday's rainstorms. It isn't true that a chickens are so dim that they will drown in rain, but they do not seem inclined to take shelter.
 2) The painted lady caterpillar I purchased from Franklin Park Conservatory is a delight to watch as it grows visibly every day. It will form a chrysalis soon and then emerge as a butterfly!
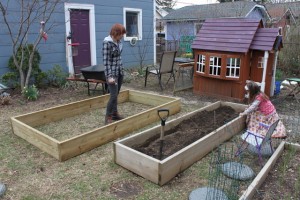 3) Intern Keara and I moved garden beds and made new ones on Thursday. We added 42 square feet of planting space!
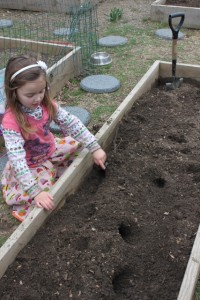 4) When asked to spread soil in a bed, Lil responded by occupying herself for almost an hour creating 'Dirtville'. She says the people who live there are very clean and tidy, but they make their homes out of dirt. In 'Houndsville', springtime requires more frequent baths. ;)
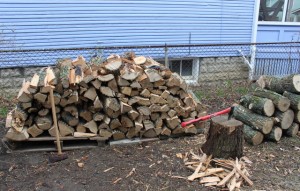 5) Alex worked his tail off splitting ash this week. Look at this amazing wood pile!
Added to Fight Back Friday April 8.
Lil's New Garden
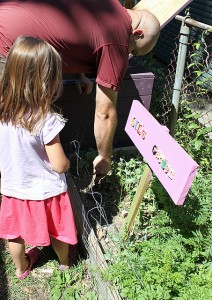
A recent post of mine is eligible to win a ticket to a blog conference in Asheville North Carolina. Will you do me a favor and vote for me, @racheltayse? Thanks!!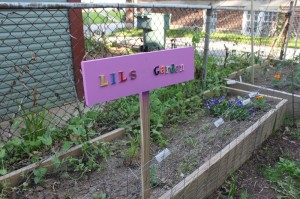 Back in the spring we dedicated one raised bed to Lillian for her own garden. She loved the idea and made an adorable sign to mark it as hers.
And then we started arguing. Despite planning to grow peas, carrots, strawberries and other edibles, Lil soon changed her mind and wanted to grow flowers. I had built the soil in the raised bed for two years with the intention of growing food there. Food trumps flowers any day in my book.
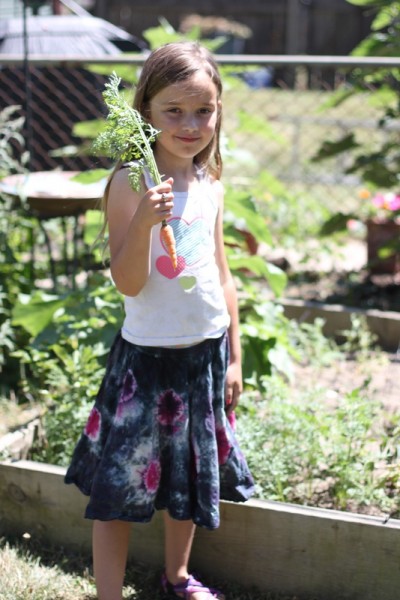
We compromised throughout the summer until the garden was a disfunctional mish-mash of marigolds, carrots, and more.
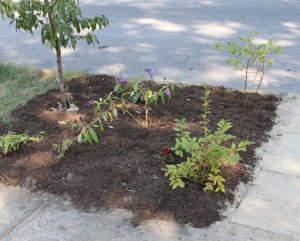
I finally had a breakthrough when looking at our tree yard (the area between the sidewalk and street): why not let Lil establish a garden there?
So in the last two weeks, we turned soil, spread sand, installed pavers (lifted from my parents backyard), planted perennials and a few annuals, mulched, and watered. I sneaked in several edibles including the peach trees that were already there, blueberries lining the walk, and several herbs. Other plants are valuable attractors of pollinators like bees and butterflies. I promised Lil is that every plant has beautiful flowers.
Still to come is a remade sign. The original one was less waterproof than we thought and we want to make something more permanent.
With the help of a lot of discount plants, the project cost an affordable $52. (Now is a GREAT time to search garden centers for clearance perennials.) Here's the breakdown:
6 24x24 paving stones: free from my parents 5 bags leveling sand: $20 4 blueberries: free, moved from another bed 2 butterfly bush: $12 2 yarrow: $2 2 echinacea: $2 2 mums: $4 4 thyme: free from clintonville coop 3 extra large bags mulch: $12
As for the old garden bed? It is going to be remade into a cold frame for the winter!
This post linked to Simple Lives Thursday.
Lil's Colorful Chop Salad
It is afternoon, a time when summer boredom hits hardest. Lil is whiny and wants nothing to do with any of the ideas I suggest. That is, until I start working on dinner and ask if she would like to make a salad.
She runs to her garden and picks what is ripe and fresh. She brings them inside, washes, and begins to chop. Lil dices carrots finely with an adult paring knife. I teach her how to chiffonade large leaves. She mixes a vinaigrette, pours it over the salads, and serves them.
These chop salads genuinely taste delicious and make good use of our in season vegetables. More than that, Lil's salads represent the growth of a healthy eater and contributing member of our food loving family.
Recipe for a Chop Salad, verbatim from Lil
First, we need to do carrots, then chard, then some dressing. Put herbs and done.
Tips for a Successful Salad Making Experience with a Child
1. Say 'yes' as often as you can. You want both the making and the eating of a child-led salad to be positive.
2. Set yourself up for success by offering to do tasks that might be frustrating for a young child, such as cutting thick parts of a carrot.
3. Be flexible about letting the child try everything they want to try. Model techniques, moving their hands under yours if need be.
4. Give them the proper tools, especially knife ware. A child will be easily frustrated with a knife that doesn't cut well. Lil has been using an adult pairing knife since she was three, for these reasons.
5. Double check the washing. Garden vegetables, especially greens, can be dirty and grit makes for a poor salad. Kids love using the salad spinner, so employ yours if you have one.
6. Go with the child's taste ideas. You may never have thought to pair certain herbs and vegetables, but the child's tastes may surprise you. More than that, by allowing her creativity in the kitchen you are giving her confidence in other areas.
7. Specifically and honestly affirm the act of making and eating a healthy salad. "You worked really hard at this." "I especially like how carefully you cut the carrots." "Thanks for making part of our dinner! I love eating this nutritious and delicious salad."
Harvesting Dragon Tongue Bush Beans
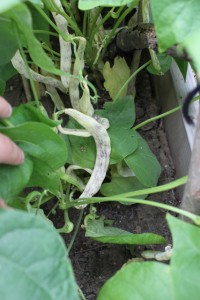
 We're harvesting beans, baskets of beautiful yellow and purple striped beans.
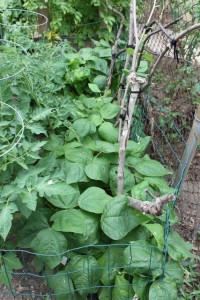
These heirloom dragon tongue beans are a bush bean, meaning they do not need to be trellised. They grow down towards the soil hiding under wide umbrella leaves.
The beans can be cooked fresh. Sadly they lose their beautiful coloration, cooking to a light yellow color. They have a buttery taste with a crisp texture, making them delicious steamed or added to stir fries.
The pods can also be left to dry on the vine. When the seedpods are shriveled, pick them and allow them to dry further on a cookie cooling rack. Remove the pod and dry the speckled beans further on a rack on top of the fridge or in another dry place. Store in an airtight container when they are completely dry. Beans can be kept dry this way for up to a year or made into the best beans and rice ever.
Are you growing beans this year? What's your favorite variety to grow or eat?

