Fermenting Wisdom from Sandor Katz

sandor katz fermenting in columbus ohio

Wild Fermentation and Art of Fermentation author Sandor Katz visited Columbus briefly last week. He taught two classes to the ever-growing population of people who keep jars of ferments brewing in their homes.

Our family ferments sauerkraut, sour cream, kefir, beer, charcuterie and more on a regular basis. I don't write about it here often because we never make the same thing twice, preferring to ferment what we have in abundance at any given time. Fermentation is a fun and useful pursuit that I want to encourage. Below are ideas from Sandor Katz to start your sour juices flowing:

"There's No Food You Can't Ferment"

People ferment for:

  • preservation - krauts, kimchis, and cheeses historically allowed populations to survive between growing seasons
  • production of alcohol - to sanitize water, provide entertainment and elightenment, and preserve grains in a useable form
  • digestion - see below
  • flavor - almost all gourmet foods like cheeses, cured meats, olives, chocolate, coffee, and vinegars are fermented

Vegetables are a good place to start because they are intrinsically safe, require no special equipment, ferment quickly and are delicious. The process can be as simple as cutting up vegetables, pressing them until juices run, adding a little salt, and submerging under juices or water for a few days until they sour.

Salt is good for the process because it discourages unwanted molds, enhances taste, and maintains texture but you can use very little. Through osmosis, salt pulls out water and creates a desirable selective environment for the fermenting bacteria that can tolerate salt.

Fermentation changes foods by:

  • pre-digesting nutrients that humans cannot digest normally, as is the case in dried soybeans fermented into tofu
  • enhancing nutritients - fermented foods have more B vitamins than fresh versions and some nutrients like natokinase are only available after fermentation
  • de-toxification - cassava, the African staple crop, for example, is a root vegetable that contains cyanide and is inedible until fermented.
  • live bacterial cultures - pro-biotics aid digestion by supplementing the biota in our guts. Eating naturally fermented foods with diverse macrobiotics offer more benefits than monoculture probiotic additives or pills.

"Where Is The Line Between Fermented And Rotten?"

No form of life has lived without bacteria, yet Americans for the past 100 years have been indoctrinated in the idea that bacteria is dangerous. Humans need bacteria to digest and absorb nutrients, reproduce, and support immune function.

The origins of fermented foods predate recorded history because as soon as humans chose an agrarian lifestyle, they had to use fermentation to preserve crops. Agriculture would not make sense if fermentation did not exist.

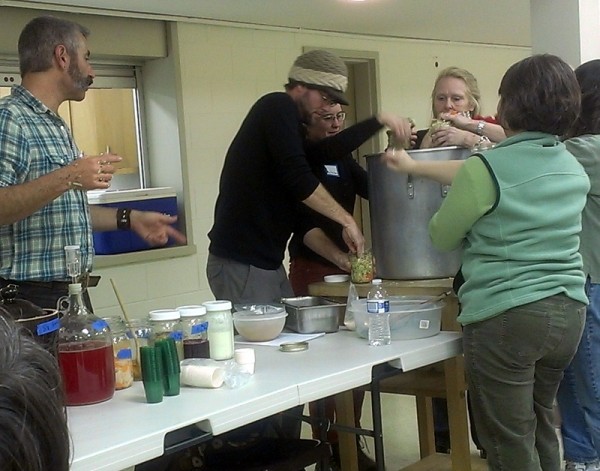
Food exists on a spectrum from fresh to rotten. Cultural standards often define what is too rotten to eat. Scandinavians notoriously eat fermented fish that both smells and looks rotten to most Americans. Runny, molded cheeses are not common here either but are considered delicacies in parts of Europe. Expanding your palate by eating more fermented foods may open your mind to new flavors. community making sauerkraut sandor katz
"Be Bold In Your Experimentation But Not In Your Quantities"

Once in awhile, everyone who attempts fermented foods will create something that isn't tasty at the best or afflicted by black mold at the worst. It's ok - we all make mistakes. To minimize waste, make many small batches until you learn what works in your environment and with your particular tastes.

For health, preservation and flavor, ferment!


Special thanks to City Folk's Farm Shop, Swainway Urban Farm, and Clintonville Community Market for sponsoring this event and Janine Harris Degitz for organizing.

Loggerhead and Flip {Cocktail Recipe}

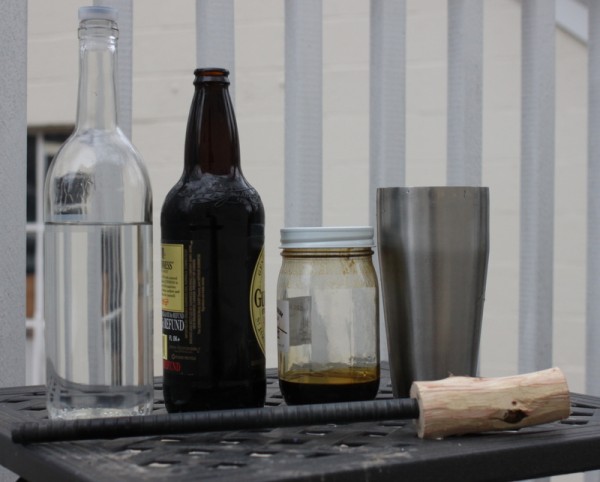
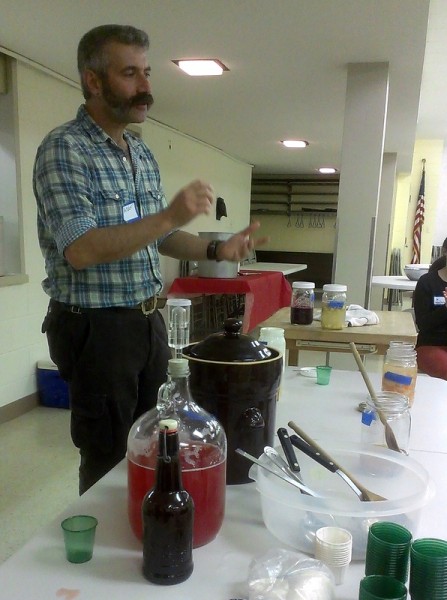
rum flip ingredients There may be only a few chilly nights left this season, so I'm going to cut right to the chase: before winter ends, make a traditional flip.

This historic cocktail was the most popular drink in taverns in Colonial America yet seems to be lost even in the current mixed drink renaissance. It combines the original American spirit, rum, stout beer, whatever local sweetener available like molasses, sorghum syrup, or maple syrup, and firey heat.

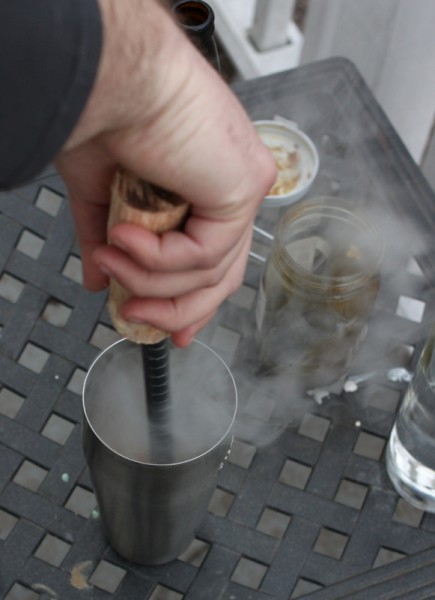
heating rum flip with loggerhead

To heat the drink, bartenders use a loggerhead. This wooden-handled, blunt metal tool sits in a fire until red hot and is then plunged into ingredients in a pitcher, creating a fizzy textured, warm, highly alcoholic beverage. After too many rum flips, patrons might argue and brandish the heat element against each other, hence the phrase 'at loggerheads'.

Alex learned of the flip while reading And a Bottle of Rum: A History of the New World in Ten Cocktails. We had to make it at home.
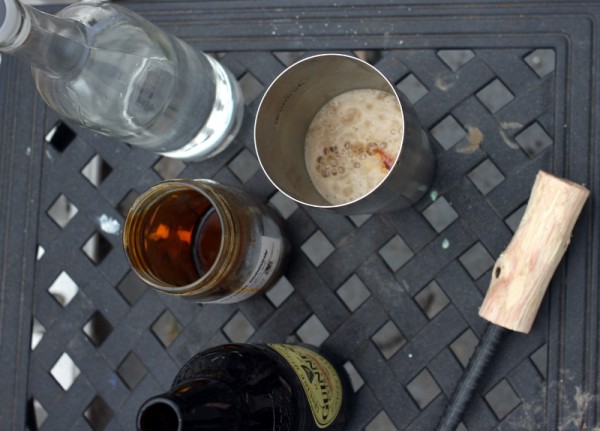
The project started by making a loggerhead from a piece of hardware-store rebar and a branch. Because we have no wood stove in the new house yet, we used a propane torch to heat our loggerhead. A wood-fire-heated element would probably contribute ashes to the drink, which would certainly uphold tradition if not modern standards of good taste. The foamy, sweet, dark drink warms us on these last snowy days of winter.

pouring rum flip

But what about the modern flip cocktail, you say? The one with egg whites? Historical records show price controls on taverns that made the rum flip cost the same price everywhere. To distinguish themselves, barkeeps began customizing their flip with additional spices, cream, or, as was the case at a popular place in Boston, eggs. Sometime since then, we lost the heat and yolk, leaving the modern egg white flip.

Despite signs that spring is coming, surely there will be a cool night ahead where you wish for a strong hot drink like the flip. It could even be adapted with Irish whiskey and stout for a warming St. Patrick's Day beverage.

rum flip recipe

Rum Flip makes one quart-sized pitcher to serve four

heat-tolerant quart-sized or larger pitcher 3 ounces rum (white is traditional but any rum is fine) 2 ounces molasses, sorghum syrup, or maple syrup one pint stout beer, warmed to room temperature (bottle conditioned, not nitro-carbonated) loggerhead (fireplace poker is a reasonable substitute, as clean as you wish) heat source (propane torch, campfire, wood-stove)

1. Mix rum and sweetener in pitcher, stirring well to dissolve. 2. Pour in beer and stir again gently. 3. Meanwhile, heat loggerhead until red-hot. 4. Plunge loggerhead into pitcher. Have a towel handy to mop up any overflow. 5. Pour into mugs and drink warm.

Columbus Urban Chicken Coop Tour

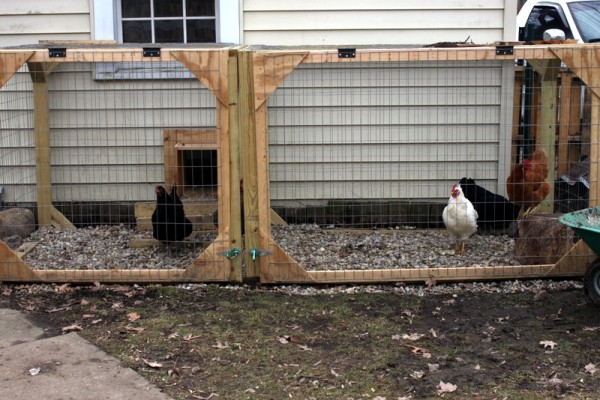
Over one hundred guests toured urban chicken coops around central Ohio today. Generous hosts provided information, chicken-themed snacks, and viewing of many breeds. The coops included creatively re-purposed materials and a variety of solutions to common problems like predators, small spaces, and the chickens' need to forage. As I dropped of shoe covers to prevent cross-contamination provided by City Folk's Farm Shop, I took these pictures to provide a virtual tour:

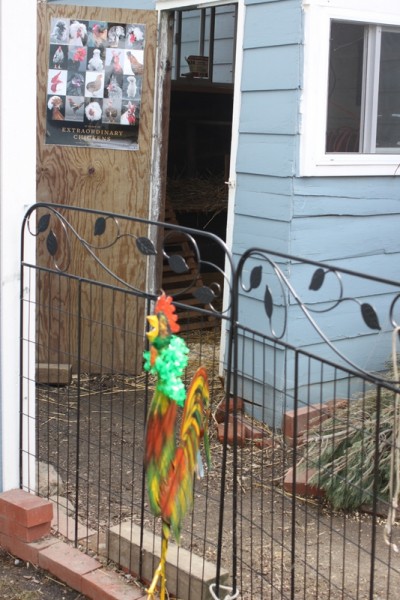
chicken welcome sign

Coop inside a garage with run outside and door in between.

garage chicken run inside of garage coop

Cupboard remade into a coop inside dog kennel.

cupboard repurposed as chicken coopchicken coop in dog run

Two ways of using Omlet coops, one winterized with straw bales, one winterized with plastic top.

egglu coop winterizedegglu coop

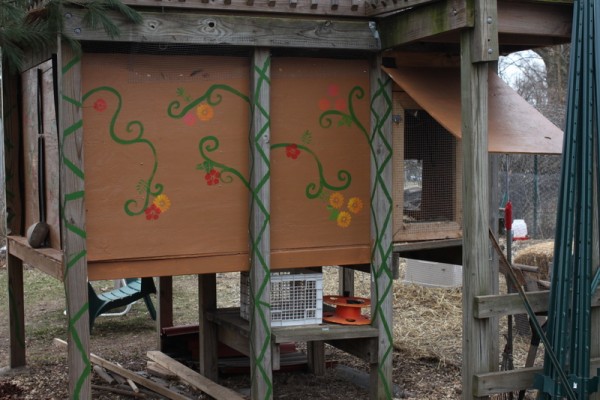
Children's climber re-purposed as a coop with decorative flowers.

decorated coop under climber

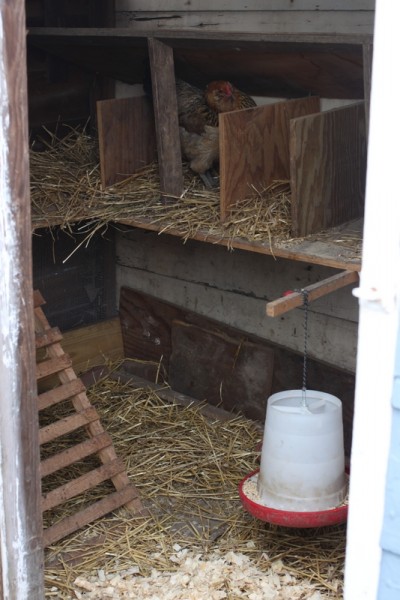
Shed attached to garage now used as a urban chicken coop with nest boxes inside.

chicken coop in shedinside of shed coop

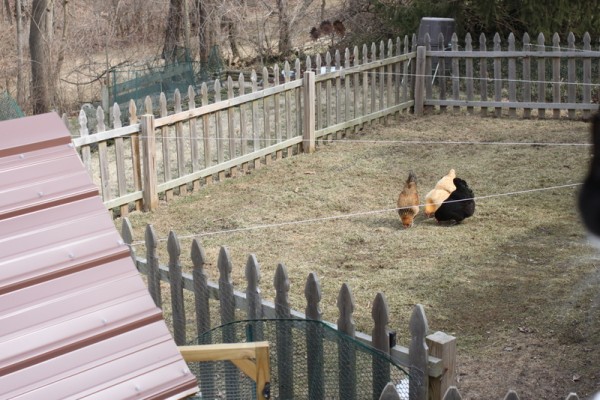
Strings over run to deter flying predators.

yard with strings for chicken predator protection

What do you think of these urban coops?

Chicken Scratch {Friday Five}

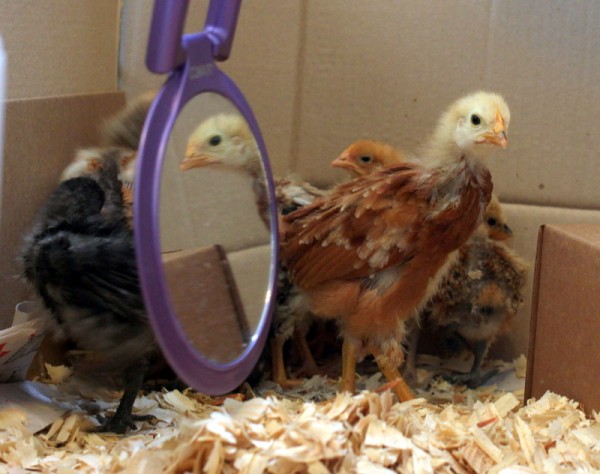
chicken  reflecting in mirrorOur chicks are growing up! They want you to know about these happenings related to chickens in Columbus, Ohio:

1) Select Columbus chicken owners are opening their coop doors for self-guided tours this Sunday afternoon. Download the tour .pdf for details or stop by City Folk's Farm Shop to pick up a flyer.

2) City Folk's is also hosting heritage breed chick orders this spring. They take care of the delivery and quantity purchases so urban chicken keepers can build flocks of smaller numbers. Pre-order online or in the shop by March 15.

3) Sneak a peek at our yard and rock-star chicken Austra in a short 10TV news piece that aired last week, embedded below. A revised version of the Franklin County proposal to zone for chickens, rabbits, and ducks will be on their website soon.

No, you didn't miss anything - we don't have another child. The reporter mistakenly identified one of Lil's friends as a sibling.

4) The Dispatch printed a story 'Counting on Chickens' with quotes from me too.

5) Only slightly related because some restaurants might have chicken on the menu, we want to let you know about the 10th anniversary celebration going on at Dine Originals Columbus restaurants. From March 11 - 20, independent restaurants will host a variety of special menus and events at great prices for Dine Originals 10. Click through the link for a calendar, menu listing, and brochure.

Got Roots? Columbus Home Ec Does!

square roots tart The theme of February's Home Ec gathering was Got Roots? The tasting table in Columbus this month included a delightful variety of roots and preparations, showing off just how adaptable this vegetable family is.

We were treated to home-grown sunchokes aka Jerusalem artichokes from Como Yarden, served roasted with other roots in a home-grown pepper spice. I pickled the last of Swainway Urban Farm's sweet carrots harvested from snow-covered low tunnels. The roots section of my seed box for this year's garden is large because so many kinds can grow year-round with season extension techniques.

Kate once again included a foraged ingredient in her contribution. She found dead nettle greens to incorporate into homemade potato ravioli. Foraging is another way to eat fresh local food year-round!

fish with radish saltcarrot syrup drink
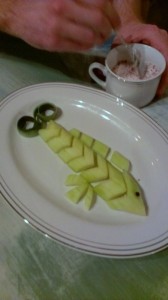
Roots brought out the creative side in several cooks. Nick made Square Roots, punny square tarts topped with shaved beets and carrots. Zane and Hannah made radish salt and a carved fish to dip in it. Liz took beets in an entirely new direction for me by roasting them with honey, soy sauce, and sesame seeds.

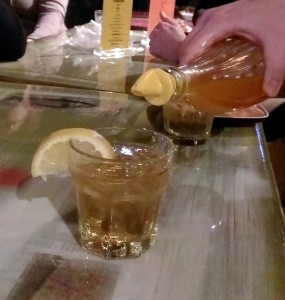
Zane also contributed carrot syrup made by roasting, pureeing, and straining carrots. We tasted it in soda water and cocktails. Though ReHab was unable to make Zane's 'Orange Lady', he recommends shaking the syrup (1/2 oz) with egg white, gin (2 oz), and lemon juice (1/2 oz) at home.

Skip over to Well Preserved to see how our cohorts in Toronto showed their roots.

Home Ec is a fun, creative way to conclude a month of cooking. Won't you join us in March? We'll gather at ReHab Tavern at 8 pm on March 25 with a theme to be announced in a week on Kate's blog, Kate On The Way.

Starting Saved Seeds

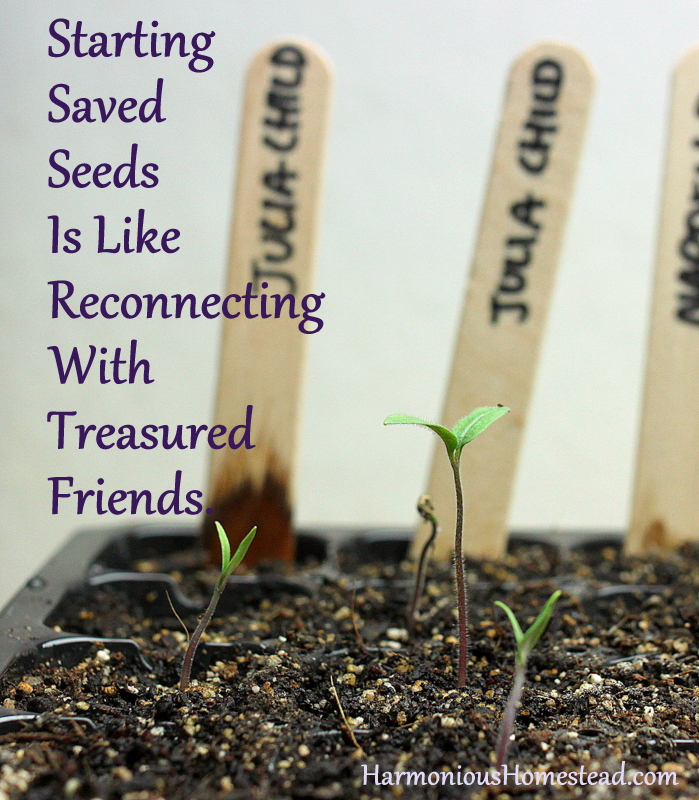
starting saved seeds Julia Child has been hanging out in an envelope in my seed box since August 2010. I saved her seeds from a sexy homegrown tomato and they laid in wait through a couple disappointing gardening seasons until now. I planted sixteen taupe seeds still stuck to their drying paper towel in two rows. After five days under lights and warmed by an electric mat, my old friend is back! I can't wait to see her luscious pink fruits this summer.

Seed saving is a commitment not of money but time and care. Seeds must be isolated from the best ripe fruit, dried, labeled and stored. In an age where companies create disposable versions of everything, making time to save seeds is practically defiant.

Starting saved seeds is also a political act. Seed savers declare "I don't believe you can patent a living thing". We perpetuate characteristics adapted to the microclimate of our individual location, something no mega-seed company can reproduce. We sustain diverse varieties of vegetables and flowers that otherwise might be lost to the perceived convenience of standardization.

I pledge to grow more saved seeds and save more than ever before this year. Will you join me? I'll share tips for success and overcoming challenges along the way.

Loving Lard - How To Make And Use Rendered Pork Fat

homemade pork lard recipeOh, lard. Mention the word and some people turn up their noses, remembering days of eating cookies that tasted like pork. Others are curious, having never eaten lard to their knowledge. And then there are those of us whose faces break into knowing smiles.

All About Lard

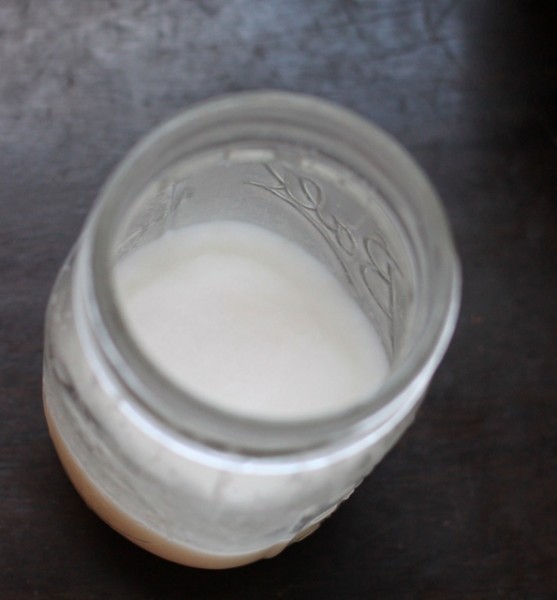
High quality lard is a pure-white fat. It remains solid at room temperature. It should smell only slightly porky, if at all, and that flavor bakes away when cooking.

Home-processed pork lard is arguably healthier than vegetable shortening because it doesn't contain trans or hydrogenated fats. It contains less saturated fat than butter and is 45% monounsaturated fat, one of the more heart-healthy kinds. Lard also contains vitamin D naturally.

Pay attention to lard labels if purchasing - some are hydrogenated to be shelf stable which transforms some of the good fat into trans fats. Others contain preservatives like BHT which you may want to avoid. I recommend buying directly from a local pork producer like Morning Sun Organic Farm.

How To Make Lard

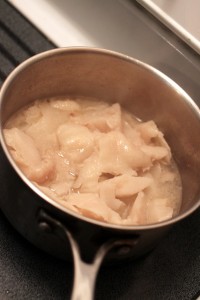
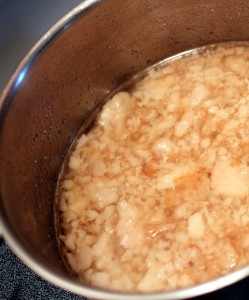
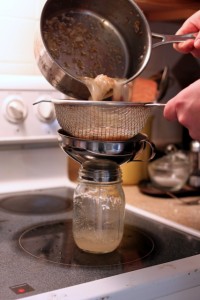
Start with high quality pork fat from around the organs (leaf lard) or body of the animal. When we recently slaughtered and butchered a Large Black pig from Six Buckets Farm, we ended up with 18 pounds of fat unattached to muscle cuts. Lyndsey, the farmer, was concerned that we might be upset with the excess fat, but I assured her we knew what to do with it. lard cookinglard with cracklinsstraining lard Set up a rendering pot, a heavy bottomed non-reactive lidded pot over an adjustable heat source. Some prefer to do this outside over a propane stove because the slightly porky smell can bother some folks. A crockpot set up in a garage or porch is another idea.

Add in your pork fat, ideally fresh and chunked into small pieces. Ours was frozen this time so we started the heat very low, breaking up the pieces as it thawed. Add a little water and the lid so the fat begins to simmer over low heat. You want the fat to melt out of any proteins that might hold it in place without burning those same proteins. Stir frequently to prevent sticking on the bottom.

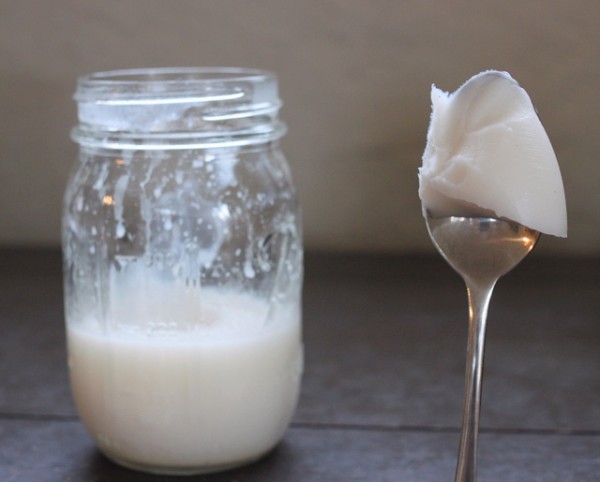
In one to three hours, you'll have a pool of fat with some pork cracklins. Drain the cracklins on a towel and eat as a snack or on salad. Pour off the liquid lard into a non-reactive container like a mason jar. Some people stir in salt at this point to flavor and preserve the fat. Allow it to come to room temperature, cover, and refrigerate for up to a month or freeze for up to a year.

What To Cook With Lard

Lard makes the best pastry. Lard pie crust (I use Ruhlman's 3-2-1 ratio of  flour, fat, and water by weight with at least 30 minute rest in fridge) is flavor neutral and bakes into a flaky yet strong dough to contain fillings. Lard dough is very easy to work. Sometimes I mix lard 50/50 with butter because the butter flavor is desired.

You can pan-fry meat or vegetables in lard. It is a useful emulsifier in pates. Many traditional recipes like Mexican tamales and refried beans call for lard. Some chefs are even advancing the fat to be used as a spread like butter - whipped salted lard was part of a bread and spreads platter I ordered in October at Cleveland's The Greenhouse Tavern.

homemade lard in mason jar

Pork Lard 1. Start with leaf fat, back fat, or belly fat from pork. Cut into one inch pieces and place in a clean deep sided pot. 2. Add a little water to the pot, cover, and begin to heat over low heat. Stir frequently to prevent sticking. Continue until all fat is melted, one to three hours. Add more water as needed to keep fat from browning. 3. Cook as long as desired to crisp up cracklings (delicious on salad or as a garnish!) and then strain through cheese cloth or a paper coffee filter. 4. Pour lard into clean glass containers and allow to cool to room temperature. You may add salt to taste while it is still liquefied  Refrigerate and use within a month or freeze for up to a year.

Do you use lard? Do you make it?

PS. Like Harmonious Homestead of Facebook to see photo outtakes featuring a certain lard lovin' kitty, Moonshine.

Introduction To Restoration Agriculture

Mark Shepard, author of Restoration Agriculture and founder of Restoration Agriculture Institute, presented the workshop "Designing Your Perennial Farm" at the 2013 Ohio Ecological Food and Farm Association (OEFFA) conference. Below is the summary of what I learned today.

Fundamentals of Restoration Agriculture

The key principle of Restoration Agriculture is to observe nature and imitate it to grow edibles. This requires a concept shift and constant questioning of oft-repeated 'facts'. "Apples don't have concepts of orchards," Shepard said. In a perennial polyculture, apples can grow among companions that reduce pest pressure and mowing needs.

He advocates for planting over-yielding polycultures. Instead of a one-acre monoculture of apple trees, say, plant peppers, sunflowers, squash, and chestnuts on the same acre. While each crop might not yield as much as if they had been babied in an acre of their own, the polyculture will yield more in sum than what a single acre of any one crop could provide. This method 'fattens up' the ecological system to create more edible niches.

Grazing animals are important parts of the system. Cattle, pigs, sheep, and chickens all can contribute to the soil nutrients, waste clean-up, and pest control among polycultures.

Shepard proposes a STUN method of farming - Sheer Total Utter Neglect. Let natural processes take over and what remains will be stronger plants more well-adapted to their micro-environment. When the whole farm is a wildlife habitat, natural predators will control pests and add vibrancy to the system. A restoration agriculture farm may take excess attention in the beginning years while developing waterways and planting but then plants can be strategically abandoned.

"Accept feedback," he urges. "There are no mistakes. Only feedback." What may look like a failure or problem is likely only an undiscovered opportunity. Apples, for instance, dislike weed competition at their roots. Shepard plants daffodils, comfry, and iris under his apples and ends up with strong fruit trees and a secondary cash crop of cut flowers, comfry greens, and iris bulbs.

Planning A Perennial Farm

To design a perennial farm, one must identify biomes and keystone areas, manage water and earthworks, establish edible woody polycultures, and build fences and access roads. Plan to capture all the water that falls through small ponds and swales. Typically these will follow a meandering or gently rounded pattern with slopes no more than 1%.

Polycultures include planting top story trees like oak, chestnut, pecan, black walnuts, and beech with smaller edible trees like apples, plums, peaches, and cherries underneath. Next come hazelnuts and berries. Fungi, animal forage, and herbs grow in the understory. These perennial edibles work with nature, are adaptable to many growing conditions, and designed to be coppiced for height control.

Shepard recommends planting an excess of trees to allow self-selection of individual trees that are suited to the particular location. He advises ditching the concept of large planting holes with exacting soil mixes and instead recommends using a hoedad tool to plant trees quickly.

In between woody polycultures, plant annuals. These alley crops can sustain a farm financially until perennial edibles are harvestable. In this way, agrofrestry creates future yields while increasing yields today.

Restoration Agriculture Results

When one grows in the Restoration Agriculture way, expect these outcomes:

  • 3-7 times more energy capture per acre
  • improved resource base
  • perennial plants that reproduce themselves
  • no plowing, cultivating, disease/pest treatment once established
  • year-round harvest of multiple yields
  • no erosion
  • non-toxic environment
  • beauty in diversity

Shepard concluded his talk by urging the audience to "Put your life to good use! Create oxygen, water, food, shelter and beauty!"

Soon, I will share our plans to put our life and land to good use following some of the Restoration Agriculture principles. I also will share more wisdom picked up at the OEFFA conference.