If Canning Jars Leaked But Sealed, Are They OK?

what to do when canning jars leaked

When I'm asked the same question by three different people in three days, I know it must be a hot topic worthy of discussion.

Here's the scenario: You've made stock, applesauce, or peaches in syrup. You carefully ladle it into hot jars with the recommended headspace and dutifully can the recommended length of time in a water bath or pressure canner. But when you pull the jars out, the headspace is different and it looks like the canning jars leaked! Or liquid is still flowing out of the jars as they are cooling! The jars do seal and you wonder - what happened? Are they ok to put in the pantry?

First of all, you are not alone. Every experienced canner has seen jars with uneven headspace - sometimes it's one jar in a batch or sometimes it's the whole canner load.

Why Headspace Changes

Often, vigorous boiling or steaming during processing forces a little liquid out. This is especially true if you overfill jars by a little bit, which is easy to do, especially when raw packing fruits that float.

When one raw-packs tomatoes, corn, beans, peppers, or peaches in water or syrup, the produce may absorb some liquid during processing. Alternatively, if air bubbles aren't released before adding liquid, they will rise to the top during processing. This ultimately lowers the level of liquid in the jar.

Most often, liquid or sauce is forced out during the cooling process when air escapes the jar before it is fully sealed. Applesauce is especially prone to this; the sauce is viscous enough that air bubbles get a little 'stuck' behind the thick sauce and burst through a little more violently than they travel through liquid.

What To Do About Loss Of Liquid

After your jars are fully cooled, check the seal by lifting the jar gripping the edges of the lid only. If you are able to pick up the jar, it's sealed and you may store at room temperature. Clean any leaked liquid off the outside of the jar with a hot soapy rag because obviously anything outside the jar is prone to spoilage.

Occasionally the seal on jars that lost liquid during processing or cooling will fail later when a bit of fat, liquid, or produce matter dislodges the seal. This has never happened to me personally, but it's possible. If you ever find an unsealed jar on the pantry shelf, DISCARD the food and do not use it. I test every seal before I open a jar.

Food that remains exposed or floats on the top surface of the canning liquid may discolor but is still safe to eat. Store jars in a cool, dark place to slow the discoloring.

How To Prevent Canning Jars From Leaking

  • Be sure to use very hot syrup or water when raw packing. If you're doing a large batch, it's ok to reheat the liquid during filling.
  • Remove air bubbles with a sterile chopstick or butter knife and add liquid to achieve the correct headspace.
  • Do not overfill jars.
  • Carefully wipe the rims of every jar before putting on the lid to be sure there isn't a pathway for liquid to escape.
  • Let jars cool a little (5-10 minutes) in the water bath after processing time ends and you turn off heat before removing them to the counter. My experience is that slower cooling results in less liquid loss, especially for applesauce.
  • Always let the pressure canner come to room temperature on its own. Do not use cold water, remove the weight or otherwise try to hasten this process. Not only can you invite steam burns by messing with a hot pressure canner, but the jars need to cool slowly to avoid violent air expulsions that result in liquid loss.

Have you experienced canning jar liquid loss? What did you do?
Homegrown Home-canned Salsa {Recipe}

homegrown salsa recipe Home-canned salsa. It sounds so simple and yet many people struggle to make something that's "just right". The first recipe I tried was too watery. The next was too bland and the third had a too-cooked texture.  These were all a disappointing use of homegrown tomatoes and peppers!

Then finally last year my friend Jenn (who also shared celery powder with me) passed along this recipe. It is thick, richly-flavored, and has a pleasing chunky texture.

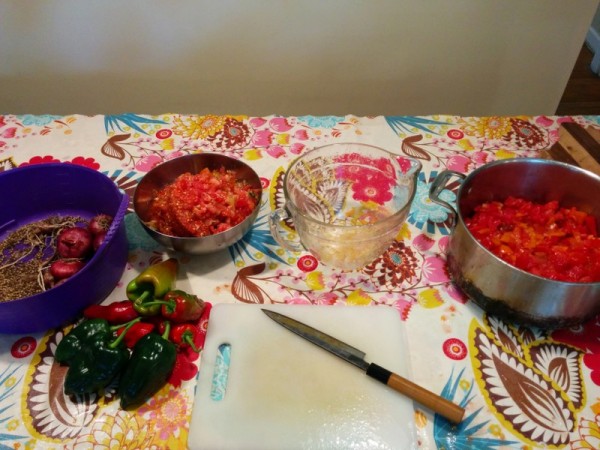
homemade salsa mise en place

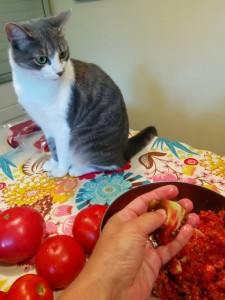
There are several tricks that make this recipe work. First is the preparation of the produce. I carefully remove the seeds and watery pulp with my thumb from each section of tomato and drop that into a bowl for the chickens. I chop the remaining flesh with skin on into a colander to drain away any further juice. I measure the tomato pieces into a large measuring bowl and then move on to chopping the peppers, garlic, and onion.

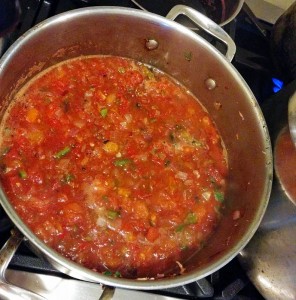
seeding tomatoes for salsacooking homemade salsa

Next up is seasonings. Dry spices like cumin and coriander add an aged, smokey flavor that differentiates this salsa from fresh pico de gallo. Our own touch is some of last season's homegrown and house smoked ancho peppers.

Two elements contribute to the perfect salsa texture: a quick cooking and processing time and the addition of tomato paste. Overcooked salsa has the taste and texture of tomato soup, which isn't what we prefer. Tomato paste (we can our own each year) thickens the salsa while adding a rich, dense tomato flavor.

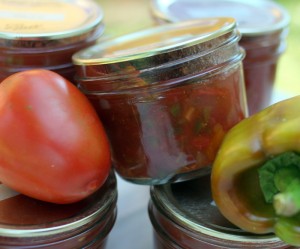
I like to can salsa in squat half pint jars manufactured by Kerr, found locally at City Folk's Farm Shop. The short and wide dimensions allow for dipping right out of the jar.

If you, like me, have been searching for the perfect tomato salsa recipe, try this one. 

Home-Canned Salsa

Makes: 10 half pints

canned salsa

8 cups chopped, seeded, drained tomatoes 2 cups finely diced red onion 1.5 cups chopped peppers (use a mix of sweet and hot peppers for a medium heat salsa) 6 cloves garlic, minced 1/3 cup lime juice 1/3 cup vinegar 1 tablespoon kosher salt 2 teaspoons ground cumin 2 teaspoons ground smoked ancho peppers 1 teaspoon ground coriander seeds 1 teaspoon black pepper 8 ounces tomato paste

1. Stir tomatoes, onion, peppers, and garlic in a large heavy-bottomed pot. Add in lime juice, vinegar, kosher salt, cumin, ancho peppers, coriander, and black pepper.

2. Bring to a simmer on the stove. Cook for 5-10 minutes until onions begin to soften. Meanwhile, heat 9 half pint jars in a boiling water bath. Wash rings and new lids in hot soapy water.

3. Stir in tomato paste and return salsa to a simmer. Taste and adjust seasonings if necessary.

4. Ladle salsa into sterilized jars. Fill to a head space of 1/2 inch. Center lid and tighten rings.

5. Process for 15 minutes in a boiling water bath. Remove from hot water, allow to cool completely, label, and store.

A note about canning salsa safely: Keep the proportions of tomatoes, onions and peppers to lime juice and vinegar consistent. This recipe keeps the ratios of pH tested recipes which rely on juice and vinegar to add acidity and balance the lower pH of onions and peppers. You can use fewer peppers and onions or spice up the salsa with additional dried peppers but do not increase the amount of peppers and onions or you might create a finished product without a low enough pH to be safely canned in a water bath.

Produce Your Own Produce Mural #projectfreelove

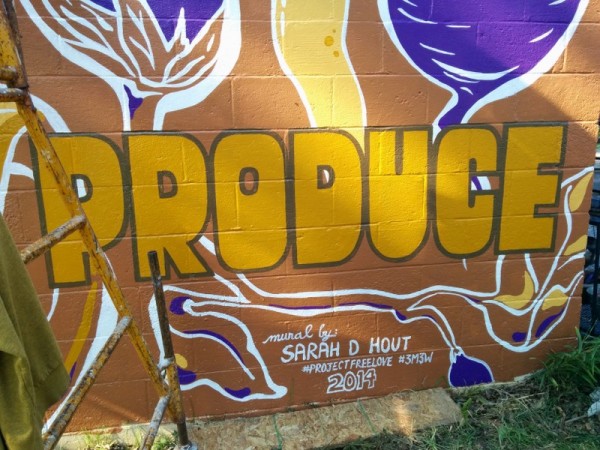
sarah hout mural signature A few weeks ago, we were given the most amazing gift. Sarah Hout, a professional muralist, chose our garage for her Project Free Love, a three free murals endeavor. She came over for a short interview during which I showed her the gardens and told her how much I love the victory garden propaganda style and the color purple. She turned those tiny bits of information into something incredible.

Mural Painting In Progress

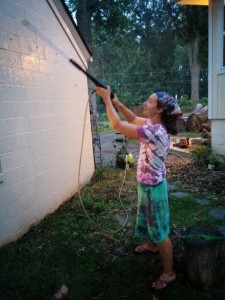
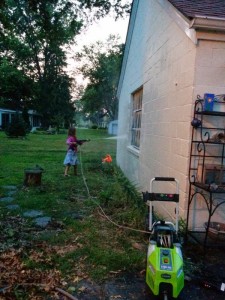
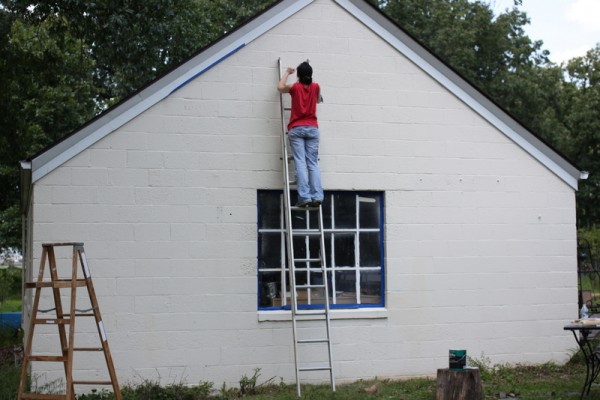
Before we'd even seen Sarah's final design, we power washed the garage as she requested. Have you ever used a power washer? It was so fun that everyone in the family took their turn blasting the dirt off the garage wall.
powerwashing mural wallpowerwashing mural wall (2)

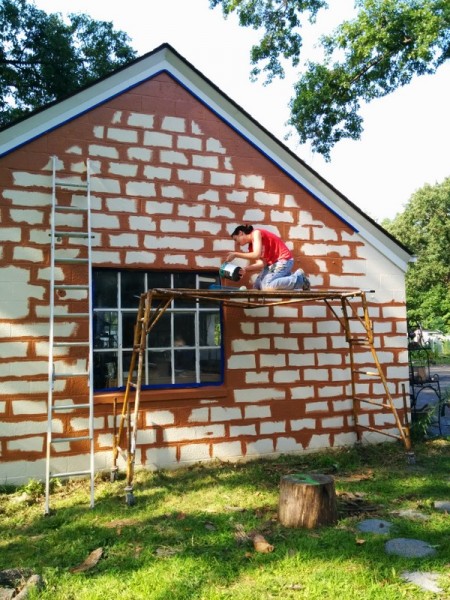
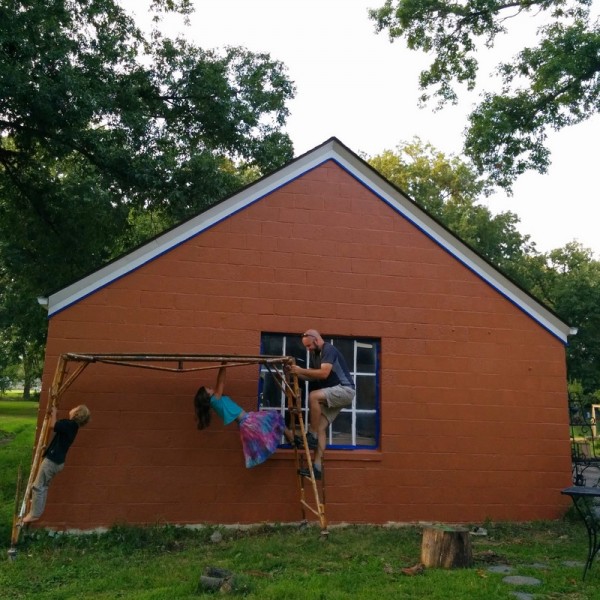
Then Sarah started work. On the first day, she painted the background and we fed her homemade pizza with homegrown toppings. (Making meals for Sarah wasn't a specified part of the deal, but when you're here working on my property, I will do my best to make sure you aren't hungry.)

blank garage wallbase coat on mural wall


scaffolding on mural wall

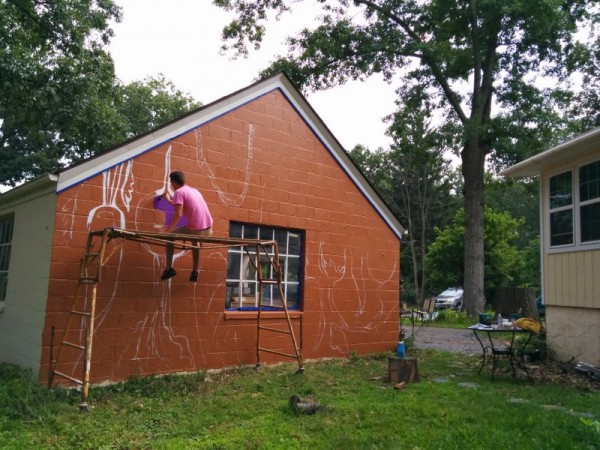
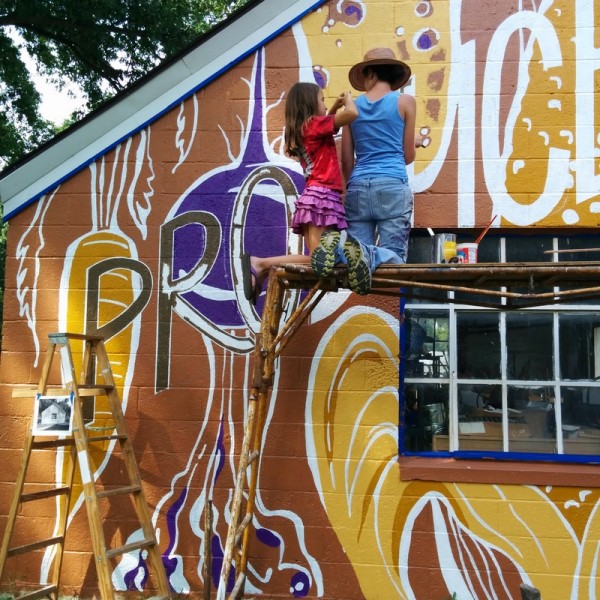
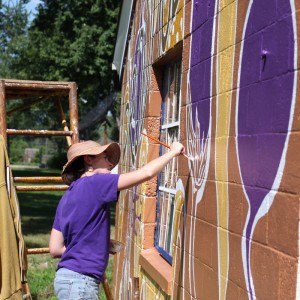
The next workday, two volunteers helped paint in Sarah's vegetable outlines. We found out that one of my favorite modern propaganda peeps, Joe Wirtheim of Victory Garden of Tomorrow, actually used to be Sarah's neighbor! His work definitely influenced the design of our mural. Lunch this day was homemade tortillas (recipe coming soon, we LOVE these) with curtido, beans, cheese, and fresh salsa.

volunteer painting mural

illustrating vegetables for mural

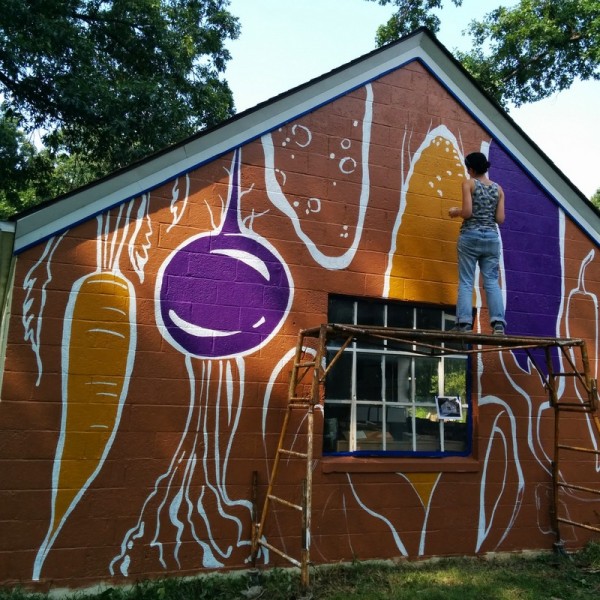
On the third workday, the brutal sun baked Sarah while she worked on details. Lil made a balm of aloe and toothache plant for sunburnt shoulders. I pitched in on the pepper and some potato details and made a quick stir fry for lunch.

child helping sarah hout

rachel tayse baillieul painting mural wallsarah hout muralist

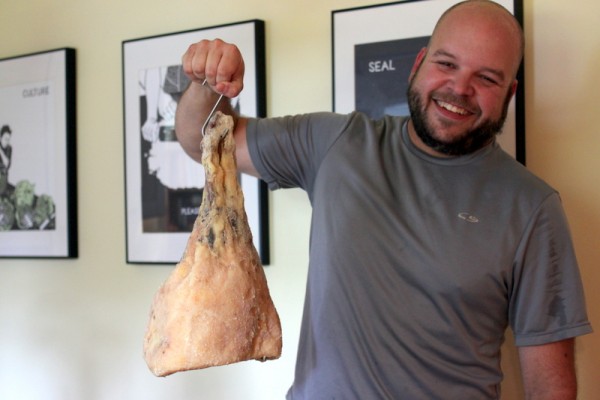
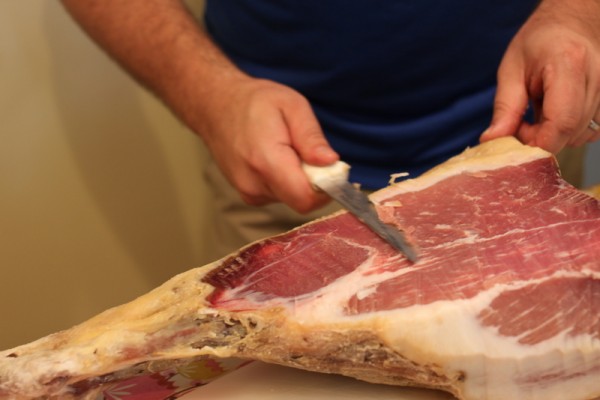
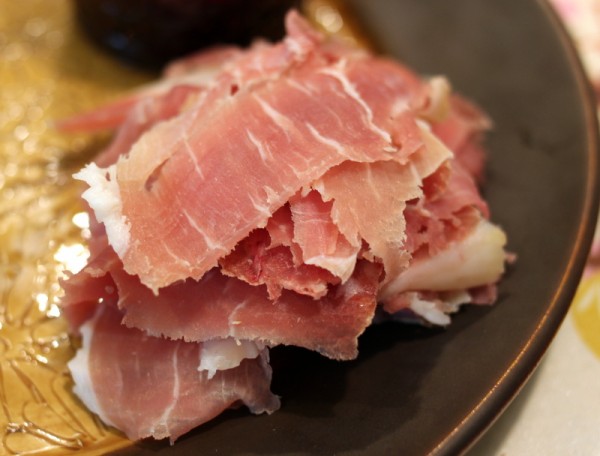
On the fourth workday, Sarah finalized the outlines and details. We made sourdough biscuits, sour cherry chutney (recipe coming soon) and our first successful dry-cured ham for lunch. Sarah signed her work, and presented us with the mural.  In the near future we'll have a time lapse video of the painting process to share.

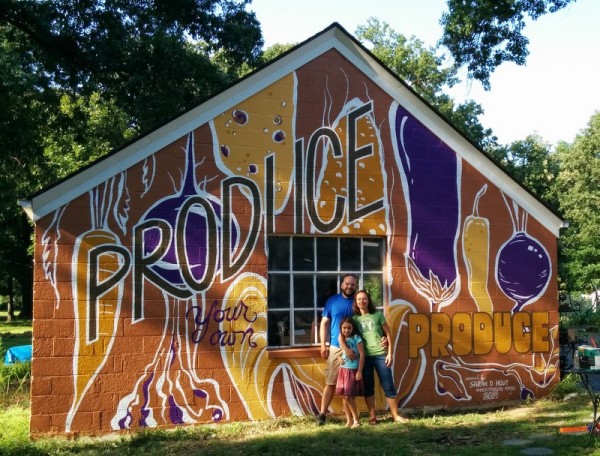
Finished Garden Mural

We're completely amazed. This design couldn't better represent our family - we're working hard daily to produce our own produce and encourage everyone to do the same.

finished produce your own produce mural

Check out Sarah's blog for a recap of how she felt about working with us. And stay tuned to our Facebook page for a time lapse video coming soon. We couldn't be happier with the mural or meeting this new friend who seamlessly understood our motives and appreciated our efforts. Thank you Sarah!!