Loggerhead and Flip {Cocktail Recipe}

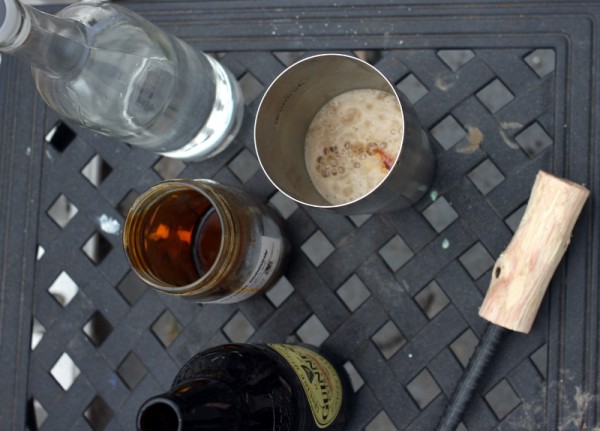
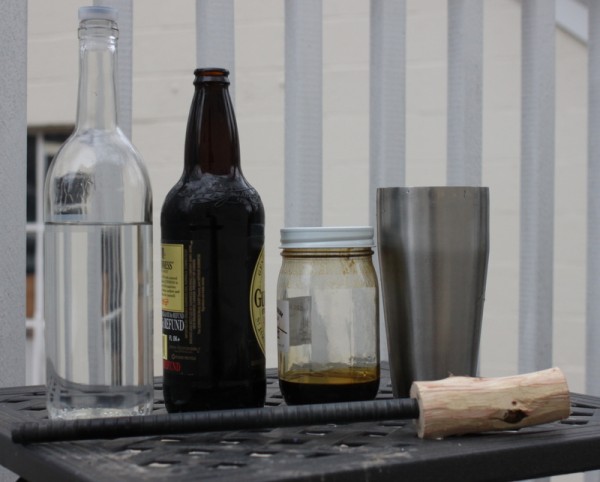
rum flip ingredients There may be only a few chilly nights left this season, so I'm going to cut right to the chase: before winter ends, make a traditional flip.

This historic cocktail was the most popular drink in taverns in Colonial America yet seems to be lost even in the current mixed drink renaissance. It combines the original American spirit, rum, stout beer, whatever local sweetener available like molasses, sorghum syrup, or maple syrup, and firey heat.

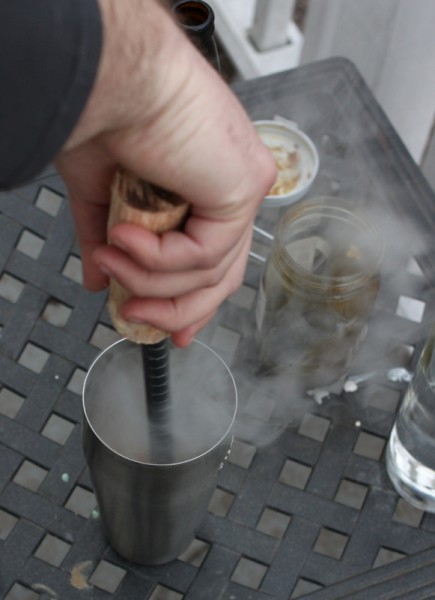
heating rum flip with loggerhead

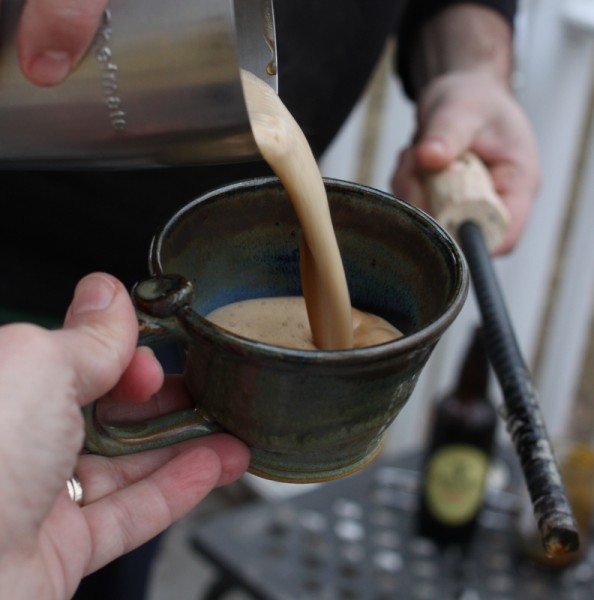
To heat the drink, bartenders use a loggerhead. This wooden-handled, blunt metal tool sits in a fire until red hot and is then plunged into ingredients in a pitcher, creating a fizzy textured, warm, highly alcoholic beverage. After too many rum flips, patrons might argue and brandish the heat element against each other, hence the phrase 'at loggerheads'.

Alex learned of the flip while reading And a Bottle of Rum: A History of the New World in Ten Cocktails. We had to make it at home.

The project started by making a loggerhead from a piece of hardware-store rebar and a branch. Because we have no wood stove in the new house yet, we used a propane torch to heat our loggerhead. A wood-fire-heated element would probably contribute ashes to the drink, which would certainly uphold tradition if not modern standards of good taste. The foamy, sweet, dark drink warms us on these last snowy days of winter.

pouring rum flip

But what about the modern flip cocktail, you say? The one with egg whites? Historical records show price controls on taverns that made the rum flip cost the same price everywhere. To distinguish themselves, barkeeps began customizing their flip with additional spices, cream, or, as was the case at a popular place in Boston, eggs. Sometime since then, we lost the heat and yolk, leaving the modern egg white flip.

Despite signs that spring is coming, surely there will be a cool night ahead where you wish for a strong hot drink like the flip. It could even be adapted with Irish whiskey and stout for a warming St. Patrick's Day beverage.

rum flip recipe

Rum Flip makes one quart-sized pitcher to serve four

heat-tolerant quart-sized or larger pitcher 3 ounces rum (white is traditional but any rum is fine) 2 ounces molasses, sorghum syrup, or maple syrup one pint stout beer, warmed to room temperature (bottle conditioned, not nitro-carbonated) loggerhead (fireplace poker is a reasonable substitute, as clean as you wish) heat source (propane torch, campfire, wood-stove)

1. Mix rum and sweetener in pitcher, stirring well to dissolve. 2. Pour in beer and stir again gently. 3. Meanwhile, heat loggerhead until red-hot. 4. Plunge loggerhead into pitcher. Have a towel handy to mop up any overflow. 5. Pour into mugs and drink warm.

Loving Lard - How To Make And Use Rendered Pork Fat

homemade pork lard recipeOh, lard. Mention the word and some people turn up their noses, remembering days of eating cookies that tasted like pork. Others are curious, having never eaten lard to their knowledge. And then there are those of us whose faces break into knowing smiles.

All About Lard

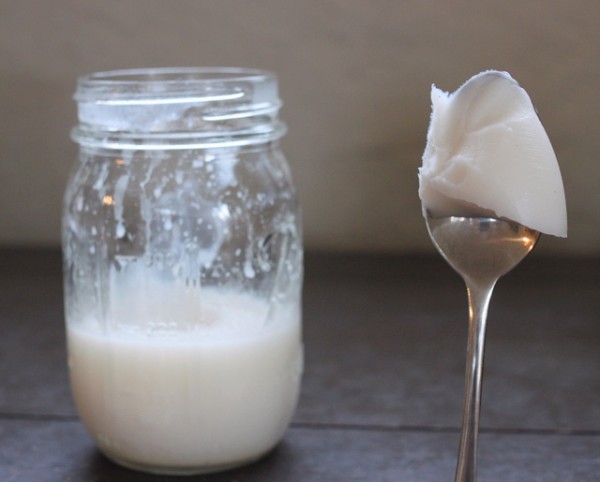
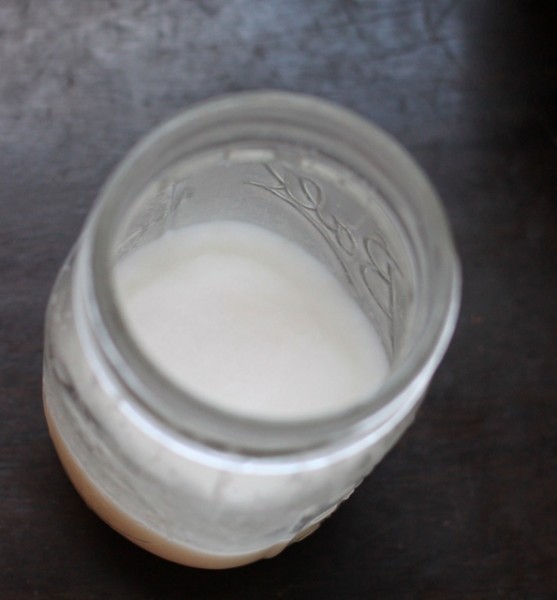
High quality lard is a pure-white fat. It remains solid at room temperature. It should smell only slightly porky, if at all, and that flavor bakes away when cooking.

Home-processed pork lard is arguably healthier than vegetable shortening because it doesn't contain trans or hydrogenated fats. It contains less saturated fat than butter and is 45% monounsaturated fat, one of the more heart-healthy kinds. Lard also contains vitamin D naturally.

Pay attention to lard labels if purchasing - some are hydrogenated to be shelf stable which transforms some of the good fat into trans fats. Others contain preservatives like BHT which you may want to avoid. I recommend buying directly from a local pork producer like Morning Sun Organic Farm.

How To Make Lard

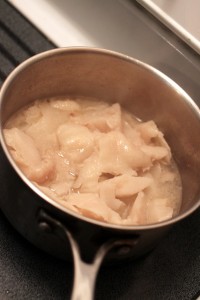
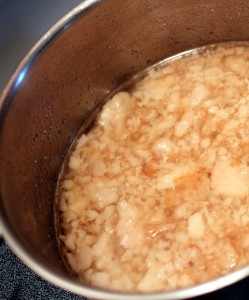
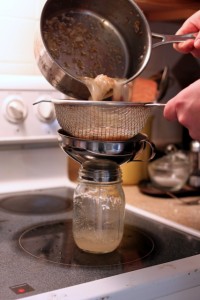
Start with high quality pork fat from around the organs (leaf lard) or body of the animal. When we recently slaughtered and butchered a Large Black pig from Six Buckets Farm, we ended up with 18 pounds of fat unattached to muscle cuts. Lyndsey, the farmer, was concerned that we might be upset with the excess fat, but I assured her we knew what to do with it. lard cookinglard with cracklinsstraining lard Set up a rendering pot, a heavy bottomed non-reactive lidded pot over an adjustable heat source. Some prefer to do this outside over a propane stove because the slightly porky smell can bother some folks. A crockpot set up in a garage or porch is another idea.

Add in your pork fat, ideally fresh and chunked into small pieces. Ours was frozen this time so we started the heat very low, breaking up the pieces as it thawed. Add a little water and the lid so the fat begins to simmer over low heat. You want the fat to melt out of any proteins that might hold it in place without burning those same proteins. Stir frequently to prevent sticking on the bottom.

In one to three hours, you'll have a pool of fat with some pork cracklins. Drain the cracklins on a towel and eat as a snack or on salad. Pour off the liquid lard into a non-reactive container like a mason jar. Some people stir in salt at this point to flavor and preserve the fat. Allow it to come to room temperature, cover, and refrigerate for up to a month or freeze for up to a year.

What To Cook With Lard

Lard makes the best pastry. Lard pie crust (I use Ruhlman's 3-2-1 ratio of  flour, fat, and water by weight with at least 30 minute rest in fridge) is flavor neutral and bakes into a flaky yet strong dough to contain fillings. Lard dough is very easy to work. Sometimes I mix lard 50/50 with butter because the butter flavor is desired.

You can pan-fry meat or vegetables in lard. It is a useful emulsifier in pates. Many traditional recipes like Mexican tamales and refried beans call for lard. Some chefs are even advancing the fat to be used as a spread like butter - whipped salted lard was part of a bread and spreads platter I ordered in October at Cleveland's The Greenhouse Tavern.

homemade lard in mason jar

Pork Lard 1. Start with leaf fat, back fat, or belly fat from pork. Cut into one inch pieces and place in a clean deep sided pot. 2. Add a little water to the pot, cover, and begin to heat over low heat. Stir frequently to prevent sticking. Continue until all fat is melted, one to three hours. Add more water as needed to keep fat from browning. 3. Cook as long as desired to crisp up cracklings (delicious on salad or as a garnish!) and then strain through cheese cloth or a paper coffee filter. 4. Pour lard into clean glass containers and allow to cool to room temperature. You may add salt to taste while it is still liquefied  Refrigerate and use within a month or freeze for up to a year.

Do you use lard? Do you make it?

PS. Like Harmonious Homestead of Facebook to see photo outtakes featuring a certain lard lovin' kitty, Moonshine.

Bison Jerky - A High Protein Snack {Recipe}

dried bison jerky recipe

Jerky. This unattractive but nutritionally dense snack is something my family often neglects for months at a time. Then we'll remember and binge on homemade meat treats again.

Jerky appeals to the current paleo, low-carb, and low-fat diets. It's also free of most allergens and simple to make without extra equipment; we made it for many years in the oven before adopting the neglected dehydrator living in my parents' basement. Like many good things, jerky takes some time but not much active interaction. You simply cut the meat, marinate overnight, and dry the next day.

Lower fat meats work best for jerky. Turkey jerky, made from a whole turkey breast, is one of our favorites. This time around we used bison from Ohio Bison Farm for a beefy flavor.

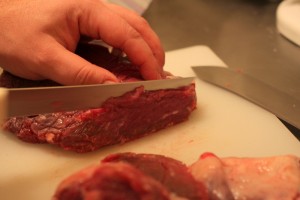
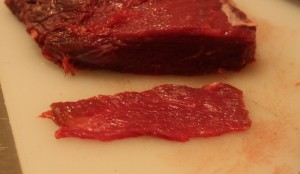
slicing bison for jerky bison sliced for jerky
Cutting the meat is the most skill-intensive step. The goal is evenly thin pieces that will dry in the same amount of time. Be patient and unafraid to use a meat tenderizer if necessary.

Whether you cut with or against the grain is up to you. Cutting with will result in a chewier product, against is more tender but may fall apart in a finely grained cut of meat.

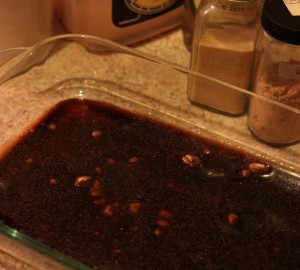
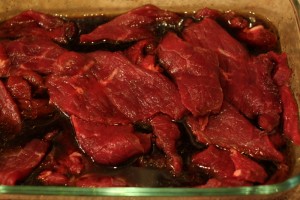
jerky marinade bison in marinade
The marinade does contribute to preservation but is not critical. You can make totally unseasoned jerky if you wish. We find that a balance of acid from vinegar or lemon juice, salt, a small bit of oil, and spices makes the best flavor. The two recipes below are ones we honed after a decade of experimentation. Feel free to tweak them to your tastes or ingredient availability.

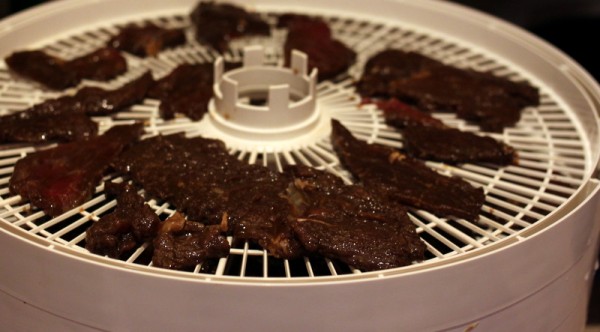
bison jerky dehydrating

Dehydration provides the preservative effect. The USDA recommends starting the drying process by heating the meat to 160 degrees F and then dehydrating at 140 degrees or the lowest temperature your oven will allow. Our dehydrator has a maximum temperature of 145 degrees F which is what we've always used.

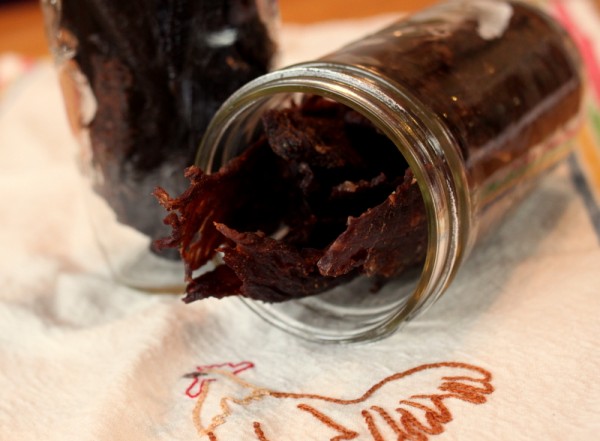
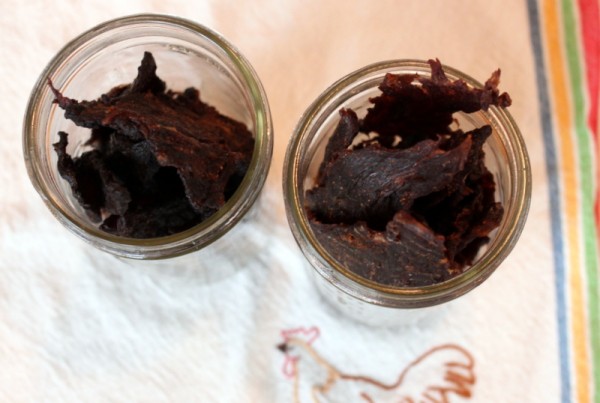
Store jerky in a glass jar or other air-tight container in a cool dry place like a kitchen cupboard for up to two months. You may also freeze jerky.

The whole family will be at the Clintonville Farmers' Market this Saturday, January 26, from 10:30 - 12:30 drying and sampling jerky. Stop in to shop for local foods and talk to us!

homemade jerky in jars

Bison Jerky Makes about 30 large pieces to fill quart jar Time: 2 days, 30 minutes active

1 pound bison roast per marinade recipe below; our four layer dehydrator can fit 2 pounds

Teriyaki 1/3 cup soy sauce (use wheat-free for a gluten-free product) 3 tablespoons rice vinegar 2 teaspoons honey or granulated sugar 2 tablespoons water 10 grinds black pepper 1 teaspoon ground dried ginger 1 teaspoon garlic powder 1 teaspoon sesame oil 1 tablespoon olive oil dash Sriracha (optional)

OR

Down East 2 teaspoons Old Bay seasoning 1 tablespoon honey 1 tablespoon lemon juice 1 teaspoon salt 1/2 teaspoon garlic powder 1 tablespoon olive oil 1/2 teaspoon paprika 1/2 teaspoon chili powder

1. Slice bison roast into very thin (1/8 inch) pieces. Pound uneven pieces thin with a meat tenderizer. 2. Mix all ingredients for one of the marinades and place in non-reactive glass or plastic pan. 3. Add jerky to pan, mix and cover. Marinate in refrigerator 24 hours. Stir once during this resting period. 4. Place meat in a single layer in a dehydrator or on cooling racks settled on cookie sheets. Dry at 145 degrees F or in a very low oven (as low as yours goes, or 200 degrees F with the door ajar) for 5-8 hours or until jerky is dry throughout and yields no moisture when broken in two. 5. Allow to cool. Store in an airtight container for up to two months.

Gingerbread: House for the Kids,Crisp Cookies for Adults {Recipe}

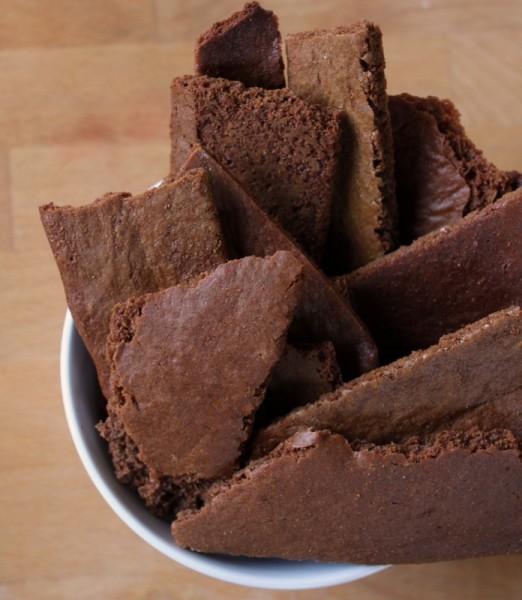
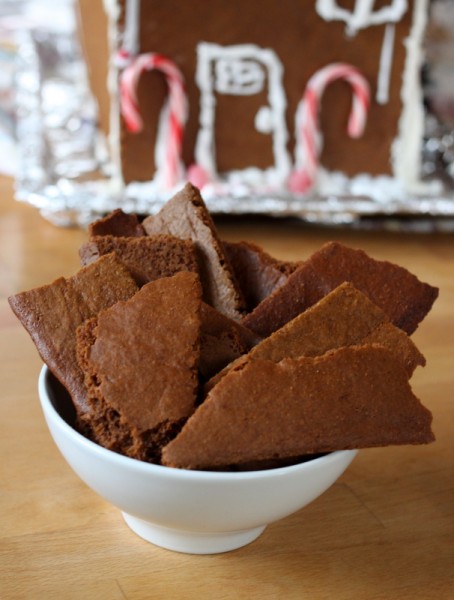
gingerbread crisp cookies recipeA few days ago, I shared some of our holiday crafts. I told you that my pastry-chef sister Heather baked gingerbread house pieces for Lil to decorate. Our kitchen remains sticky from the amount of frosting and candy used on that house. What I didn't reveal are the ridiculously good spoils from the house-making: Heather gave us all the trimmings from the gingerbread walls. Rough in shape, but generally slender, these perfectly crisp cookies beg to be dunked in coffee or tea. I eat a few pieces a day for a mildly sweet, spicy, crispy snack.

Sugar-coated house for kids and refined cookies for the adults - what a sweet holiday tradition!

gingerbread house recipe

Crisp Gingerbread
Yield: 1 # 12 oz (enough for a good-sized gingerbread house or approximately 4 dozen cookies)
4 oz (1 stick or 1/2 cup) unsalted butter
4 oz (~ 1/2 cup) brown sugar
6 fl oz ( 1/2 cup) molasses
1 whole egg
12 oz (~2 2/3 cup) all purpose flour
1 teaspon baking soda
½ teaspoon salt
2 teaspoon ground ginger
1 teaspoon ground cinnamon
½ teaspoon ground nutmeg
½ teaspoon ground cloves
parchment paper
    1. Cream butter and sugar until light and fluffy
    2. Add molasses and egg, beat to combine well
    3. Stir together remaining ingredients in a separate bowl
    4. Gradually add dry ingredients to wet, beating until just blended (Dough will be very wet.  If making for a gingerbread house, you may want to add extra flour to enable an easier roll out)
    5. Gather into a disk, wrap with plastic, and refrigerate at least 1 hour (for easier rolling, freeze dough and then roll out as soon as pulling from the freezer. It will still be a wet dough, but easier to roll out)
    6. Roll out to ¼ inch, using as much flour as necessary for easier rolling
    7. Cut with floured cutter, or bake for gingerbread house **see note
    8. Bake on a parchment-lined cookie sheet at 350 until lightly browned and feels barely firm when touched
**To get clean lines for gingerbread houses:
  •  First make a template out of cardboard or firm paper.  After freezing and rolling, bake before cutting out the pieces (this will work well if you roll the dough between pieces of parchment.  You can then just pick up the parchment paper, rather than trying to move the fragile dough).
  • Bake partially, until the gingerbread is golden, but still slightly soft to the tough.  Pull from the oven and let cool for 3-5 minutes, or until you can cut the dough without tearing it.  Place the template on top of the dough and deeply score the desired shape with a very sharp knife (I like using an exacto knife).
  • Let the dough cool entirely, then remove the excess gingerbread from the shape you cut out (wall, roof, etc.), you may have to cut the lines again, but it should be fairly easy to remove the excess gingerbread.
  • After removing any excess, return the shape to the oven to dry out one more time.  You will want the gingerbread to be very firm before taking out of the oven.
  • Let cool entirely and then assemble the house with a very thick royal icing (1 egg white whipped with enough powdered sugar to make a thick spread; add a splash of vinegar, or lemon juice, to help it to harden easier).  Decorate as desired.
The Pearl gingerbread house
PS. If you want to see some professional creations, I recommend the gingerbread house display at Easton Center on the second story of the mall near the AMC theater. Heather worked on The Pearl recreation with the Cameron Mitchell Catering group, pictured above.
PPS. I finally have a new laptop! After two months of scavenging time on shared computers, I have one of my own! It's taking a little time to set up all my preferences, but my first impressions of the Lenovo Twist are excellent.

Homemade Bitters {Recipe}

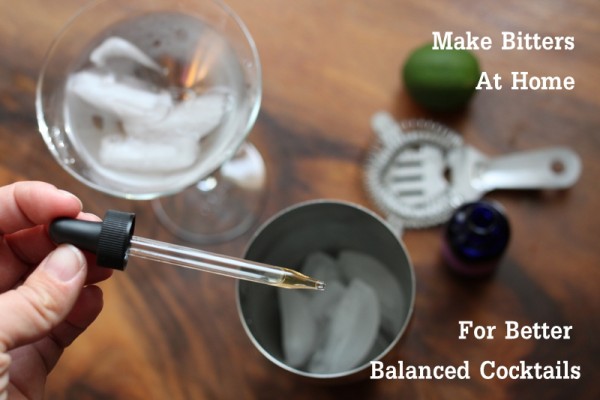
homemade bitters recipes Cocktail drinkers know that a Manhattan isn't a traditional Manhattan without Angostura bitters and one can't make a Sazerac without Peychod's. But home mixologists might not know how simple and fun it is to make bitters and home.

What are Bitters?

Bitters are strong herb and spice alcohol infusions including at least one bittering agent like cassia, wormwood, quinine, citrus peel, or gentian root. A drop of flavorful bitters is the strong guest that holds the door open for the remaining sweet and sour seats around the table.

Bitters were born of the ‘tonic’ movement, a period in the mid 1800s - mid 1900s where people claimed to cure all with drinks flavored with herbs and spices. They were commonly consumed neat or over ice as digestifs. A culture of secret recipes and labels listing the afflictions for which each bitters were recommended surrounded the compounding craze.

Now, bitters are most commonly used in cocktails. Bitters support a drink with complexity that is notably absent if the mixologist neglects to add a drop or two. Creating bitters at home is one way cocktail makers can customize a drink recipe.

How to Make Bitters

1. Mix spices into alcohol. 2. Allow to age for up to three weeks at room temperature, tasting along the way to determine when the flavors reach your taste's desired strength. 3. Strain out solids and reserve alcohol. Dilute with a slight bit of water if desired. 4. Bottle and store in a cool dark place.

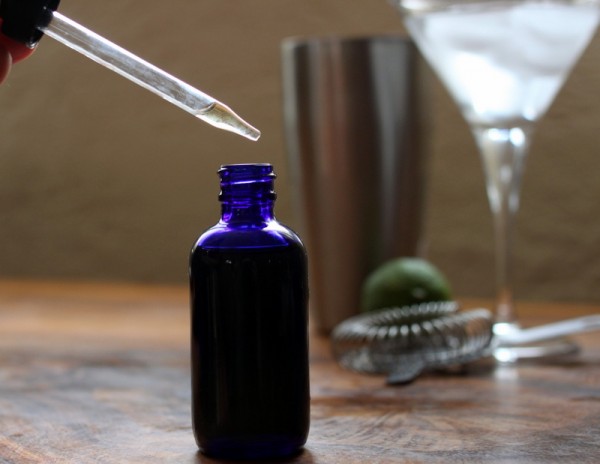
Because one only uses a few drops of bitters at a time and some of the ingredients are expensive, it is best to make very small batches. Organic bitters spices are available locally in tiny quantities at Clintonville Community Market and online through sources like Mountain Rose Herbs and Frontier. I like to store mine in dark glass bottles with eye droppers, available at Amazon and Mountain Rose.

homemade bitters in blue glass jar

Bitters Recipes

I created and tweaked the recipes below to my taste. Participants in my recent Infusions and Bitters class at Franklin Park Conservatory enjoyed them and many left planning to make bitters as gifts this holiday season.

Cocoa Bitters 1 teaspoon cacao nibs ¼ teaspoon sarsaparilla ¼ teaspoon orange peel ¼ teaspoon wild cherry bark 1 allspice berry 1 inch length of cinnamon stick ½ cup rum

Turkey Day Bitters 2 inches fresh rosemary 2 inches fresh sage ¼ teaspoon pink peppercorn ¼ teaspoon gentain root ¼ teaspoon juniper berries 150 mL vodka

Rachel’s Bitters 3 allspice berries 1 star anise ¼ teaspoon each pink peppercorn, gentain root, wild cherry bark, lemon peel, sarsaparilla 150 mL vodka

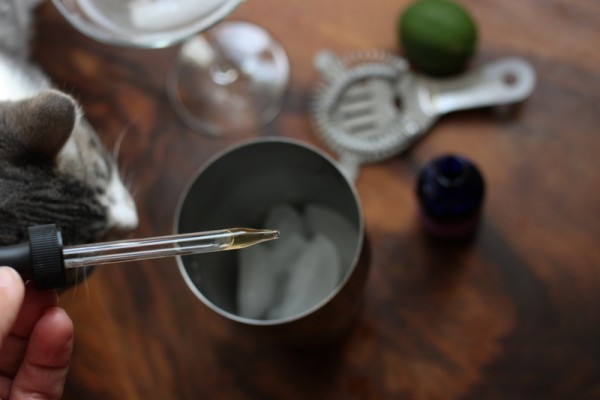
kitty likes bitters

Even our kitty Moonshine was interested in bitters as I was photographing! Try making bitters yourself and see what flavor magic you can create.


Local notes:

1) I run a monthly co-operative buying group for Frontier herbs, spices, bath and body supplies including bitters ingredients and bottles. If you live in Columbus and are interested, contact me.

2) I am hosting a Gifts In Jars event at City Folk's Farm Shop, 4760 N High St,  this Friday November 23. I will have everything you need to make and label a beautiful Weck jar of hot cocoa mix, bath foam, or culinary herb salts with custom flavors. Each jar costs $6, will take about 10 minutes to make and the mess stays out of your house. Drop in anytime between 11 am - 2 pm this Friday.

Turkey Day A Week Away

Howdy! My workhorse of a five-year-old laptop bit the dust last weekend. It's where I did all my writing and editing work. A Lenovo Twist (squee!) is on order to replace it but in the meantime, blogging on shared family computers is a little difficult. In the meantime, a few thoughts on the upcoming holiday.  

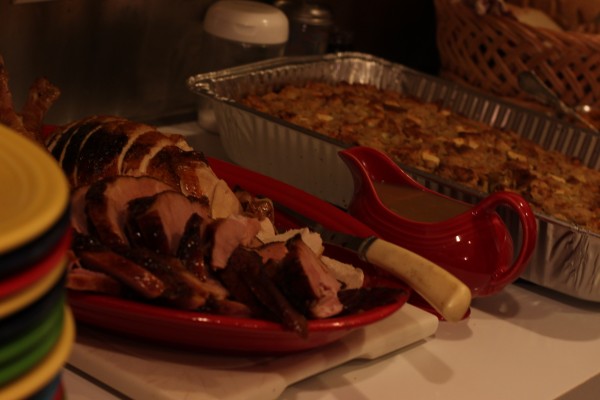
turkey day spread

Thanksgiving Day is a week away. We are hosting this year. I can't wait to fill our spacious new house with family and food!

Our Turkey Day menu will include many of these tried and true favorites of my family:

Brined Roasted Turkey (don't forget to save the bones for turkey stock)

Maple Vinegar Sweet Potatoes and Kale

Parsnip Fries

Apple Fennel Slaw

Cranberry Sauce (make extra to can!)

Cranberry Bread

Pie with Sassafras Crumble Topping


What are your Thanksgiving plans? What will you contribute to the feast?

Sassafras Bakery's Delectable Crumble Topping

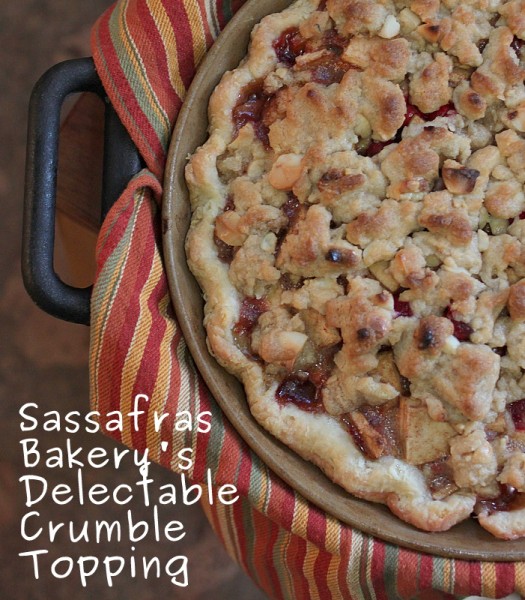
sassafras bakery crumble topping recipe Lately I have been in a pie rut. My crusts have been tougher than I like and I suspected it had something to do with my switch to making pie crust with 100% butter fat. Compared to shortening, butter is arguably more healthy (because it contains healthy acids and vitamins) and easy to buy or make from local cream. I also much prefer the flavor of a butter crust to anything else. I could switch to lard and have made and used lard on occasion, but it isn't something I have on hand all the time.

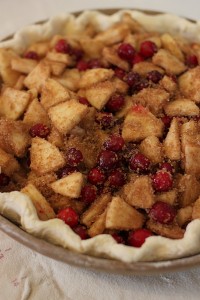
I finally solved the butter crust riddle when I tested my theory that a thicker crust would correct butter fat's tendency toward toughness. The cranberry apple pie pictured above has a double crust recipe rolled thickly. The resulting crust is tender yet holds up to a fairly wet filling. It was neither mushy nor unyielding to a knife.

What placed my pie in the realm of perfection, however, is all in the topping. AJ of Sassafras Bakery generously shared her recipe with me on Twitter. Once I tested it, I asked for permission to publish for you and she agreed. Meet AJ and learn more secrets at her Buttercream-Decorated Sugar Cookies class December 1 and/or Art of Pie class December 8 at Franklin Park Conservatory.

crumble pie recipeapple cranberry pie

I made AJ's crumble with Hawaiian macadamia nuts and smothered it on top of cranberries and apples because those are the ingredients I had on hand. I know I'll try it with other nuts and fruits as the seasons turn - I can almost taste a pear pie with pecan crumble topping and peach with walnut. Play with this recipe and let me know what combinations you love! Sassafras Bakery's Delectable Crumble Topping Makes: Topping for 1 9-inch pie Time: 10 minutes preparation, 30-45 minutes cooking

2/3 cup raw nuts (macadamia, walnuts, pecans suggested) 1 stick (1/2 cup) unsalted butter 1/2 cup white granulated sugar 1 teaspoon ground ginger 1/2 teaspoon ground cinnamon 1/4 teaspoon salt 1 cup all-purpose flour

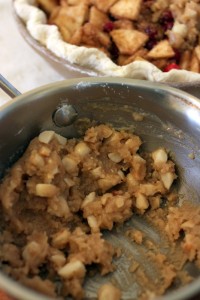
1. In a small saute pan, roast nuts over medium heat. Stir frequently and watch/smell carefully. As soon as nuts are slightly browned and smelling nutty, remove from heat. 2. Meanwhile, melt butter over low heat in a small sauce pan. 3. When butter is melted, add remaining ingredients and stir. Remove from heat. 4. Add nuts and stir to combine. 5. Spoon or use hands to place topping over a single-crust fruit-filled pie. You may not have complete coverage and that's ok. 6. Place a round of aluminium foil just smaller than the top of the pie on top to prevent burning. Remove foil five to ten minutes before cooking is complete to brown the top. 7. Allow to cool at least one hour before slicing.

Fast Flavor: Herb-Infused Oil

herb infused oil Often the simplest things can make the biggest differences in a recipe. A dash of cocoa powder in mole sauce or a clove of garlic in mashed potatoes elevate the dish from everyday to gourmet.

Such is the case with herb-infused oil.

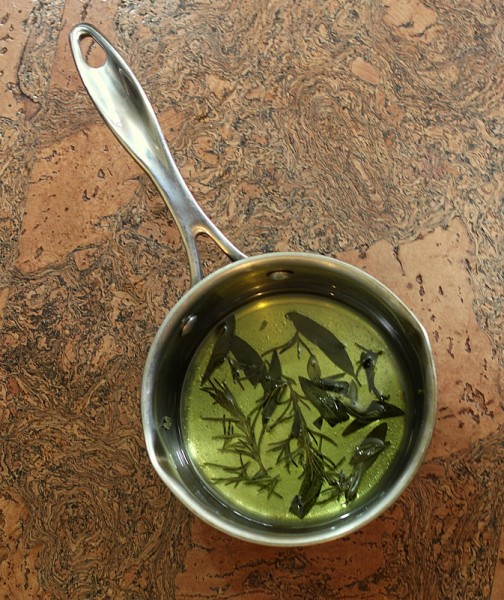
Start with a high quality oil, such as extra virgin olive oil. Add a handful or two of fresh herbs and heat the oil gently for a few minutes. In that time, the herbs give over their flavor to the oil. Cool, strain out the herbs, and add a luxurious layer of flavor to salad dressing, sauces, or any recipe needing an herbal boost.

I used the pictured rosemary and sage oil to make a white bean dip. If I had used the herbs raw, the texture of the dip might have suffered, it would have turned an off-green color, and the pungent herbs could have overwhelmed the eater. Instead, the autumn-flavored oil heightened the spread from something mundane to a distinctive accompaniment to a crudite plate.

Fast flavor, short post. Try it!