Marvelous Mint {Wordy Wednesday}

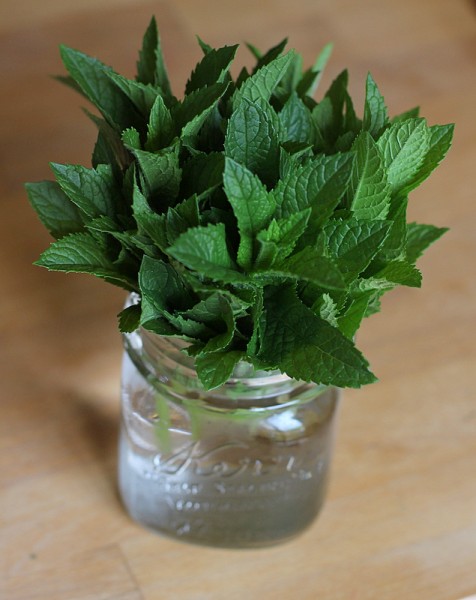
mint in canning jar Mint is a weed by any definition. Many gardeners even consider it invasive - the stuff will fill a space and beyond.

backyard mint patch near house

Our patch resides in a bed alongside the house bordered by the sidewalk. For the most part, this contains the spread and last year oregano actually overtook some of the mint zone.

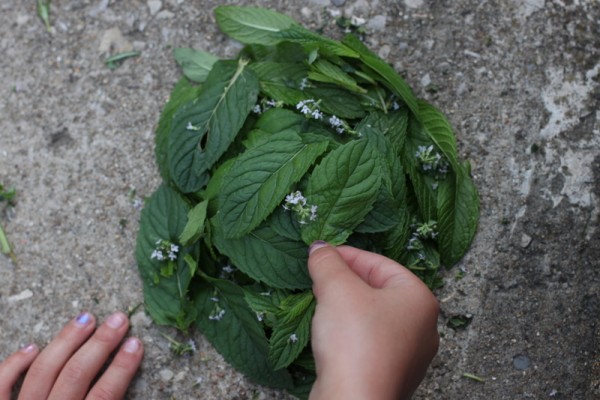
child's decorative mint pileWe "tend" (mint actually requires no work) our mint madness because we love the herb. Lil eats the leaves fresh like salad greens and makes them into nests and garden sculptures.

mint mojitoI harvest fresh leaves frequently for drinks and dessert garnishes. At least once a year I fill the dehydrator, crushing the dried leaves for tea.

When mint flowers in late summer, bees and other pollinators 'sup on the nectar while my family enjoys the petite purple blooms.

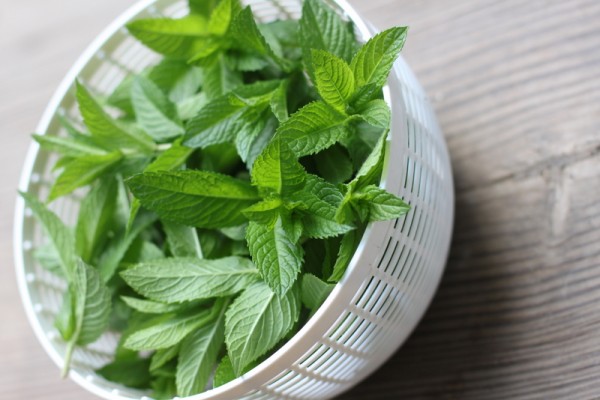
fresh mint in salad spinner bowlDespite it's overgrowing habit, I'm mad for mint.

Do you grow mint? If so, how do you enjoy it?

Forcing Bulbs with Kids {Lesson Plan}

Every year I force bulbs into blooming to brighten the dull days of winter. Alex delights in the 'dominance over nature' implied by forcing but Lil and I just love watching things grow. This year, our bulbs became a science project for Lil.

child measuring amaryllis bulbLil chose several paper white narcissus and one amaryllis bulbs from our favorite local nursery, Oakland Park. Fancy-grade amaryllis can be very pricey but the $6 version thrill kids just as well as the unusual and expensive bulbs.

We set up the bulbs in little pots and jars around our dining room with south facing sun. Lil chose three that we would study.

child graphing height of flowers

We worked together to make a graph that would measure the height of the bulb. We labeled the x-axis with 'date' and the y-axis with 'height in centimeters'. We decided to measure from the top of the round part of the bulb and recorded our first height. Lil chose three symbols to represent the three different bulbs so we could record them all on the same graph.

Every two or three days, Lil measured and recorded again. After one week we had to add a second sheet of graph paper for the ever-increasing height of two of the bulbs.

In two weeks, two bulbs had bloomed and reached their maximum height. We thought we had a dud in the third bulb but now, three weeks after the forcing began, the third bulb is growing.

I used a similar set of bulb activities to teach measuring, estimation, and natural science to a class of second and third graders when I worked for Torah Day School of Virginia. They loved watching their individual bulbs grow, though we all agreed that twenty blooming paper whites in a room created an overwhelming smell.

Below, find a basic lesson plan for anyone who is unfamiliar with forcing bulbs and might want to do this with a group of children.

child measuring amaryllis bloomforcing bulbs science lesson plan

[print_this]

Forcing Bulbs Activity

Age: 6-10 years old Time: two weeks divided as 1 30-minute set up, 1 30-minute conclusion, 10-minutes every two-three days Objective: Gain experience measuring, estimating, and graphing. Observe parts of a plant and bulb growth.

Materials: 2-4 paperwhite or amaryllis bulbs per individual or small group of 2-3 students; bulbs should be specifically labeled for forcing, i.e. they have been exposed to very cold temps for at least 3 weeks. one half pint jar or other container per bulb sterile peat moss (for amaryllis) toothpicks graph paper (print your own here) foot-long ruler bamboo stake and twist ties (optional) pencil with eraser

Procedure: 1) Use toothpicks to suspend bulb just under the top of the jar or container. The thick base of the bulb should be slightly submerged in water when you fill the jar. For amaryllis, plant in a pot of peat moss with the skinny top well out of the soil.

2) Fill jars with water and water amaryllis pot.

3) Set up a graph with date along the x-axis and height in centimeters on the y-axis. Allow space for at least 14 days and 70 centimeters.

4) Use foot-long ruler to measure the initial height of all bulbs. Choose a consistent base from which to measure which might be the emergence of the white tip out of the brown bulb.

5) Every two or three days, measure height and record on the graph. Water when bulb is no longer touching water or soil is dry. Optionally, ask children to record their observations in a log for every measuring date.

Questions to pose: What is happening to the bulbs? Look on the top, the bottom, the sides. What are the parts called? Reference this bulb anatomy diagram as necessary. What do you think will happen next? How much do you think this bulb will grow in the next few days? When do you think it will bloom? What makes you think that? Which plant has grown the most? Which grew fastest? Use student generated graphs to answer.

6) As the plant becomes very tall, insert a bamboo stake in the jar/pot and use twist ties to stabilize if necessary.

7) Conclude by asking students to draw, verbalize, or otherwise express what they learned.

8 ) Enjoy the blooms!

[/print_this]

Are lesson plans something you would like to read more often? If so, what additional info do you need or what is extraneous?
Backyard December 3, 2011 {What's Growing}

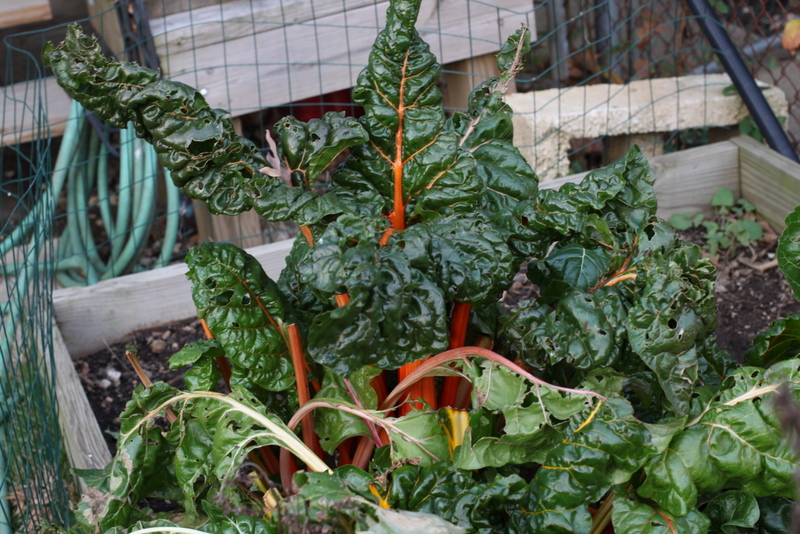
swiss chard in winter

messy winter greens garden mustard greens self seeded

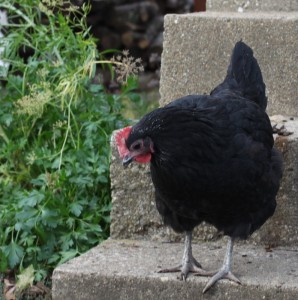
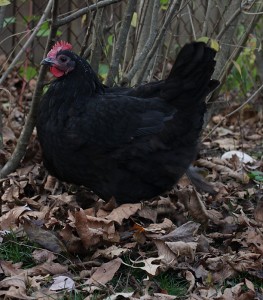
black australorp backyard chicken black australorp chicken digging in leaves

city sunset columbus ohio

Who says a late autumn garden is dull and brown?

Ours is hanging on to some color with rainbow swiss chard and greens, some of which self seeded when I neglected to pull the flowering mustard green plants. Austra the Australorp chicken regrew her jet-black feathers after molting and her comb is starting to redden up. On yesterday's unseasonably warm evening, the sunset was full of bright hues too.

Surely the color will fade or be covered with white snow soon. In the meantime, I am enjoying every bit of intensity.

What's growing in your neck of the woods?

Growing Sesame

Every year I commit to growing something completely new to me. This year, that distinction went to sesame.

sesame seed flowers sesame flowers
I sprinkled seeds, liberated from Franklin Park Conservatory, in rich soil in mid May. They sprouted and grew to three feet tall. A string of pentagonal buds formed into sweet white flowers. Below the flowers, strings of five pointed pods grew around the stem.

The pods are swollen and dark green now. In time they will dry to brown. I'll pluck the pods from the plant and shake out the dry seeds for eating or saving for next year.

I imagine the harvest of sesame seeds will be minimal, yet I will certainly plant sesame again. It is a tall attractive addition to a flower border and an unusual edible to tuck into sunny spaces.

Are you growing anything unusual this year? How's it going?

Home Pickled Cornichons {Recipe}

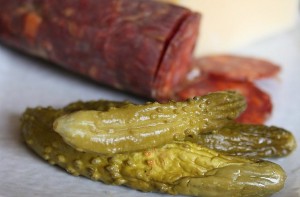
home pickled cornichons recipeMmmm...cornichons. Oh...gherkins. I like to say your names. I love how your vinegary taste and crunchy texture excite the palette, especially in between bites of rich charcuterie. The tiny cucumbers needed to make cornichons are difficult to find raw. To fulfill my homemade pickle desires, I did what any self-respecting homestead would do: grow my own.

I started with Parisian Pickling Cucumber seeds from Seed Savers Exchange. Last year the plants grew a little and produced just enough cucumbers for a single jar of cornichons before rust withered the plant away.

This year, I planted six seeds from the same packet our sunniest compost rich raised bed. The plants are ten feet long, trellising on anything that stands still, and covered with hundreds of yellow flowers.

Each flower matures into a bitty cucumber overnight. Given another 24 hours, the cucumber is perfect for cornichon making. If left un-picked, the cucumber grows to 8-inch long relish-making size in another 24 hours. This rapid development seems magical, as is the camouflaging effect of all those green leaves hiding the cucumbers.

I pick off the correctly sized cucumbers daily and store them in the fridge. When I have 8 to 10 collected, Lil and I wash and pickle them with this simple recipe. Pickling is great for young cooks because they can stuff the jars and count the spices. If all goes well, we will have a stash of jars in the larder before winter.

I created this recipe based on several versions I found in cookbooks. It is tart but not too tart and rich with spices. Many recipes call for salting the cucumbers overnight and rinsing them to ensure a crisp pickle. Because these babies are so tiny, I skip this step and they are plenty crunchy for me. If you have access to fresh grape leaves, tossing in one per jar is reported to help the texture of pickles.


[print_this]

Homemade Cornichons for each half pint jar

2 tablespoons kosher salt 1 cup white vinegar 1/3 cup water 5-8 whole 2-4 inch cucumbers, washed thoroughly with spines rubbed off 1 clove garlic, peeled 1 small bay leaf 1/2 tablespoon pepper corns 2 whole cloves 1 bay leaf 1 fresh grape leaf, washed, optional

1. Heat salt, vinegar, and water in a pot over medium heat until boiling. 2. Pack cucumbers into a sterilized jar with peeled garlic clove. Sprinkle spices over cucumbers. 3. Pour boiling vinegar brine into the jar, leaving 1/4 inch head space. 4. Wipe rim and place new lid on the jar. Finger tighten a ring on the jar and place in a hot water bath. 5. Boil in hot water for 15 minutes. Remove from water bath and allow to cool to room temperature.

[/print_this]

Added to Simple Lives Thursday 53 and Punk Domestics.

Neglected Cucumber Relish {Recipe}

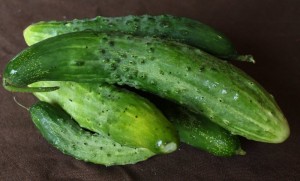
too-big pickling cucumbersI am a mad woman harvesting Parisian pickling cucumbers every morning and night. I want them at exactly 2-3 inches in length to make into cornichons. Too small and they aren't worth processing. Much larger and the skin is bitter. cucumber relish recipeBut try as I might, little cukes camouflage themselves under umbrella green leaves. Seemingly overnight, they turn into big honkin' cucumbers. They can't be eaten raw and will not make pleasant pickles with thick sharp skin.

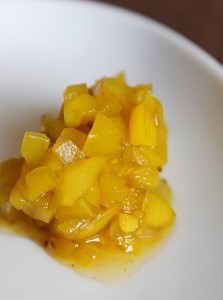
I enjoyed this cool pallete cleanser between bites of homemade hot dog (recap of the hotdog making fiasco tomorrow), though I'm not typically a relish eater. The texture is pleasantly crisp and the flavor mildly spicy.

I'm not sure how I feel about the yellow hue given by the tumeric. If Chicago can have fluorescent green relish, maybe Ohio yellow relish is ok?


[print_this]

Fresh Cucumber Relish makes approximately 1 1/2 pints

3 cups cucumber peeled, seeded, and minced 1/4 cup onion, minced 3 tablespoons kosher salt 3 cups water 1 cup vinegar 1/2 cup packed brown sugar 1/4 teaspoon tumeric 1/2 teaspoon celery seed 1/4 teaspoon caraway seed 1/2 teaspoon ground white pepper 1/4 teaspoon red pepper flakes

1. Place onions and cucumber in a bowl. Top with salt and water and rest in fridge for 2-6 hours. 2. Drain liquid. 3. Place onions, cucumber, vinegar, sugar, and spices in a pot. Heat to boil over medium heat for 5-10 minutes or until the liquid begins to reduce. 4. Meanwhile, sterilize 3 half pint jars, 3 lids, and 3 rings. 5. Ladle hot relish into sterilized jars. Wipe rim, top with lids and rings. Place in hot water bath and process for 15 minutes. 6. Cool to room temperature. Label and store in a cool dry place until ready to use. After opening, store in fridge for 3-4 weeks.

[/print_this] Added to Simple Lives Thursday 52 and Punk Domestics.