Produce Your Own Produce Mural #projectfreelove

sarah hout mural signature A few weeks ago, we were given the most amazing gift. Sarah Hout, a professional muralist, chose our garage for her Project Free Love, a three free murals endeavor. She came over for a short interview during which I showed her the gardens and told her how much I love the victory garden propaganda style and the color purple. She turned those tiny bits of information into something incredible.

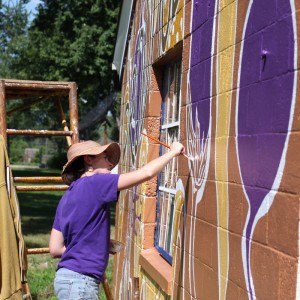
Mural Painting In Progress

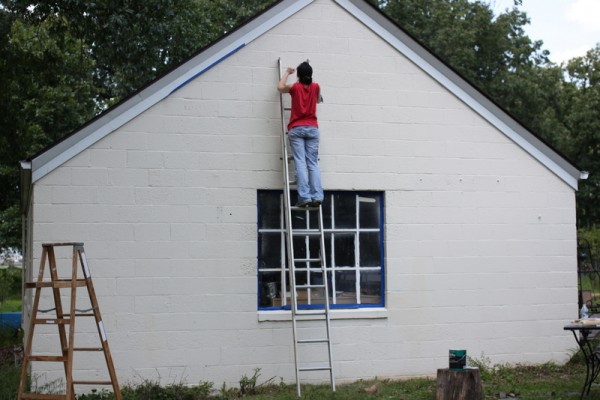
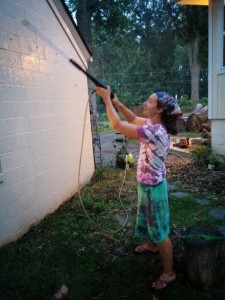
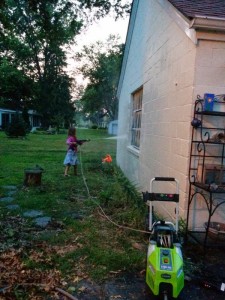
Before we'd even seen Sarah's final design, we power washed the garage as she requested. Have you ever used a power washer? It was so fun that everyone in the family took their turn blasting the dirt off the garage wall.

powerwashing mural wallpowerwashing mural wall (2)

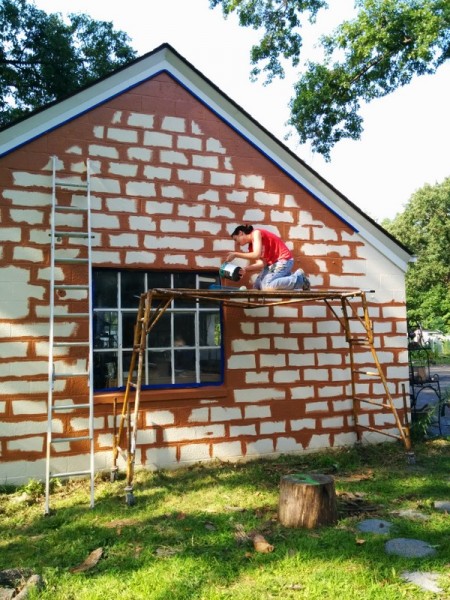
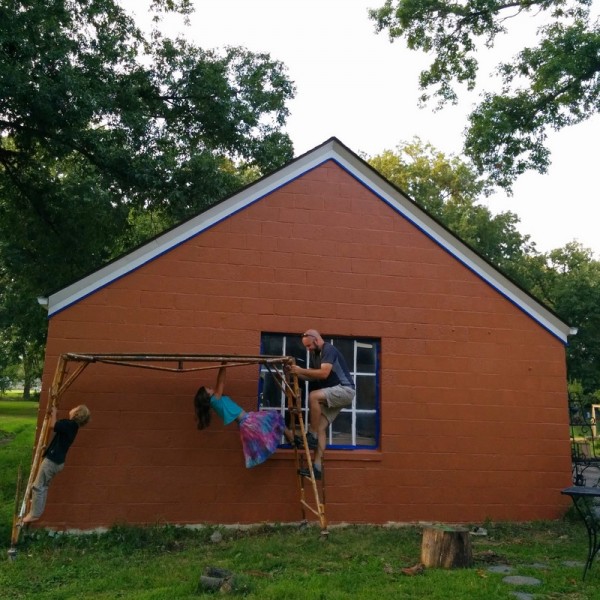
Then Sarah started work. On the first day, she painted the background and we fed her homemade pizza with homegrown toppings. (Making meals for Sarah wasn't a specified part of the deal, but when you're here working on my property, I will do my best to make sure you aren't hungry.)
blank garage wallbase coat on mural wall


scaffolding on mural wall

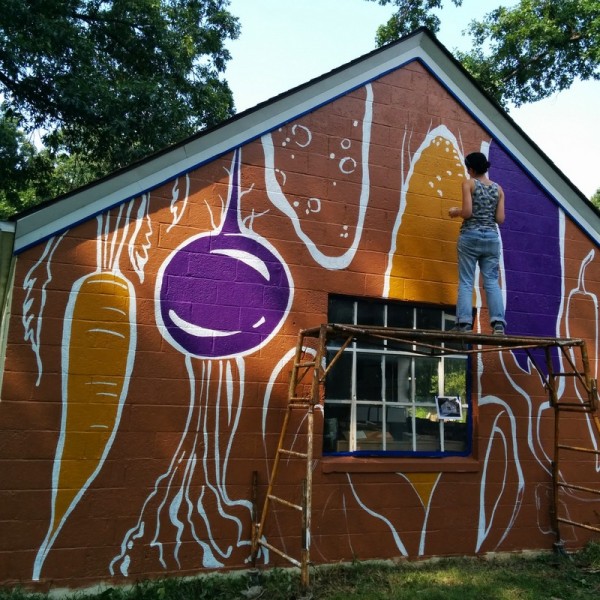
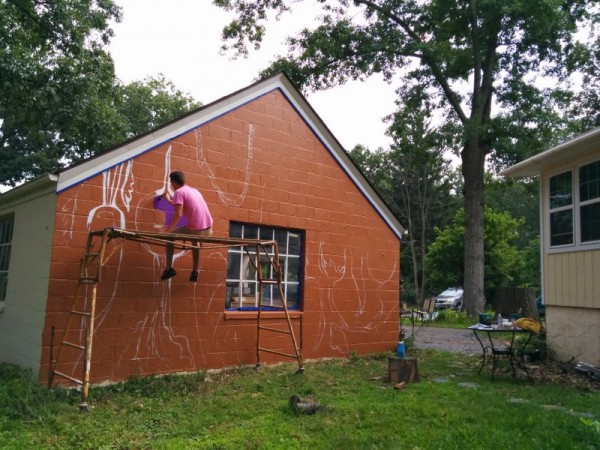
The next workday, two volunteers helped paint in Sarah's vegetable outlines. We found out that one of my favorite modern propaganda peeps, Joe Wirtheim of Victory Garden of Tomorrow, actually used to be Sarah's neighbor! His work definitely influenced the design of our mural. Lunch this day was homemade tortillas (recipe coming soon, we LOVE these) with curtido, beans, cheese, and fresh salsa.
volunteer painting mural

illustrating vegetables for mural

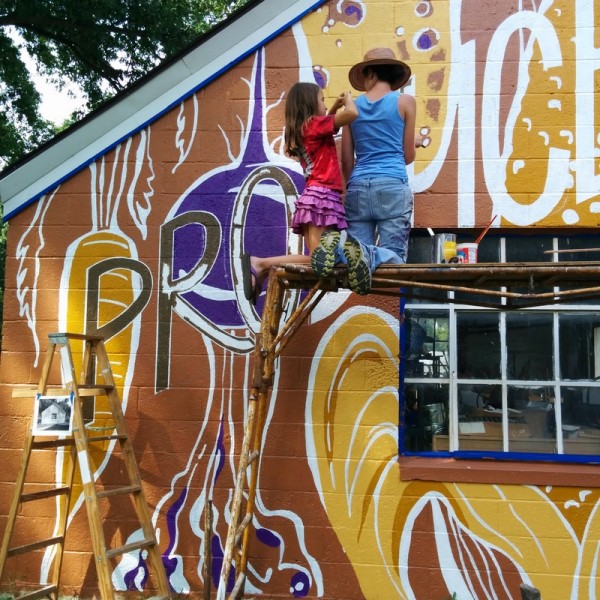
On the third workday, the brutal sun baked Sarah while she worked on details. Lil made a balm of aloe and toothache plant for sunburnt shoulders. I pitched in on the pepper and some potato details and made a quick stir fry for lunch.

child helping sarah hout

rachel tayse baillieul painting mural wallsarah hout muralist

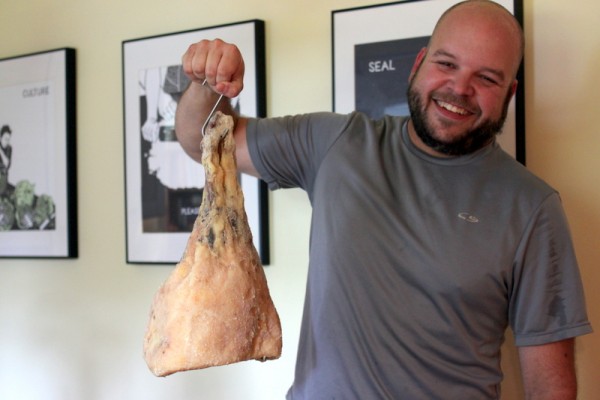
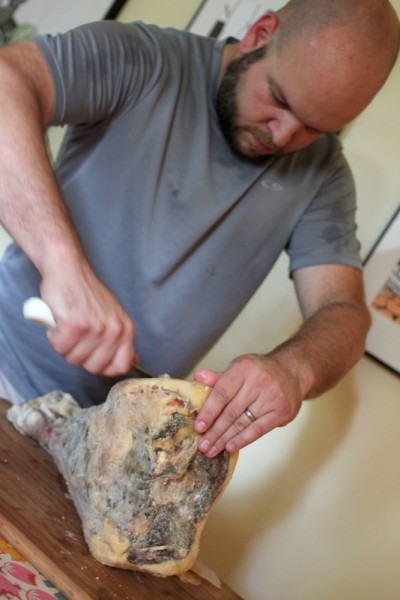
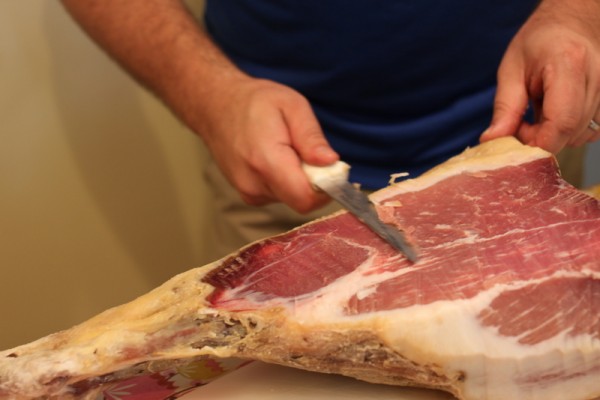
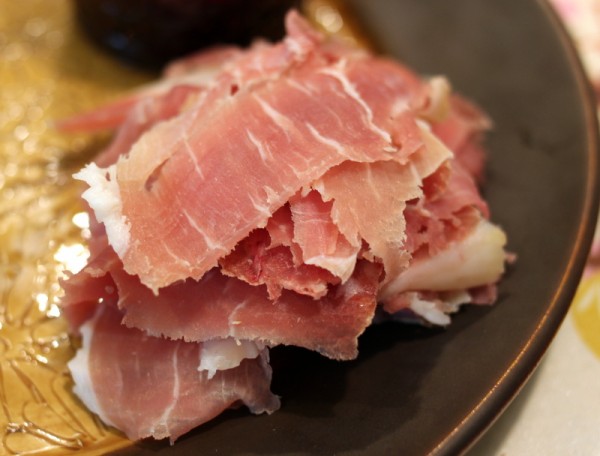
On the fourth workday, Sarah finalized the outlines and details. We made sourdough biscuits, sour cherry chutney (recipe coming soon) and our first successful dry-cured ham for lunch. Sarah signed her work, and presented us with the mural.  In the near future we'll have a time lapse video of the painting process to share.

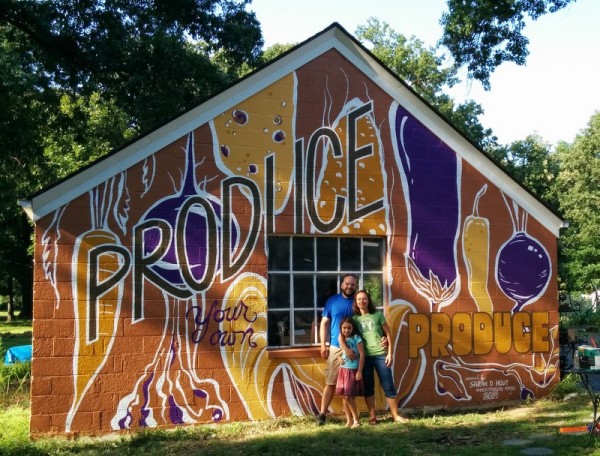
Finished Garden Mural

We're completely amazed. This design couldn't better represent our family - we're working hard daily to produce our own produce and encourage everyone to do the same.

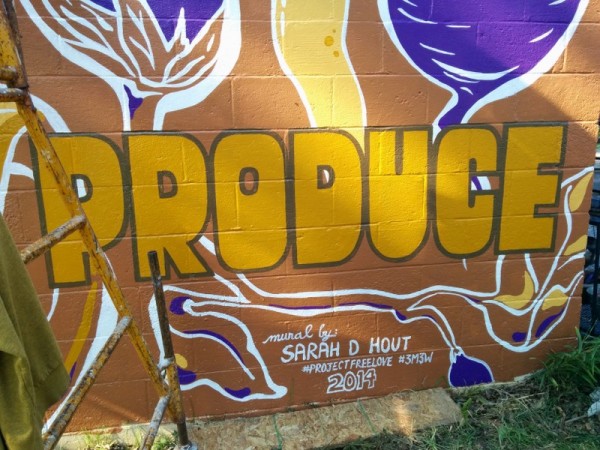
finished produce your own produce mural

Check out Sarah's blog for a recap of how she felt about working with us. And stay tuned to our Facebook page for a time lapse video coming soon. We couldn't be happier with the mural or meeting this new friend who seamlessly understood our motives and appreciated our efforts. Thank you Sarah!!
No-Till Garden Beds By Hand With A Broadfork

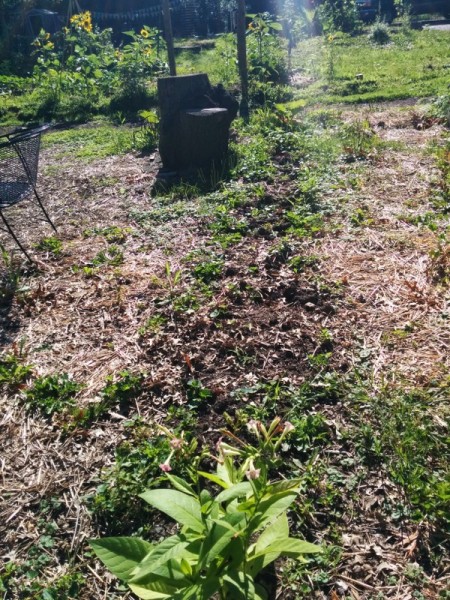
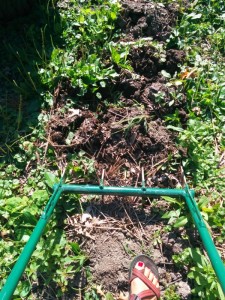
garden bed before

You've pulled out your summer crops. Now what? It's time to prepare the beds for a fall crop, cover, or mulch before winter.

I use a broadfork and Garden Claw to gently aerate and cultivate the soil. No-till methods like this are found to enhance the productivity of the soil, and besides, tillers are jerky, smoky, heavy pieces of equipment to wield.

If needed, I start by pulling large weeds by hand. I try to not let beds get too weedy but sometimes it happens, as you can see in the sunny early-morning garlic bed pictured above.

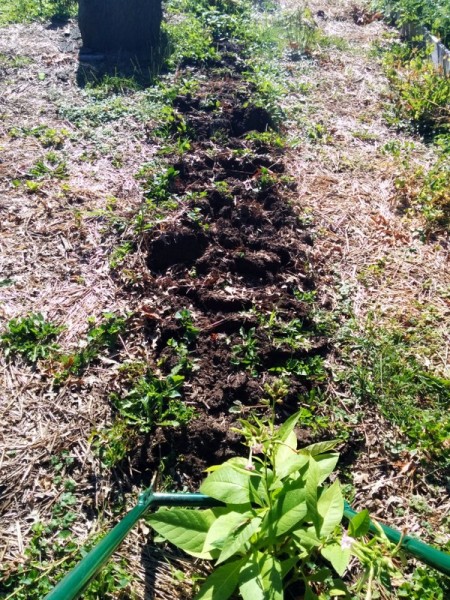
using a broadforkno-till broadforkingbroadfork no-till garden bed

I begin working the soil with a broadfork borrowed from City Folk's Farm Shop. I plunge the tines into the soil and gently press down on the cross bar. Then I rock the broadfork back to lift the soil gently as I pull the broadfork out. I don't turn the soil here, I just use the tines to aerate sections.

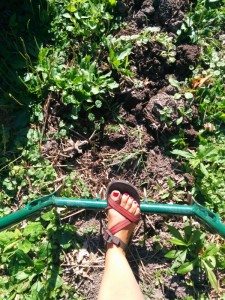
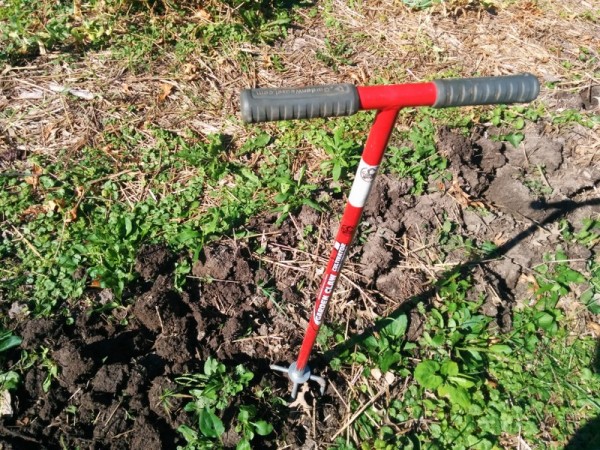
Next I quickly rotate a Garden Claw (available for purchase at City Folk's) to the right and left over the surface of the whole bed. The point of the claw is to break up large clods and loosen any smaller weeds. I keep movements gentle here so as to not compact the soil.

using garden fork

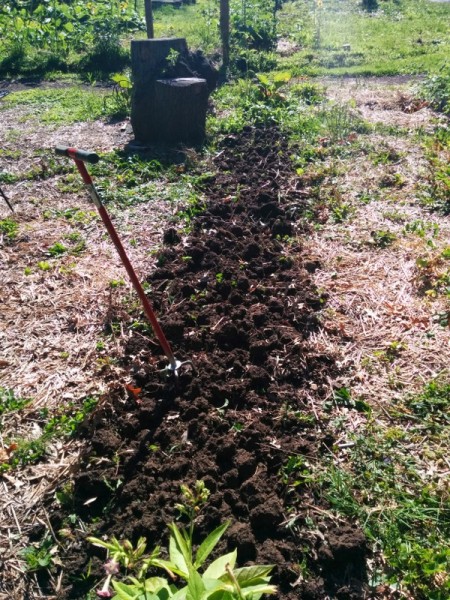
Before I plant seeds or transplants, I go back over the bed with a hand cultivator or rake to remove the loosened weed roots and/or smooth the soil into rows. As needed, I add compost and/or organic fertilizer to build the nutrient potential. At all times I maintain the edges of the bed, piling up loose soil back onto the center as needed.

garden bed after no-till

I've seen the results of this no-till, hand-powered method at Swainway Urban Farm, where the naturally raised beds are now so loamy you can plunge your hands in the soil with almost no resistance. I love the quiet, gentle work of using hand tools to re-build my beds between seasons.

2014 Garlic Harvest, Curing and Storage

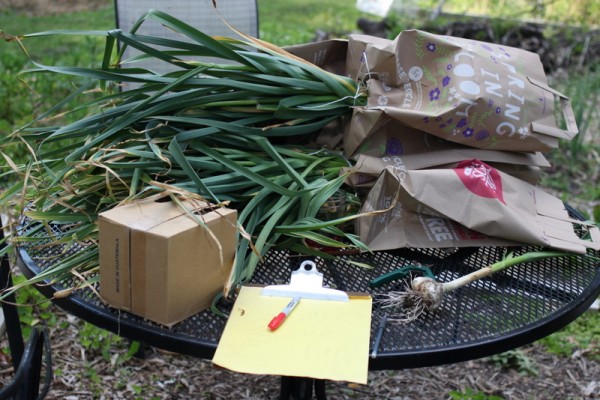
harvested garlic in paper bags What's the big mess? Just the 2014 garlic harvest in action. We harvested over 100 heads of garlic for ourselves, gifts, and sharing. Here's how to cure and store garlic:

Harvesting Garlic

First, we waited until the bottom sets of leaves of the garlic turned brown. Harvest too early and the bulbs will not have reached their biggest size. Harvest too late (when all the greens are brown) and some cloves may start to sprout.

We harvest by hand by teasing away the soil around the head with a trowel and hand cultivator. Then we gently lifted the head out and knocked off any dirt. We laid the heads on the ground while we worked through the rows. We set aside any heads that were accidentally clipped with a tool or greens broken off to use fresh without curing.

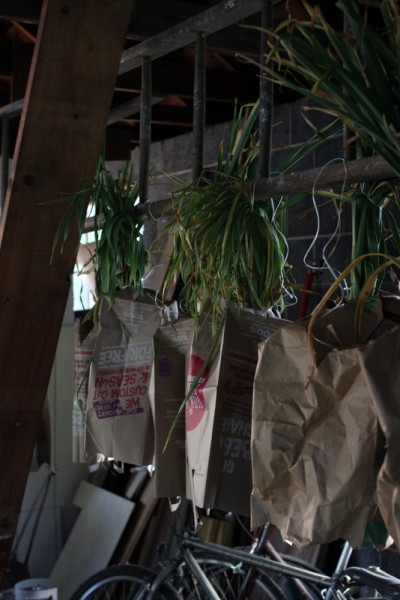
garlic hanging in paper bags in garage

Curing Garlic

Next we needed to cure the garlic to set it in a storage state. It's delicious fresh - milky, sweet, and full flavored - but will rot quickly if not cured in a dark, arid environment.

We bunched up 6-8 heads of garlic by the greens and tied them together. Then we hung them through the bottom of a paper bag for shade. We hung the whole package in the garage, which is dry and holds a moderately even temperature.

Another option, one which Joseph of Swainway Urban Farm employs, is to lay the garlic on a hardware cloth table in the hoop house covered in shade cloth. We didn't want to put shade cloth on the hoop just for garlic, hence we chose the garage method.

It's time to move garlic to storage in two to three weeks when the paper-like wrapping is tight and dry and leaves have fully dried.

garlic cured

Storing Garlic

Garlic stores best in a dry, dark, cool (40 degrees) location. This can be hard to achieve in a humid environment like Ohio. We choose to store in multiple locations to ensure that at least some of the harvest will last until the following spring.

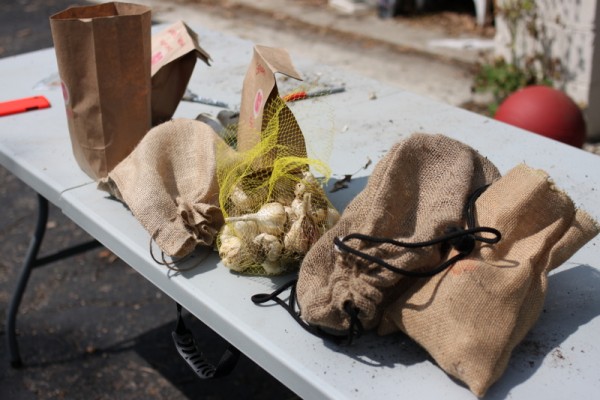
garlic packaged in breathable bags

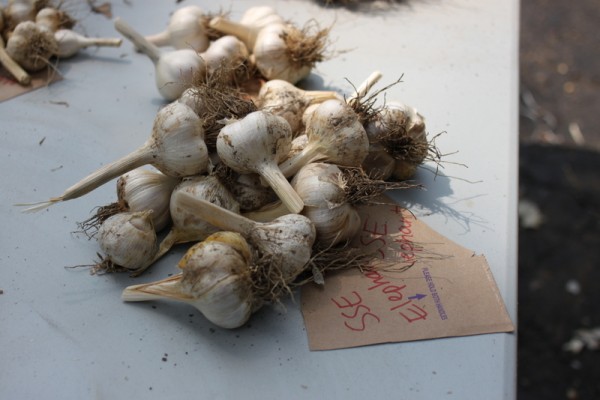
We started by cutting the garlic heads from the now dried leaves and sorted it into piles by variety. Then we set aside the biggest and best heads for the seed garlic we want to replant in the fall. This goes in a paper bag stored with our other seeds in a cool, dark closet.

We put the Elephant garlic in a burlap bag to keep in the kitchen pantry. Elephant is fun to grow and use but it doesn't keep as long as other varieties so we'll use it first.

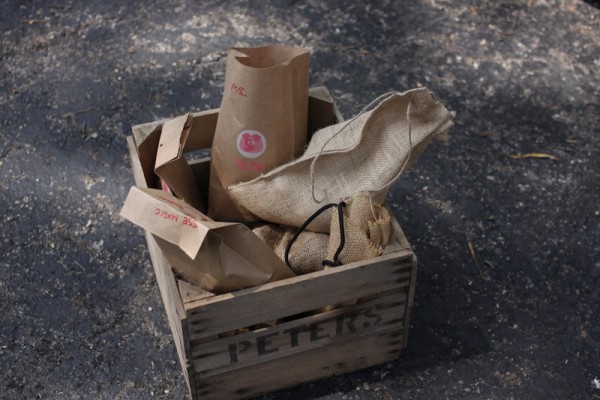
The rest of the varieties we placed in paper or burlap bags. We layered these loosely in a wooden box to store in a dry, cool closet. We'll check on the garlic often. If the garlic isn't doing well (sprouting, softening, or rotting), we'll freeze cloves or a garlic/oil paste to prolong the harvest.

homegrown garlic harvest