A First Visit to Cedar Point

Lil's summer was full of firsts this year - she learned to ride a bike without training wheels, endured a bee sting, and went to Ohio's famous amusement park Cedar Point for the first time.

cedar point ohio entrance

Tall Lil was fortunate enough to meet the height requirement for all rides at Cedar Point and lines were short when we visited on Labor Day. We started with the Iron Dragon and immediately walked back through the line. Lil says, "I love it! It was super awesome!"

We tried attractions all over the park - bumper cars, sky ride, ferris wheel, and more. Lil even talked me into a swirling swing ride. I finished so dizzy that I won't be doing that again any time soon!

The smooth, very fast Maverick coaster was my favorite coaster. Lil was teary at the end, though. "It was just too up and down. It scared me!"

cedar point animals petting zoo at cedar point

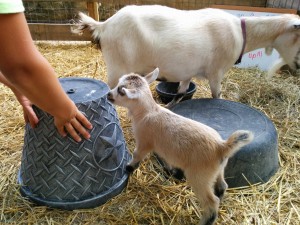
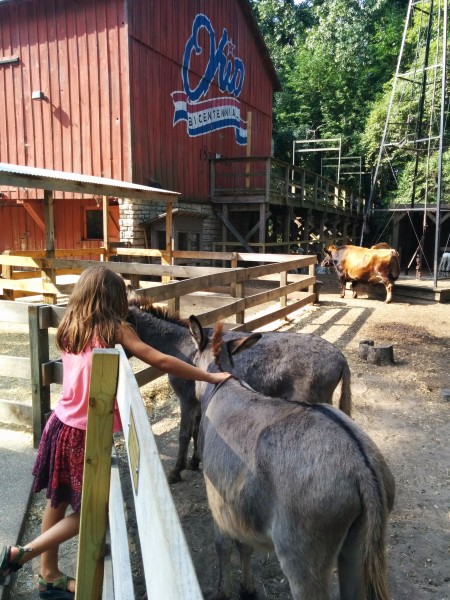
Our favorite part of the park was shady Frontiertown. Lil enjoyed watching the artisans craft with wood and blow glass during breaks from the coasters. It was hard to pull both of us away from the week old baby goat in the petting zoo! Despite making several visits to Cedar Point as a kid, it took this trip for me to read the signs saying that many of the structures are relocated historic houses and cabins.

dinosaur island at cedar point

After the Maverick, we took some time to recover by visiting Dinosaur Island. We walked past life-sized animatronic dinosaurs in the landscape and read educational signs. It wasn't scary but we had fun pretending.

In the middle of the experience, Lil dug in a large sand pit to uncover replica fossils. With lots of benches for resting and plenty of shade, Dinosaur Island is something a family of all ages would enjoy.

My biggest disappointment at the park was the food. Given that Labor Day weekend was the end of the regular season, some restaurants were closed so we ended up eating at a food stand. Our meal of pizza and fried chicken was very expensive and unappetizing, not to mention unhealthy.

halloweekends at cedar point-001

All over the park we saw evidence of upcoming Halloweekends, Cedar Point's bewitching combination of haunted experiences and costumed play for all ages. Guests can fill a candy bucket, wander through a haunted house, enjoy a themed parade, and make masks during September and October weekends.

I know Lil's first trip to Cedar Point won't be her last - she is already talking about what coasters she wants to ride next summer. And with shaded lines, attractions for all ages, and plenty of fun off the coasters, I know the whole family will enjoy another trip to America's Roller Coast.


Are you a fan of roller coasters?


Disclosure: Cedar Point provided tickets for Lil and myself. Transportation, lodging, and our opinions are our own.
 

Meet Annabel

annabel schnoodle puppy Since Devie the coonhound died in December we've been missing a big dog. Our spring and summer were so busy with the kitchen, guests, travel, and farming that we knew we had to wait so that we'd have the time to devote to training a new dog. We said that after Labor Day weekend, we would start looking.

But when I searched through the adoptable pet listings after Labor Day, something didn't feel right. I didn't want pick a dog, I wanted a dog to pick me. So we told our family we were waiting for a good - a smart, low-allergenic, farm-dog-trainable - dog to come our way.

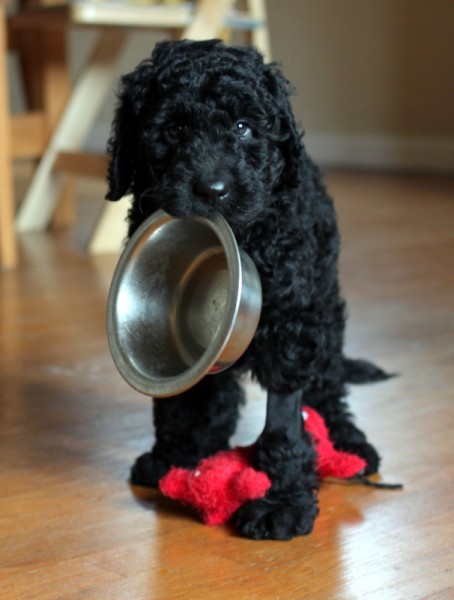
puppy carrying food bowlAnd not one week later my sister (who works for Capital Area Humane Society) alerted me to a giant schnauzer / standard poodle 9-week-old puppy surrendered by an owner who couldn't care for her. It's always hard to know whether the breed reported to a shelter will be true but this little girl, called Annabelle at the shelter, has the curly, no-shed hair of a poodle, muzzle of a schnauzer, and decently-large paws.

So we welcomed her home. We tried out a few other names, but none are sticking. I looked through the Baillieul family history for female names because Devorguilla and Hawise, our previous dogs, are from Alex's ancient family. And there was Annabel De Baliol, a noblewoman from Normandy alive from 1153-1204. We'll call her Annabel.

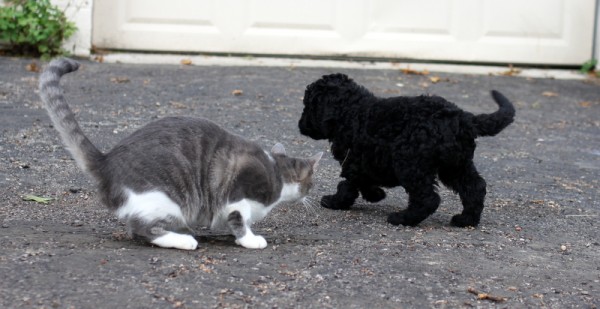
Hawise and the cats are keeping their distance but getting used to a new member of the pack. Annabel brings all the energy, napping, pottying, and cuteness of a puppy. She's also whip-smart, sitting at my feet and looking up as if to say "what's next?" frequently.

schnoodle puppy and cat

We've always adopted young adult dogs in the past so this is a new adventure for all of us. Undoubtedly we'll share lots of pictures and updates about her transformation into a homestead helper.

puppy annabel

If Canning Jars Leaked But Sealed, Are They OK?

what to do when canning jars leaked

When I'm asked the same question by three different people in three days, I know it must be a hot topic worthy of discussion.

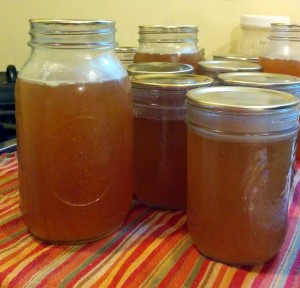
Here's the scenario: You've made stock, applesauce, or peaches in syrup. You carefully ladle it into hot jars with the recommended headspace and dutifully can the recommended length of time in a water bath or pressure canner. But when you pull the jars out, the headspace is different and it looks like the canning jars leaked! Or liquid is still flowing out of the jars as they are cooling! The jars do seal and you wonder - what happened? Are they ok to put in the pantry?

First of all, you are not alone. Every experienced canner has seen jars with uneven headspace - sometimes it's one jar in a batch or sometimes it's the whole canner load.

Why Headspace Changes

Often, vigorous boiling or steaming during processing forces a little liquid out. This is especially true if you overfill jars by a little bit, which is easy to do, especially when raw packing fruits that float.

When one raw-packs tomatoes, corn, beans, peppers, or peaches in water or syrup, the produce may absorb some liquid during processing. Alternatively, if air bubbles aren't released before adding liquid, they will rise to the top during processing. This ultimately lowers the level of liquid in the jar.

Most often, liquid or sauce is forced out during the cooling process when air escapes the jar before it is fully sealed. Applesauce is especially prone to this; the sauce is viscous enough that air bubbles get a little 'stuck' behind the thick sauce and burst through a little more violently than they travel through liquid.

What To Do About Loss Of Liquid

After your jars are fully cooled, check the seal by lifting the jar gripping the edges of the lid only. If you are able to pick up the jar, it's sealed and you may store at room temperature. Clean any leaked liquid off the outside of the jar with a hot soapy rag because obviously anything outside the jar is prone to spoilage.

Occasionally the seal on jars that lost liquid during processing or cooling will fail later when a bit of fat, liquid, or produce matter dislodges the seal. This has never happened to me personally, but it's possible. If you ever find an unsealed jar on the pantry shelf, DISCARD the food and do not use it. I test every seal before I open a jar.

Food that remains exposed or floats on the top surface of the canning liquid may discolor but is still safe to eat. Store jars in a cool, dark place to slow the discoloring.

How To Prevent Canning Jars From Leaking

  • Be sure to use very hot syrup or water when raw packing. If you're doing a large batch, it's ok to reheat the liquid during filling.
  • Remove air bubbles with a sterile chopstick or butter knife and add liquid to achieve the correct headspace.
  • Do not overfill jars.
  • Carefully wipe the rims of every jar before putting on the lid to be sure there isn't a pathway for liquid to escape.
  • Let jars cool a little (5-10 minutes) in the water bath after processing time ends and you turn off heat before removing them to the counter. My experience is that slower cooling results in less liquid loss, especially for applesauce.
  • Always let the pressure canner come to room temperature on its own. Do not use cold water, remove the weight or otherwise try to hasten this process. Not only can you invite steam burns by messing with a hot pressure canner, but the jars need to cool slowly to avoid violent air expulsions that result in liquid loss.

Have you experienced canning jar liquid loss? What did you do?

Homegrown Home-canned Salsa {Recipe}

homegrown salsa recipe Home-canned salsa. It sounds so simple and yet many people struggle to make something that's "just right". The first recipe I tried was too watery. The next was too bland and the third had a too-cooked texture.  These were all a disappointing use of homegrown tomatoes and peppers!

Then finally last year my friend Jenn (who also shared celery powder with me) passed along this recipe. It is thick, richly-flavored, and has a pleasing chunky texture.

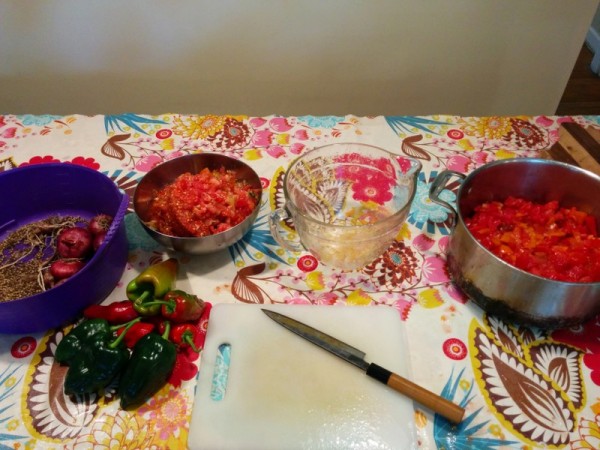
homemade salsa mise en place

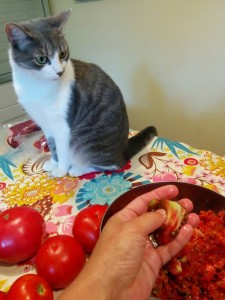
There are several tricks that make this recipe work. First is the preparation of the produce. I carefully remove the seeds and watery pulp with my thumb from each section of tomato and drop that into a bowl for the chickens. I chop the remaining flesh with skin on into a colander to drain away any further juice. I measure the tomato pieces into a large measuring bowl and then move on to chopping the peppers, garlic, and onion.

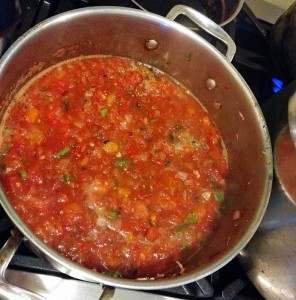
seeding tomatoes for salsacooking homemade salsa

Next up is seasonings. Dry spices like cumin and coriander add an aged, smokey flavor that differentiates this salsa from fresh pico de gallo. Our own touch is some of last season's homegrown and house smoked ancho peppers.

Two elements contribute to the perfect salsa texture: a quick cooking and processing time and the addition of tomato paste. Overcooked salsa has the taste and texture of tomato soup, which isn't what we prefer. Tomato paste (we can our own each year) thickens the salsa while adding a rich, dense tomato flavor.

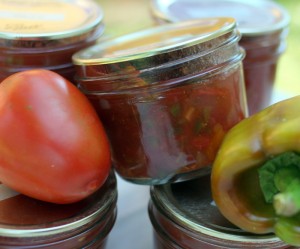
I like to can salsa in squat half pint jars manufactured by Kerr, found locally at City Folk's Farm Shop. The short and wide dimensions allow for dipping right out of the jar.

If you, like me, have been searching for the perfect tomato salsa recipe, try this one. 

Home-Canned Salsa

Makes: 10 half pints

canned salsa

8 cups chopped, seeded, drained tomatoes 2 cups finely diced red onion 1.5 cups chopped peppers (use a mix of sweet and hot peppers for a medium heat salsa) 6 cloves garlic, minced 1/3 cup lime juice 1/3 cup vinegar 1 tablespoon kosher salt 2 teaspoons ground cumin 2 teaspoons ground smoked ancho peppers 1 teaspoon ground coriander seeds 1 teaspoon black pepper 8 ounces tomato paste

1. Stir tomatoes, onion, peppers, and garlic in a large heavy-bottomed pot. Add in lime juice, vinegar, kosher salt, cumin, ancho peppers, coriander, and black pepper.

2. Bring to a simmer on the stove. Cook for 5-10 minutes until onions begin to soften. Meanwhile, heat 9 half pint jars in a boiling water bath. Wash rings and new lids in hot soapy water.

3. Stir in tomato paste and return salsa to a simmer. Taste and adjust seasonings if necessary.

4. Ladle salsa into sterilized jars. Fill to a head space of 1/2 inch. Center lid and tighten rings.

5. Process for 15 minutes in a boiling water bath. Remove from hot water, allow to cool completely, label, and store.

A note about canning salsa safely: Keep the proportions of tomatoes, onions and peppers to lime juice and vinegar consistent. This recipe keeps the ratios of pH tested recipes which rely on juice and vinegar to add acidity and balance the lower pH of onions and peppers. You can use fewer peppers and onions or spice up the salsa with additional dried peppers but do not increase the amount of peppers and onions or you might create a finished product without a low enough pH to be safely canned in a water bath.