Score Squash Now For Fun Autumn Scarred Squash

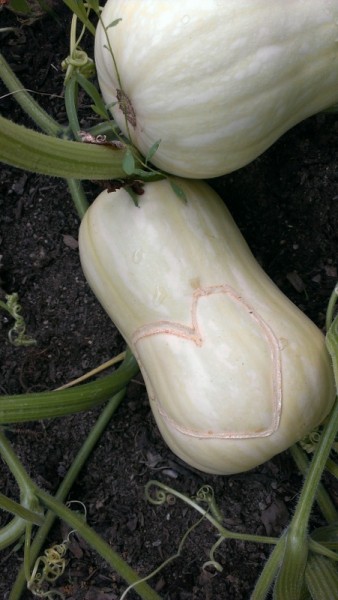
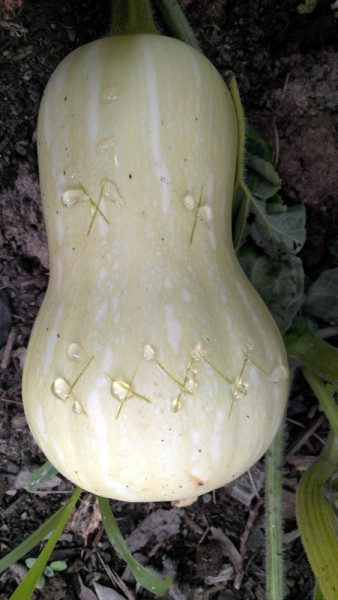
Last year I saw Jamie Oliver post an amazing Halloween display with scarred squash. I booked marked the idea in my mind and am now scoring all our volunteer squash plants. All you need is a sharp knife blade or skewer and a young winter squash. Without removing the pumpkin, butternut, or other variety squash from the plant, score a design lightly into the skin of the squash.

scored squashscarred squash

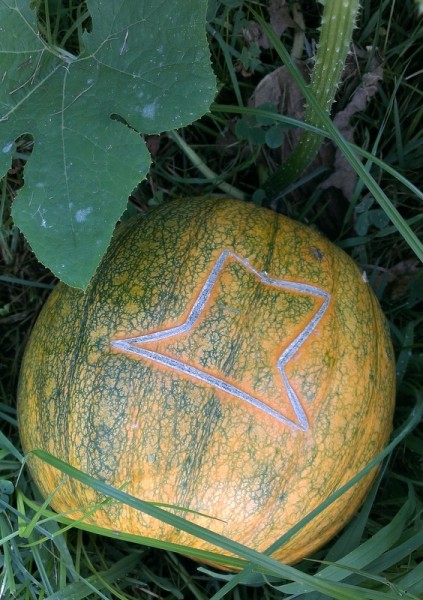
Then, let the plant grow. It will weep a little liquid in the first twenty four hours and then begin to form a brownish scar. As the squash continues to ripen and change color, the scar will balloon slightly but stay brown.

This intervention could potentially weaken or draw disease to the fruit but thus far our scarred squash are growing just the same as the non-scarred fruit on the same plants.

scarred pumpkin

The possibilities for these decorations are endless. We've drawn shapes, jack-o-lantern faces, initials, and messages that we'll show off later in the season. And the best part is that the scarred squash will still be edible!

Are you already thinking about autumn? If you're looking for a few gardening ideas, try signing up for my Fall Gardening class where we'll talk about autumn crops, cover cropping, and season extension.

Creepy Meats - On Raising Cornish Cross Meat Chickens

The story below contains details about the process of raising meat chickens but no graphic images or descriptions of the slaughter.cornish cross chick
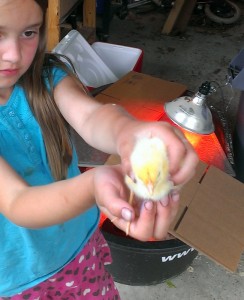
My friends Ohio Farm Girl and Lyndsey Teeter refer to Cornish Cross meat chickens as 'creepy meats'. I had no idea what they were talking about and blindly ordered six chicks to try our hand at raising meat on our very own property.

In four weeks the tiny chicks ballooned into squishy, barely feathered tweens bigger than the laying hens we had been raising for eighteen weeks already. They didn't forage, cluck, respond to us, or even kick up the grass under their chicken tractor. Creepy meats have exactly three tasks in life - eat, drink, and poop.

Caring for cornish cross chickens took us less than 15 minutes a day, whereas Lil typically spends an hour visiting, feeding, watering, and collecting eggs from the hens. The creepy meats had no personality to enjoy or activities that required our input.

When they were six weeks old, we began to discuss their demise. We weighed one and decided they could probably eat for a few more weeks to put on more weight and make our plucking time worth it.

By eight weeks, our cornish cross chicks could barely waddle up the ramp to the roost at night. Their eat-sleep-poop routine had become so vigorous that we were moving the tractor every two days to prevent them from laying in their own waste. It was time.
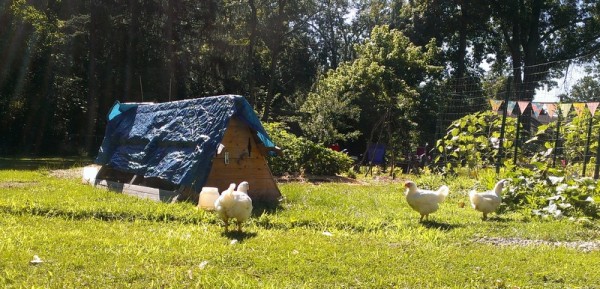
full grown cornish cross chickens

The Butchering

"Are you butchering them yourself?" friends and family asked. Of course. We're practiced in chicken slaughter and believe in the process of meeting your meat. Besides, with the cost of all the other inputs (see below), it didn't make financial sense to drive them to pay a processor.

On Sunday morning, we set up a borrowed homemade cone on a ladder with catch bucket underneath. Next to that was our propane turkey fryer with a pot of water. Then a table with sharpened knives, waste bucket, towels and cutting boards. Finally we had a bucket of cool water for rinsing/chilling and a cooler of ice.
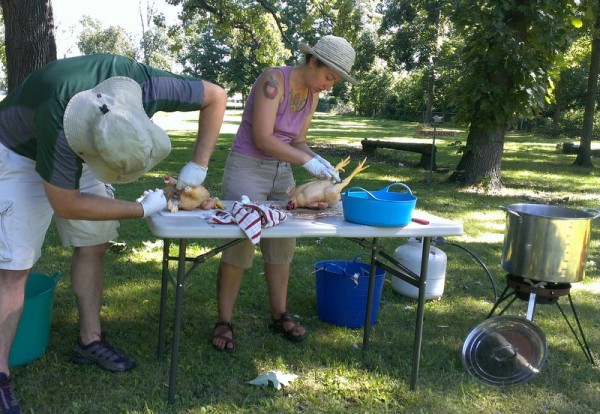
butchering cornish cross chickens

The process was quick: Alex did the deed, I plucked, he eviscerated, and I cleaned up. With interruptions to console Lil (she didn't like the squawking the birds made when we picked them up, nor the after-life shaking), processing six birds took an hour an a half from setup to cleanup.

We left the chickens buried in ice for twenty four hours to go through the rigor mortis process. The next day, we vacuum sealed three whole chickens and three in pieces. Alex made pate from the liver and stock from the feet, necks, and scraps.
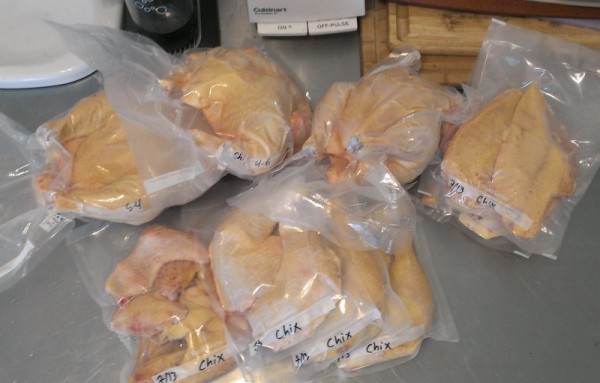
cornish cross chicken meat packaged

Raising Meat Birds By The Numbers

$15 for five chicks plus one bonus chick for no charge $0 gas because a friend nicely did the driving for a jar of sourdough starter $61.50 for 125 pounds of non-GMO local feed 20 wheelbarrow loads of free woodchips spread over the waste so flies wouldn't set in 90 minutes processing $5 ice and vac bags 24 pounds of chicken in the freezer 3/4 pint liver pate 8 1/2 pints stock

Total cost: $81.50 (not including our time or existing equipment like tractor coop, processing tools, vacuum sealer) Price per pound: $3.02 (counting pate and stock as 3 pounds of meat)

We Won't Raise Cornish Cross Again

Cornish Cross meat birds are amazing grain-to-protein machines. No other breed is able to mature in eight weeks with such high quality, tasty meat.

However, we like chickens that do more than just make protein. We want birds that can provide a foraging and soil-turning benefit since the cost of raising them ourselves barely saves a cent over buying from a reputable local seller. If they can add to the fun and beauty of the homestead, even better.

When the summer heat passes, we'll try another round of meat birds but they won't be Cornish Cross. The breeds we're looking at will mature slower but provide a value beyond meat, whether that's a taste benefit (Buckeyes), foraging/mowing (Freedom Ranger) or soil turning (both of the above).

Have you raised meat birds before? What was your experience?

PS. If you are interested in witnessing and learning how to slaughter a chicken, our friend Denise is hosting a hands-on butchering class through City Folk's Farm Shop.

Sharing Our Space

looking at topbar frame Harmonious Homestead was settled by generations of creatures and people before us. If we steward it well, our land will provide for many future families. Put in a historical perspective, "our" land only belongs to us for a moment and is acted upon by many other creatures while we're here.

And that's why we share it with sustainably-minded folks who want to help this space reach its potential.

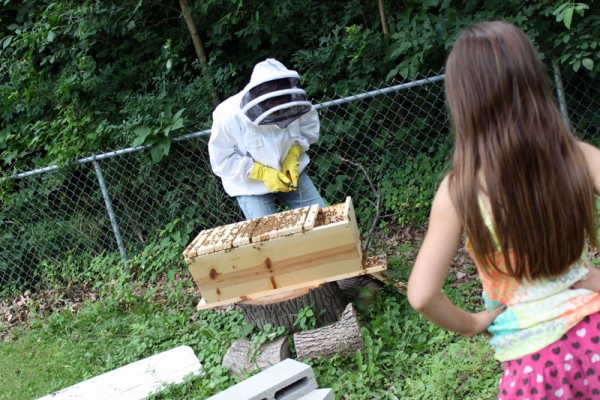
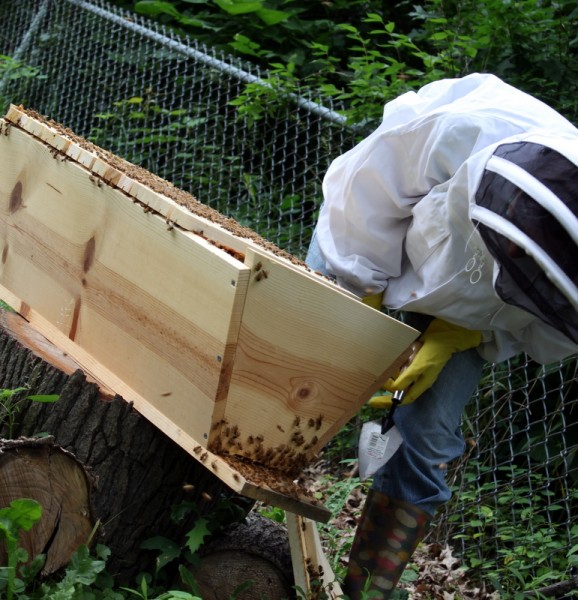
beekeeper showing girl hive

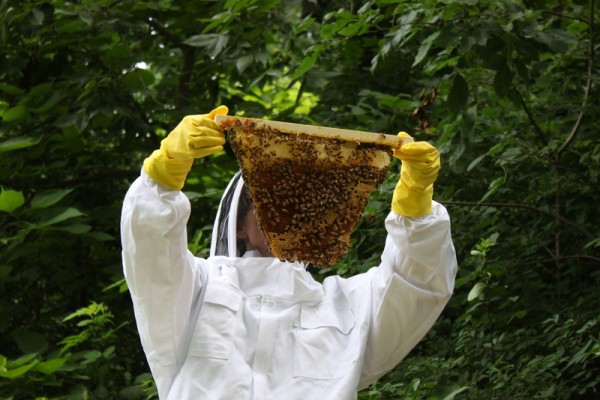
Eve, whom Rachel met through a parenting group years ago, located a top-bar hive of bees here in the spring. The are thriving, visibly pollinating the vegetable plants and ground-covering clover. If she visits when we're here, she answers our questions about beekeeping and shares in our wonder about all the aspects of the life of bees we can't know.

Joseph and Jen, the growers of Swainway Urban Farm, had a few excess seedlings needing a place to put down roots in June. We offered up our front yard which Joseph tilled and planted in six sixty-foot rows, seen below just after planting. The 'Swainway Annex', as we're calling it, is growing food where there once was grass. We intended to experiment with dry farming two rows of tomatoes but the weather (a rather fickle homesteading partner) had other ideas and the rows are flooded at the moment. Hopefully the sun will dry up the water and ripen the fruit soon.

swainway annex row crops

Our families contribute moral support, creative and hard-working ethics, and occasional planting and harvesting help. Shawn and Gerry at City Folk's Farm Shop provide materials, hoop house help, and a venue for classes. Friends bring good cheer when they cavort in the natural playground and admire the chickens. Neighbors support us with inspiration, watchfulness and gifts of their excess.

beekeeper looking at washboarding

We always envisioned a communal homestead. When we work together like Eve's bees, we learn, find joy, and reap rewards that would not be possible if we toiled alone.

We want to share our space with you too. Please come see the goings-on at 1224 E Cooke Rd Columbus Ohio 43224 this Saturday, July 13, from 3-5 pm.

Our Dysfunctional Kitchen {Friday Five}

Live in Columbus and want to see the new place? Come to our open house next Saturday, July 13 from 3-5 pm. More details on the Facebook invite. There's one place in our house that I haven't dared to write about yet - the dysfunctional kitchen. It's an ugly space we use often. The back door to the house, the entrance we use most often, walks right into this room. Each time we host a dinner party or undertake a large preserving project, the 'heart of the home' reveals more design flaws. I could go on for days about what's wrong with our kitchen but I won't bore you with all the details. Instead, in the spirit of Friday Five, here are the basics of what we dislike most:

dysfunctional kitchen

1) Where's the other half? Our kitchen is spacious but only has counters and cabinets on two of the four walls, which leaves us lacking in storage and working space. We temporarily corrected the issue with a large stainless steel table from a restaurant supply store. But why, when there is a perfectly good dining room just through the doorway, did someone not install cabinets on all four walls?

layers of flooring

2) The ugly, ill-installed, tile floor - Tile is an abomination in a working kitchen. The hardness breaks every glass and dish that is dropped. It feels cold and bounces sound. Cold + hard = achy legs when processing a mountain of fruit, stock, or vegetables. Ours happens to have been installed by someone either inexperienced or lazy enough to not fully clean off the grout, so we have swipes of now-hardened grout on top of the tiles that collect mud and look dirty at the drop of a hat. On the upside, despite the five (!) layers of flooring, they all seem to be degraded enough that tearing them out won't be much of a problem.

unevenly cooked pancakes

3) The glass-top electric range - I could write a book about how much I despise electric, glass-topped ranges. Instead, how about if I list the things I could easily cook six months ago but now are either underdone or burnt or both every time I make them: popcorn, quesadillas, pancakes, eggs, bacon, grilled cheese. In what I think is an oft-repeated design flaw, this range has the controls on the back of the unit, requiring the cook to reach across steaming pots of water to turn down the heat.

4) Recirculating exhaust fan - Recirculating exhaust fans, the kind that most kitchens have attached to a microwave or just above the range, are worthless. They do nothing to remove heat or steam or smoke from the area. We'll have to move the range to the other wall to install an outside-venting fan but this is the only way that baking and canning in the summer is bearable to me.

little sink

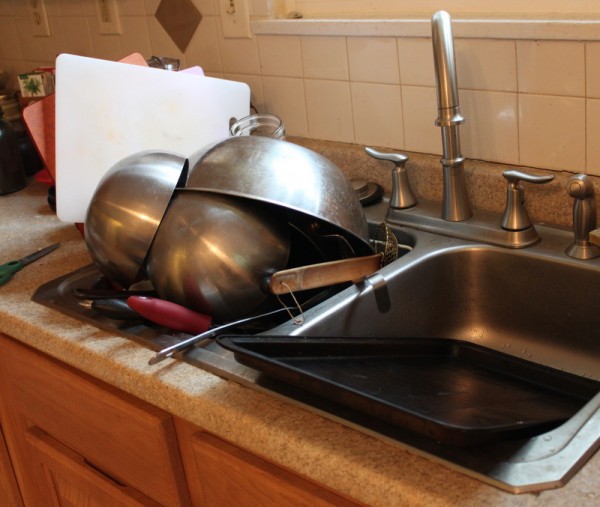
5) The too-shallow sink - Our kitchen has a standard two basin ten-inch deep sink. Our needs, apparently, aren't standard because many of our pots didn't fit under the faucet until we replaced it with this number chosen for height. Our biggest cookie sheet doesn't fit width wise. There are always clean dishes spilling out of the drying basin. Large cuts of meat are nearly impossible to rinse and yes, we're still cure-deep in charcuterie. A deeper sink like my beloved old numerar doesn't take up much more space and is imminently more useful.

I feel a little guilty whining about a kitchen that many people around the world would love to cook in. Truly, we could live with this design and these appliances for many years if we needed to. But my aching legs tell me that if we're going to happily preserve the (hopefully) hundreds of pounds of food that we're growing, we could use an upgrade.

Fortunately we're starting to plan a DIY kitchen renovation. Did you know this blog started out documenting the renovation of our last kitchen? We've actually taken kitchens apart and put them back together in our two previous houses, so we're well aware of the effort the project will require. We'll document the process along the way and ask for your opinions too. Because while we're quick to solve the functional issues, we could use help with the finishes and designer-y options.

What bugs you about your kitchen?

Oil Cloth Circus Buntings To Deter Chicken Predators {Tutorial}

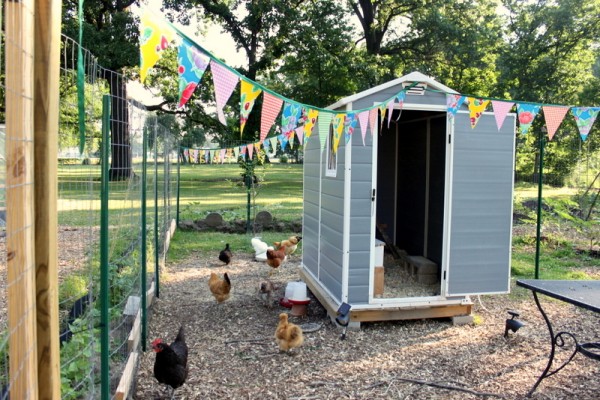
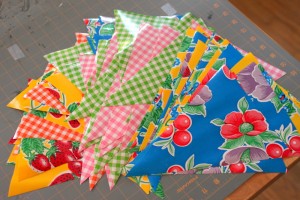
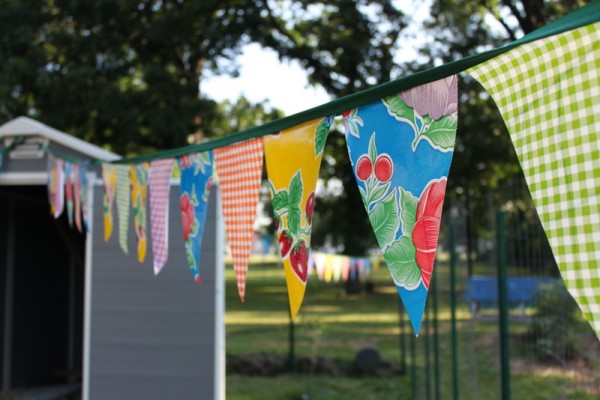
chicken coop oilcloth buntingOur chicken yard is newly decorated with circus-like oil cloth buntings. They make me smile while detering aerial predators like hawks. Birds who might take chickens don't think they have enough space to land and fly away again with the buntings in the way. cutting oilcloth for buntingoilcloth triangles

I made the buntings with five coordinating oil cloth patterns from local fabric store Sew to Speak. Oil cloth is vinyl bonded on a cotton mesh base, making it a sturdy, outdoor-friendly fabric.

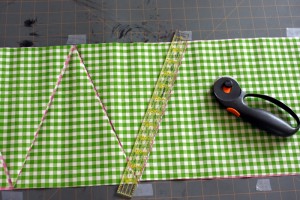
I cut each selection into strips 10-inches wide. Then, I placed removable tape on my cutting board every eight inches, staggering the bottom row by four inches, as markers for cutting. I used a rotary cutter and a straight edge to cut the strips two layers at a time into isosceles triangles.

Next, I made four stacks of triangles with a random pattern assortment. My brain naturally tends toward order, so I had to watch that I was selecting randomly.

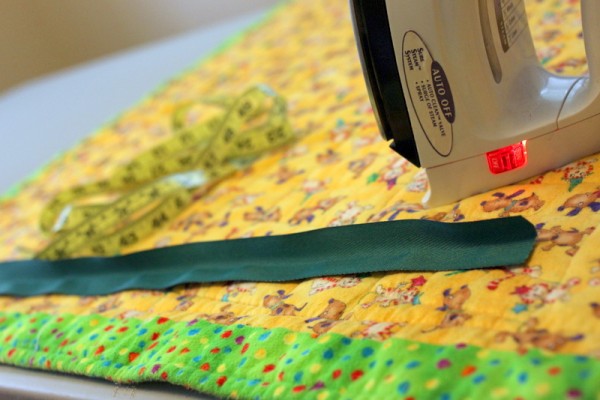
ironing polyester twill tape for buntingsewing oil cloth bunting The Sew to Speak employee suggested twill tape as a binding/stringing material but they only had cotton and I wanted something that would hold up to constant outdoor use. I looked for polyester twill tape locally but found none in large lengths, so I purchased a roll of twill ribbon on Amazon. 

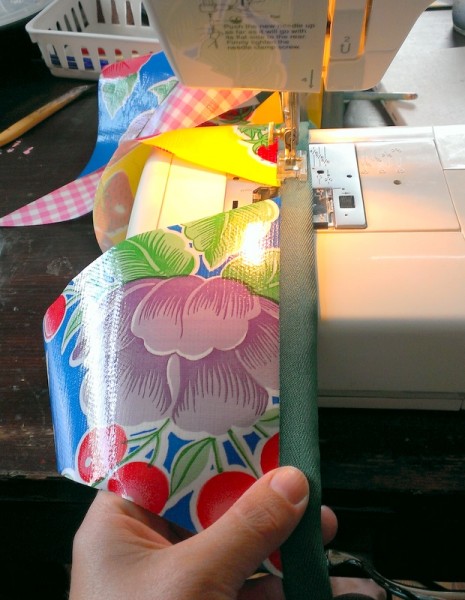
I assembled the buntings by inserting oil cloth triangles as I sewed the folded twill tape together, leaving approximately 18 inches at each end with no oil cloth for ties.

anti-predator bunting closeup

In the end, the chicken-yard circus buntings cost me about $40 in materials and 4 hours of time. I could have used boat rope (Alex's suggestion) to achieve the same predator-deterring effect, but I prefer the color and whimsy of this little project. What do you think?

Seasonal Snaps: Summer Solstice 2013

Welcome summer!urban homestead front yard garden Things are green around here. In the front yard, we have a squash and grains patch and the Swainway Urban Farm annex, six long rows of organic tomatoes, peppers, beets, and celery root.

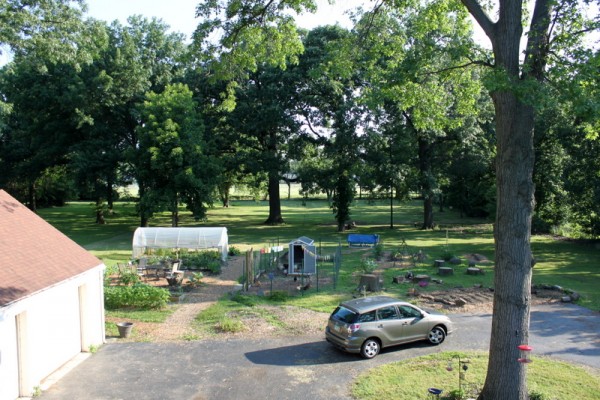
urban homestead front yard Out back, the baby orchard is coming along. We're collecting no fruit from these trees, but are eating mulberries from a wild tree and looking forward to harvest from an existing apple and pear tree.

urban homestead month nine We've taken down trees, built a new coop, and started many gardens near the house. The natural playground balance beam, steps, and swinging rope lie between the orchard and near gardens.

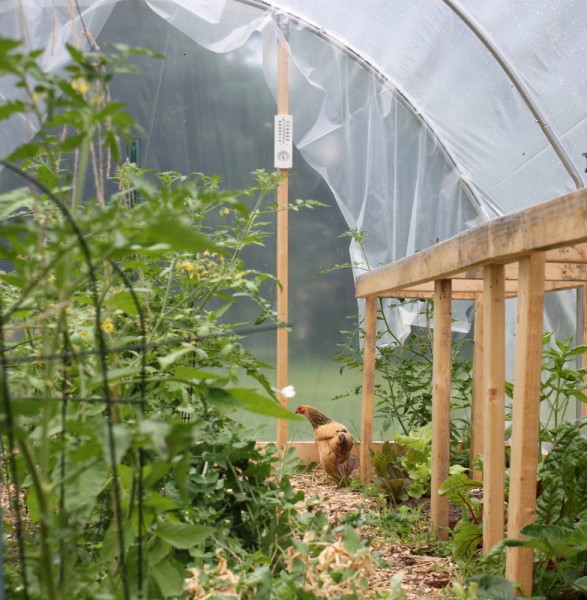
urban homestead chicken yard and hoop house Chicks are growing too. Lil and I allowed this Buff Brahma to explore the hoop house recently. We've eaten peas, greens, strawberries, radishes and beets from the hoop house this spring; the beds now contain tomatoes and peppers. hen in hoop house

We couldn't be more pleased with the progress from winter solstice 2012 to spring equinox 2013 to now. We're not stopping yet - we have plans for a big harvest, mud room, and maybe even a renovated indoor kitchen before the next season change.

What's happening in your neck of the woods?

Jerry's Berries Strawberry U-Pick Baltimore Ohio {Farm Tour}

jerry's berriesFinding strawberries seems to be an ever-elusive springtime goal of mine. No other fruit causes me to panic when I can't get them because of weather or farm issues or my own busy-ness. Strawberries are typically my first local preserves of the season, the turning point when empty jars become full again. This year was no exception. My favorite farm from last year, Bird's Haven, had no u-pick berries available due to deer pressure while work and family distractions delayed finding a new farm. Our own patch produced well but only enough for a daily handful. I found myself fixated on picking strawberries once again.

Alex, Lil, and I were finally able to find a morning to visit a highly-recommended farm new to us. Jerry's Berries is located south east of Columbus in Baltimore, Ohio, a forty minute drive from our homestead.

strawberry variety northeaster

What makes Jerry's unique among local farms is the number of varieties. Each are labeled and pickers are encouraged to taste the rows to find their favorite. Our family preferred NorthEaster and Sparkle. Both of these kinds are small but highly flavorful, making them worth the extra time spent picking and processing.

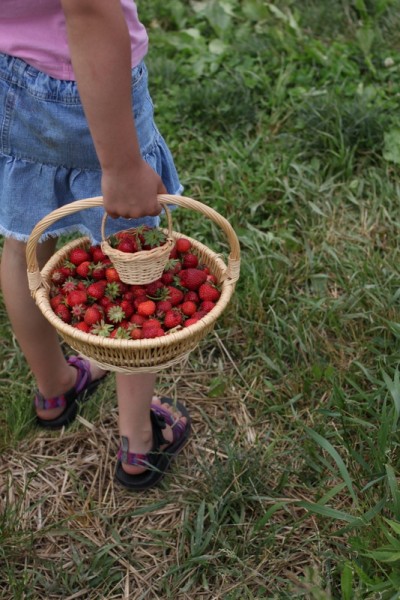
Jerry's will provide a basket or you can bring your own to weigh before picking. Berries are $1.90 per pound. The entire berry patch is contained in a tall deer fence, which conveniently keeps kids close too. Some varieties were picked over but we (two adults and a child more interested in her stuffed cat than filling a basket) were able to gather 15.75 pounds in 90 minutes.

jerry's berries fields

The farm claims to use no pesticides and follow natural practices; indeed their plants appear naturally healthy. Weeds and pollinator insects are abundant but not so much as to be a problem to u-pickers. Jerry shared that they do use chemical fertilizers to replace nutrient loss. He expects the farm to have berries for another couple weeks - the website is updated daily with picking conditions.

child picking strawberries with stuffed catchild carrying home basket of berries

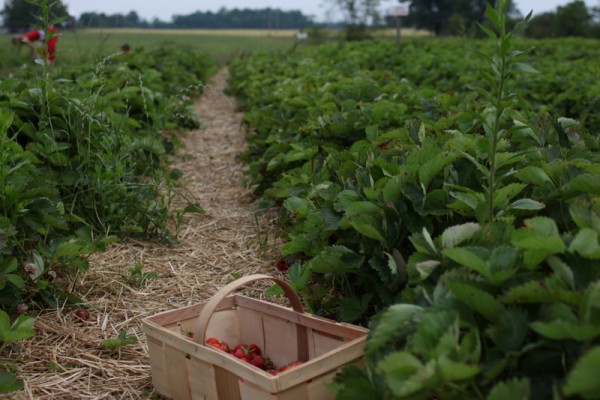
Our opinion is that Jerry's Berries is simple and lovely. Rows are mulched generously with straw, making the hunt for small, flavorful berries pleasant. There are no items for sale other than u-pick berries, something I very much appreciate. No mother who just sweated over 10 pounds of sweet, juicy berries should have to negotiate about junk food while settling up with the farmer.

Now that my first fruit of the year are in the pantry, I can release the panicky feeling. Fresh fruit and vegetables are more abundant every day and soon all the empty jars will be filled again.

Jerry's Berries - www.jerrysberries.com

2849 Basil Western Rd. Baltimore Ohio 43105 USA Hours of operation: Monday - Friday, 6:00 pm to 8:00 pm; Saturday, 10:00 am to 8:00 pm; Sundays, 11:00 am to 8:00 pm Phone: 740-862-8819 or 740-862-8481


Hugelkultur Whatta?

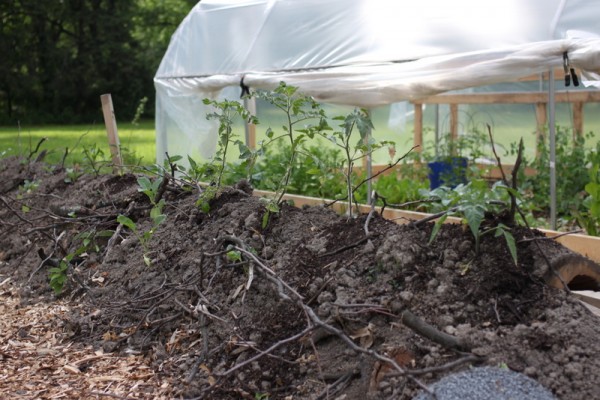
hugelkultur pile instructions In reading about permaculture, one strange word comes up in book after book: hugelkultur. Hugel is for hill, kultur for culture, as in cultivation. In practice, a hugelkultur pile is a giant raised bed with a base of rotting wood.

Having an abundance of excess wood from downed limbs and trees, and needing to build beds for our seedlings, led us to experimentation with hugelkultur.

The Hulgelkultur Concept

Hulgelkultur is a prominent feature of many permaculture gardens. Hulgelkultur piles:

  • expand growing capacity in a small space,
  • encourage microclimates,
  • allow for easier harvesting,
  • retain water while allowing drainage, and
  • build nutrients over time.

The surface area on a mini-hill, as hugelkultur piles become, allow for the greater planting area. Growers traditionally plant nutrient-needing plants like tomatoes, strawberries, peppers, etc. on the top of the pile. Heat-loving greens, like collards, line the south side where sun will be heavier, and shade-tolerant plants like lettuces go on the north side.

Building Hugelkultur Piles

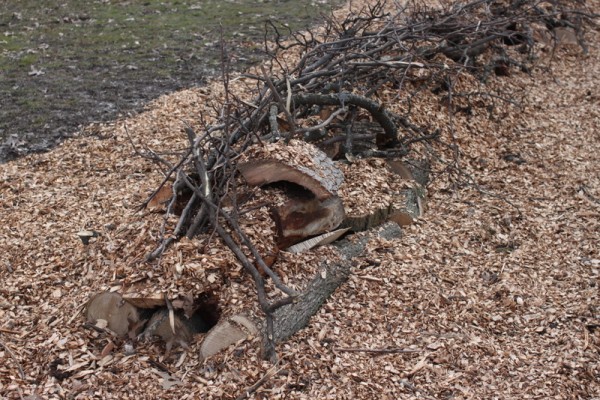
beginning of a hugelkultur pile

The first hulgelkultur bed I built with the help of my friend Elizabeth in late winter. We took logs from a catalpa tree with very soft wood to make the base. Next we layered in smaller branches and stomped on the top to get the branches to compact. Over the next few weeks, I shoveled wood chips in the holes left behind and placed pieces of sod, upside down, over the branches to begin building soil.

The grass began growing through the sod, so I had to go back and shake out the soil piece by piece. This was tedious, but I couldn't have grasses stealing nutrients from the edibles I intended to plant. I added some soil and compost from Price Farms and planted in early May.

Later, after clearing away wood from the honey locust tree we had cut down, a big depression was left where the trunk fell. A big depression in full sun with the grass already dead? Sounds like the beginnings of another hugelkultur!

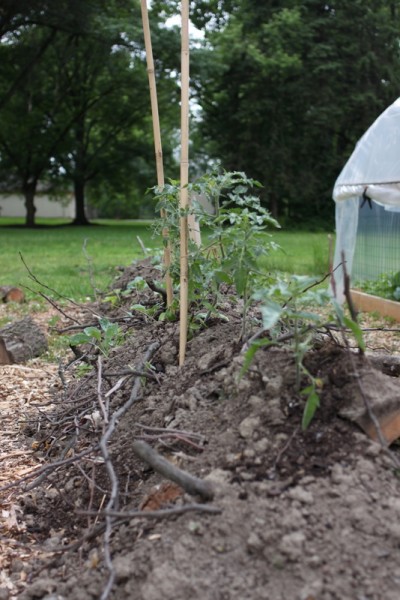
hugelkultur pile with leaveshugel kultur pile plantedchild showing height of hugelkultur pile

This time I was more careful to use rotten logs and grade them finely so the pile is more compact. I layered in leaf litter instead of woodchips because that's what we had in abundance.

Tips for Building Hugelkultur

  • Build in the off season to allow weather to help settle everything in. Holes may appear that need to be filled.
  • Digging the bottom out a little helps the layering but building right on top of the grass layer creates a higher bed.
  • Quickly-rotting soft woods will build beds faster.
  • Avoid materials that can leach toxins into your garden. Don't use painted or treated woods. I couldn't find definitive evidence or experience with this, but unless you have no other material available, I wouldn't use black walnut which releases juglone, toxic to plants like tomatoes and peppers.
  • Build the base at least three feet wide and ideally four feet wide. Smaller widths will not hold much material on top and wider will not allow access to the middle where plants can best grow.

Our Experiments

Our second hulgelkultur is oriented opposite of the first which creates drastic differences in sunlight exposure. Both piles have tomatoes, peppers, and beans growing in them along with other plants. They piles are easy to tend, being several feet off the ground. I'm not worried about flooding in the hugelkultur piles whereas I am worried about flooding elsewhere in our low yard.

hugelkultur pile as seen from the top

Time will tell how these hugelkultur compare to each other and to the rest of the garden made of lasagna-type beds. I predict they will be less productive in this first year as relatively fresh wood decomposes and pulls some nitrogen out of the soil. In the long term, however, I think our 'stick mound things', as guests sometimes refer to them, may become the most productive areas of our garden.