Starting Saved Seeds

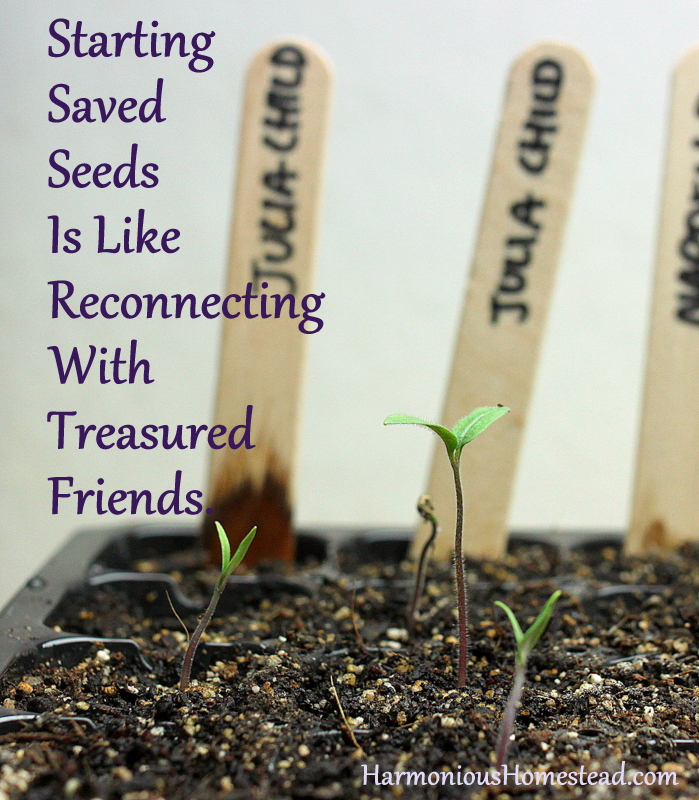
starting saved seeds Julia Child has been hanging out in an envelope in my seed box since August 2010. I saved her seeds from a sexy homegrown tomato and they laid in wait through a couple disappointing gardening seasons until now. I planted sixteen taupe seeds still stuck to their drying paper towel in two rows. After five days under lights and warmed by an electric mat, my old friend is back! I can't wait to see her luscious pink fruits this summer.

Seed saving is a commitment not of money but time and care. Seeds must be isolated from the best ripe fruit, dried, labeled and stored. In an age where companies create disposable versions of everything, making time to save seeds is practically defiant.

Starting saved seeds is also a political act. Seed savers declare "I don't believe you can patent a living thing". We perpetuate characteristics adapted to the microclimate of our individual location, something no mega-seed company can reproduce. We sustain diverse varieties of vegetables and flowers that otherwise might be lost to the perceived convenience of standardization.

I pledge to grow more saved seeds and save more than ever before this year. Will you join me? I'll share tips for success and overcoming challenges along the way.

Loving Lard - How To Make And Use Rendered Pork Fat

homemade pork lard recipeOh, lard. Mention the word and some people turn up their noses, remembering days of eating cookies that tasted like pork. Others are curious, having never eaten lard to their knowledge. And then there are those of us whose faces break into knowing smiles.

All About Lard

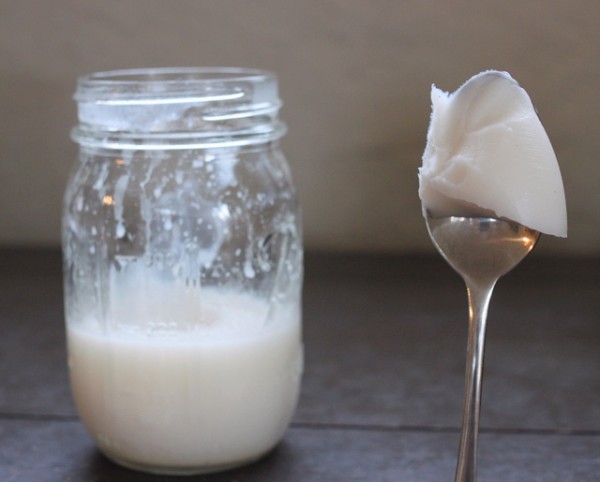
High quality lard is a pure-white fat. It remains solid at room temperature. It should smell only slightly porky, if at all, and that flavor bakes away when cooking.

Home-processed pork lard is arguably healthier than vegetable shortening because it doesn't contain trans or hydrogenated fats. It contains less saturated fat than butter and is 45% monounsaturated fat, one of the more heart-healthy kinds. Lard also contains vitamin D naturally.

Pay attention to lard labels if purchasing - some are hydrogenated to be shelf stable which transforms some of the good fat into trans fats. Others contain preservatives like BHT which you may want to avoid. I recommend buying directly from a local pork producer like Morning Sun Organic Farm.

How To Make Lard

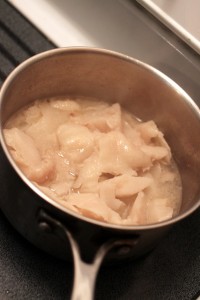
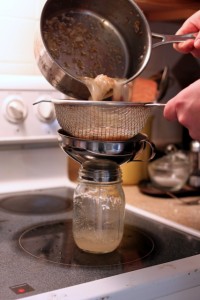
Start with high quality pork fat from around the organs (leaf lard) or body of the animal. When we recently slaughtered and butchered a Large Black pig from Six Buckets Farm, we ended up with 18 pounds of fat unattached to muscle cuts. Lyndsey, the farmer, was concerned that we might be upset with the excess fat, but I assured her we knew what to do with it. lard cookinglard with cracklinsstraining lard Set up a rendering pot, a heavy bottomed non-reactive lidded pot over an adjustable heat source. Some prefer to do this outside over a propane stove because the slightly porky smell can bother some folks. A crockpot set up in a garage or porch is another idea.

Add in your pork fat, ideally fresh and chunked into small pieces. Ours was frozen this time so we started the heat very low, breaking up the pieces as it thawed. Add a little water and the lid so the fat begins to simmer over low heat. You want the fat to melt out of any proteins that might hold it in place without burning those same proteins. Stir frequently to prevent sticking on the bottom.

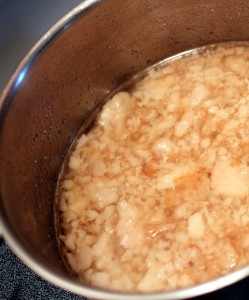
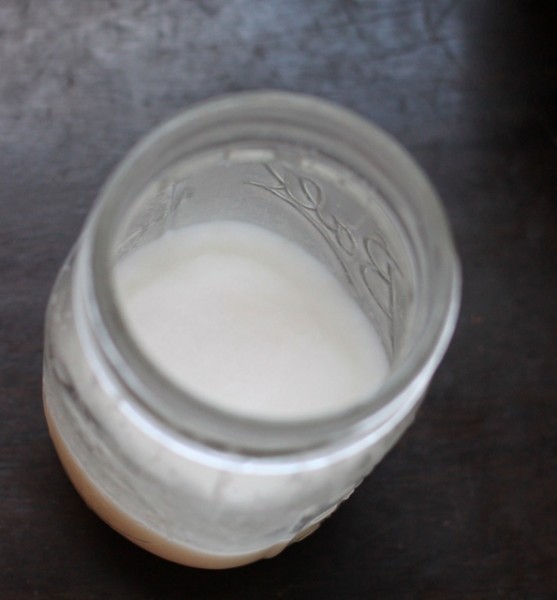
In one to three hours, you'll have a pool of fat with some pork cracklins. Drain the cracklins on a towel and eat as a snack or on salad. Pour off the liquid lard into a non-reactive container like a mason jar. Some people stir in salt at this point to flavor and preserve the fat. Allow it to come to room temperature, cover, and refrigerate for up to a month or freeze for up to a year.

What To Cook With Lard

Lard makes the best pastry. Lard pie crust (I use Ruhlman's 3-2-1 ratio of  flour, fat, and water by weight with at least 30 minute rest in fridge) is flavor neutral and bakes into a flaky yet strong dough to contain fillings. Lard dough is very easy to work. Sometimes I mix lard 50/50 with butter because the butter flavor is desired.

You can pan-fry meat or vegetables in lard. It is a useful emulsifier in pates. Many traditional recipes like Mexican tamales and refried beans call for lard. Some chefs are even advancing the fat to be used as a spread like butter - whipped salted lard was part of a bread and spreads platter I ordered in October at Cleveland's The Greenhouse Tavern.

homemade lard in mason jar

Pork Lard 1. Start with leaf fat, back fat, or belly fat from pork. Cut into one inch pieces and place in a clean deep sided pot. 2. Add a little water to the pot, cover, and begin to heat over low heat. Stir frequently to prevent sticking. Continue until all fat is melted, one to three hours. Add more water as needed to keep fat from browning. 3. Cook as long as desired to crisp up cracklings (delicious on salad or as a garnish!) and then strain through cheese cloth or a paper coffee filter. 4. Pour lard into clean glass containers and allow to cool to room temperature. You may add salt to taste while it is still liquefied  Refrigerate and use within a month or freeze for up to a year.

Do you use lard? Do you make it?

PS. Like Harmonious Homestead of Facebook to see photo outtakes featuring a certain lard lovin' kitty, Moonshine.

Introduction To Restoration Agriculture

Mark Shepard, author of Restoration Agriculture and founder of Restoration Agriculture Institute, presented the workshop "Designing Your Perennial Farm" at the 2013 Ohio Ecological Food and Farm Association (OEFFA) conference. Below is the summary of what I learned today.

Fundamentals of Restoration Agriculture

The key principle of Restoration Agriculture is to observe nature and imitate it to grow edibles. This requires a concept shift and constant questioning of oft-repeated 'facts'. "Apples don't have concepts of orchards," Shepard said. In a perennial polyculture, apples can grow among companions that reduce pest pressure and mowing needs.

He advocates for planting over-yielding polycultures. Instead of a one-acre monoculture of apple trees, say, plant peppers, sunflowers, squash, and chestnuts on the same acre. While each crop might not yield as much as if they had been babied in an acre of their own, the polyculture will yield more in sum than what a single acre of any one crop could provide. This method 'fattens up' the ecological system to create more edible niches.

Grazing animals are important parts of the system. Cattle, pigs, sheep, and chickens all can contribute to the soil nutrients, waste clean-up, and pest control among polycultures.

Shepard proposes a STUN method of farming - Sheer Total Utter Neglect. Let natural processes take over and what remains will be stronger plants more well-adapted to their micro-environment. When the whole farm is a wildlife habitat, natural predators will control pests and add vibrancy to the system. A restoration agriculture farm may take excess attention in the beginning years while developing waterways and planting but then plants can be strategically abandoned.

"Accept feedback," he urges. "There are no mistakes. Only feedback." What may look like a failure or problem is likely only an undiscovered opportunity. Apples, for instance, dislike weed competition at their roots. Shepard plants daffodils, comfry, and iris under his apples and ends up with strong fruit trees and a secondary cash crop of cut flowers, comfry greens, and iris bulbs.

Planning A Perennial Farm

To design a perennial farm, one must identify biomes and keystone areas, manage water and earthworks, establish edible woody polycultures, and build fences and access roads. Plan to capture all the water that falls through small ponds and swales. Typically these will follow a meandering or gently rounded pattern with slopes no more than 1%.

Polycultures include planting top story trees like oak, chestnut, pecan, black walnuts, and beech with smaller edible trees like apples, plums, peaches, and cherries underneath. Next come hazelnuts and berries. Fungi, animal forage, and herbs grow in the understory. These perennial edibles work with nature, are adaptable to many growing conditions, and designed to be coppiced for height control.

Shepard recommends planting an excess of trees to allow self-selection of individual trees that are suited to the particular location. He advises ditching the concept of large planting holes with exacting soil mixes and instead recommends using a hoedad tool to plant trees quickly.

In between woody polycultures, plant annuals. These alley crops can sustain a farm financially until perennial edibles are harvestable. In this way, agrofrestry creates future yields while increasing yields today.

Restoration Agriculture Results

When one grows in the Restoration Agriculture way, expect these outcomes:

  • 3-7 times more energy capture per acre
  • improved resource base
  • perennial plants that reproduce themselves
  • no plowing, cultivating, disease/pest treatment once established
  • year-round harvest of multiple yields
  • no erosion
  • non-toxic environment
  • beauty in diversity

Shepard concluded his talk by urging the audience to "Put your life to good use! Create oxygen, water, food, shelter and beauty!"

Soon, I will share our plans to put our life and land to good use following some of the Restoration Agriculture principles. I also will share more wisdom picked up at the OEFFA conference.

Buy Seeds Like Wine

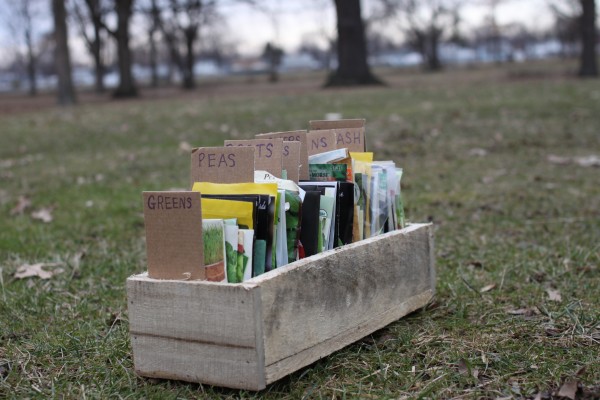
seed selections organizedI have a confession. I feel overwhelmed by the hundreds of plant varieties available to grow. After reading the descriptions of the fourteen kinds of bush beans in one catalog, I just can't bring myself to read about more in another catalog. Every paragraph promises 'great tasting' and 'easy growing', so how's a girl to finalize seed selection?

I turn to my time-tested choosing method, one I also employ when choosing of a bottle of wine among a thousand great possibilities. I pick a pretty label or name.

If there is a variety with the name 'Rachel', 'Lillian', or 'Alexander', it's in. If the description makes me feel warm and fuzzy, I buy. If the illustration harkens a look I want to achieve, I put it in the cart.

True seed-savers are probably rolling their eyes at me. It's true - the 'buy what looks good' method does mean I pass by seeds that might be better suited to my needs or environment than the funky-named varieties that draw me in.

But there is a silver lining, or silver seed coat, if you will: my resulting garden (like my wine stash) is full of diversity. Every year, seeds from new pretty packets make their way into soil. What grows well and produces great fruit, vegetables, and flowers is saved and replanted the next year alongside new attractive varieties.

Biodiversity is important to the culture of a garden. Planting a variety of crops maintains vital nutrients in the soil. In a monoculture field, pollinators will find food for only one or two weeks and then be forced to move on while pollinators provide their plant-mating service for many months in a diverse garden. Pests cannot easily establish themselves where they cannot rely on the same nesting or egg-laying spots season after season.

Perhaps even more critically, biodiversity is necessary for the survival of our food system. Adaptive Seeds, one of the sources of this year's seed splurges, report that "according to the Food and Agriculture Organization (FAO) of the United Nations, we have lost 75% [of agricultural biodiversity] since 1900 and continue to lose 2% every year." In the short term, humans suffer when monoculture crops fail due to weather. In the long term, we are losing seed diversity that could contribute to breakthroughs in medicine, increased individual health, and foods that adapt to climate change.

Not to mention that I find a field filled with dozens of kinds of plants beautiful. Biodiverse gardens have vegetables flowering spring through autumn and leaves of every color. The visual interest of a bed full of varying plant heights will always beat a lawn in my book. I'm not the only one who things biodiversity is beautiful - the UN declared 2010 the International Year of Biodiversity, prompting ABC, photographer David Liittschwager, and others to wax poetic about the gorgeousness of great variety.

You might be delighted but a bit overwhelmed by seed catalogs this time of year, just like me. If so, I suggest pouring a glass or red or white and pick what appeals to your aesthetics. Your garden will be better for the introduction of new varieties.

A Grown-up Bedroom with Sleep Number

redecorated bedroom with sleep number bedIn establishing a new home, it is easy to become caught up in the urgent actions – the unpacking, organizing, care-taking, and daily chores. There are areas of our new house that demand attention. But I know also that there are areas likely to be neglected for years. Namely, in our experience, the master bedroom languishes. It’s the most private area of the house, and therefore improvements are least visible to guests. In our last house, the bedroom Alex and I used stayed unpainted, with hand-me-down furniture and artwork that didn’t fit anywhere else. It never felt like ‘ours’. I wanted to not make the same mistake in this new house.

When Alex was away on a trip in early November, I headed to the hardware store for supplies and set out to make our bedroom the first decorated room in the home. I painted the walls a deep grey-blue and installed honeycomb curtains. I moved in a newly stained and finished dresser for Alex’s clothes. I displayed one of our favorite paintings, a baobab tree landscape by Alex’s father Tom, on a focal wall.

I intended to replace all the outlets, switches, and switch-plate covers, many of which were broken and painted over several times. I tried and hit my first snag when I couldn’t figure out which breakers to turn off because the entire box was unlabeled. No problem – I could work in daylight with the whole house breaker shut off. But when I removed two of the covers, the wiring behind looked suspicious. The 'new master bedroom' surprise was a little tainted when Alex returned to a minor electrical project. I’m glad I didn’t just slap on a pretty cover, though, because Alex found and solved a dangerous wiring situation. Aren’t new houses fun?!

Sleep Number Bed

Meanwhile, the folks at Sleep Number offered me the chance to try their newest bed, the M9. This fit in perfectly with my plans because our bed choices have been as amateur as our style choices – we become overwhelmed with the variety and choose something cheap, later regretting it when the bed is saggy after a few years.

sleep number individual fit

Our Sleep Number experience started with a fitting at the store. The Individual Fit consultation of approximately 90 minutes informed us about the unique properties of Sleep Number beds. One of the showroom beds is equipped with a weight sensor that allowed us to see in real time where pressure points changed as we changed the fullness of the bed. While we can now feel that in our bed at home, it was fun to view the images in store.

We learned that Sleep Number beds are component-based and made in the USA. The pieces arrive in several boxes and can be carried up any size stairway. Not only is the transport convenient, but those individual components can be replaced if they break. In our opinion, this is one of the biggest advantages of the Sleep Number system. Alex watched the installation and was impressed with the ease of building the bed from Lego-like pieces.
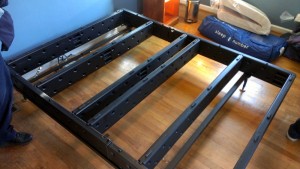
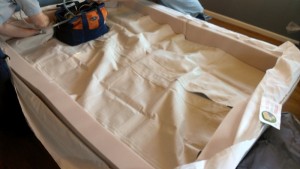
sleep number bed foundationsleep number air baffles

Sleep Number beds provide support through an air baffle system. This requires a small electric pump that only runs when you adjust the support. Even in the event of a power outage, the bed will hold air. Because the air baffles can always be refilled, a Sleep Number bed should never sag. And if there happens to be a leak or tear? The baffle can be replaced instead of the whole bed.

Proof In The Pudding (or the Resting)

So, what is it like to rest on the Sleep Number bed? We tested it for three weeks before making a final verdict. Sleeping on the bed is different than a traditional box spring and coil mattress. There is no movement from one side to the next. If Lil jumps on the bed at night before reading stories, there is no bounce. During sleep, Alex and I don’t disturb each other.

I was worried about a lump or space in the center where the two different pressures meet. Even when one side of the bed is fully inflated and the other low, the transition is seamless. It's not a problem to roll from one side to the other or lay in the middle.

The M9 is topped with 5 inches of memory foam. The memory foam experience is also very different from a traditional mattress covers because your body sinks into the bed. Alex and Lil love this. I’m not as much of a fan because I like to feel unrestricted. I feel a little warmer at night and wonder if the memory foam might not breathe well during the summer.

The timing of the review period coincided with two special situations in which to compare the Sleep Number to other beds. Alex writes about the first case:

The day after Christmas, I acted as a Good Samaritan and helped a motorist who had slid off the road in heavy snow. Along with another passing driver, we attempted to push the car free to no avail; it was wedged tight by the mailbox the driver had run over when leaving the road. Unfortunately, we did not realize this until ten minutes of pushing passed and damage was already done to my lower back. I strained my lumbar region fairly severely and found myself incapacitated for the next couple of days.

Enter the Sleep Number bed. To this point I was enjoying the bed quite a bit but it was still just a bed to me. However, the memory foam and the ability to adjust the firmness of the bed proved to be exactly what was needed for my back injury. I was able to increase the firmness of the bed to the maximum setting when I felt a need to lie flat. The memory foam enhanced the feel of the bed as there was still a degree of cushioning even with the bed fully inflated. At night, it was also beneficial to be able to adjust the firmness lower to reduce pressure points depending on the position I was laying in. The performance of the bed very much impressed me and provided some very appreciated comfort after an unpleasant injury.
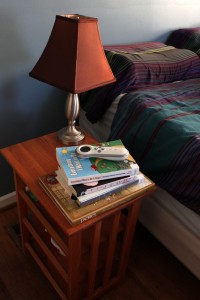
sleep number bed remoteI am typing the finishing touches on this post on a bed at a nice hotel. Typically, we love hotel beds because in comparison to our old dumpy bed, they are a breath of fresh air. On this trip, we miss our Sleep Number. We are waking during the night and achy in the morning. We look forward to returning home not just to our pets and home-cooked food but our comfy adjustable bed.

Our grown-up bedroom has a few finishing touches to come. I want to replace the bedding and build a headboard. I plan to hang more artwork. A rug would make the room more cozy. And soon we'll report on energy-savings updates that, while not visible, should literally warm up the space.

What we appreciate most about the update is undoubtedly the Sleep Number bed. We're most impressed not with the individual night’s sleep (though it is a very good one) but the idea that this bed could last decades. Several associates at the Sleep Number store still use beds they purchased over fifteen years ago! While prices are higher than your average bed, between sales (year-end clearance going on now) and a twenty year warranty with replacement parts available, Sleep Number becomes an affordable choice. The comfort and longevity of a Sleep Number makes me rest easily.

Disclosure: Sleep Number provided us with a M9 bed and installation. Opinions are our own.
Seasonal Snaps - Winter Solstice 2012

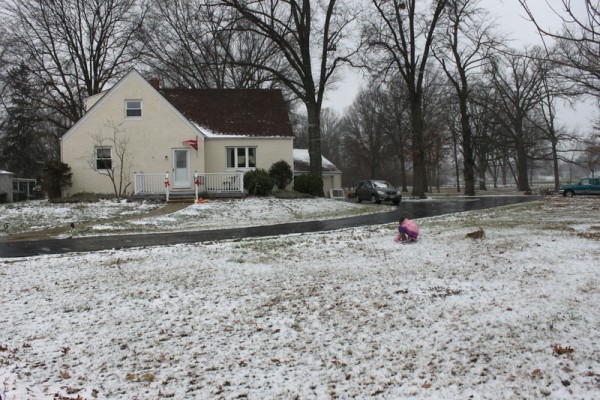
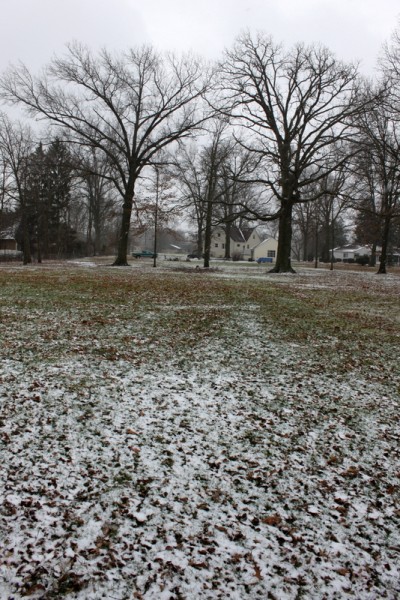
A friend had a good idea to take pictures from the same angles over time as we transform our property to a working homestead. I decided to start today on Solstice, which happened to include the first snow in our new home. Behold the land of possibilities: urban homestead possibilityFrom the mailbox looking toward house - we have a swing for the front oak tree

cape codProperty line looking at front of the house - we planted the walk with blueberries this week

backyardBackyard as viewed from house - three car garage, lots of trees, chicken coop behind the garage currently

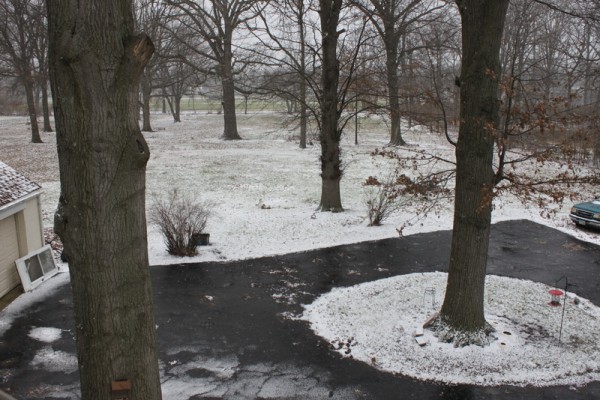
From the back of the property looking forward - biggest tree is four people around and will be site of treehouse and natural playground

Front yard as viewed from inside the house - what can we grow here?


All the Little Projects

wheeling mailbox and cart We jumped right into making our new house a home by checking off some little projects that needed to be done:

  • removed carpet downstairs to reduce my allergies to dogs and dust mites
  • installed a tie-out for the dogs until fencing can be completed
  • hung bird feeders to begin to understand who lives here
  • planted tulip bulbs, Lil's first part of her flower garden
  • installed a mailbox and post because the old ones were knocked over before we moved in
  • put together a cart to hold the mailbox and post and tools
  • assembled Twitter-found bed frame and stainless kitchen work table
  • re-installed smoke detectors (there were none!)

There are many more little and big projects to come:

  • Find the box with my socks - seriously, I've been washing and wearing the same three pairs for over a week
  • Fence a dog yard
  • Replace leaky kitchen faucet and maybe the sink while we're at it
  • Replace incandescent lightbulbs all over the place
  • Paint and furnish Lil's room per her specifications, a bribe we gave her to get through the moving stress
  • Replace dated hardware and fixtures
  • Finish removing carpet tack trips and staples, oh goodness hundreds of staples
  • Plant cuttings I took from plants at the old house
  • Plant orchard so trees can get established before the spring
  • Locate and begin a compost bin
  • Make kitchen more workable with shelving, maybe new cooktop?
  • Tons of tree work
  • Which will inevitably lead to installing a wood stove

Tomorrow I'll post something non-house related and a recipe post is coming soon.

What little (and big) projects are happening in your world?

Wool Carding, Dying, Felting and Weaving {Homestead Studio Recap}

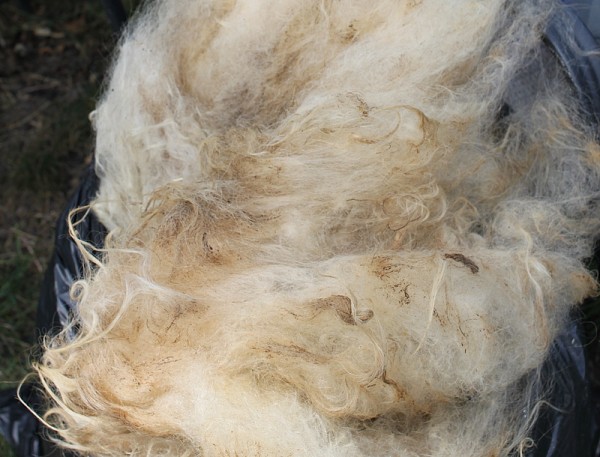
For the last three Mondays, Lil and I explored wool with five children aged five and up and several adults. In a new class format I'm calling Homestead Studio, we use what we know and wonder about to guide open-ended exploration. Books help fill in the stories we can't experience in an hour-long session. raw dirty wool

Week One: Washing & Carding

During our first meeting, we met our wool: raw Navajo-Churro fleece from Cota Farms. The fiber was primarily white with some dark sections. Touching the raw wool left our hands softened (and a little smelly) from the lanolin.

To remove the ample dirt (poop) and plant material, we washed the wool. Cleaning wool is tricky - too much agitation and you'll end up with felt instead of fiber. We soaked the dirty wool in warm water with Dawn soap inside a mesh bag. An amazing amount of soiled material streamed from the wool into the water. After a long soak, we moved the mesh bag to a bucket of warm clear water for a rinse. Then we removed from the bag and let it dry in the sun.

Next, we picked remaining plant material out of the clean dry fibers. We aligned the fibers with carding combs. Using the combs was difficult for some of the children because it requires coordination and a fair amount of strength.

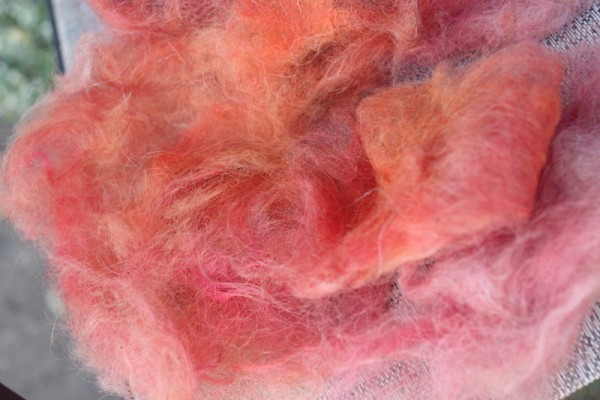
We ended the class with a walk through the neighborhood looking for pokeweed. At home, I made dye from the pokeberry fruits.

The picture book for the day was Farmer Brown Shears His Sheep: A Yarn About Wool. The kids loved this silly cartoon-illustrated story of a farmer who makes knitted sweaters for his sheep.

felt drying

Week Two: Felting

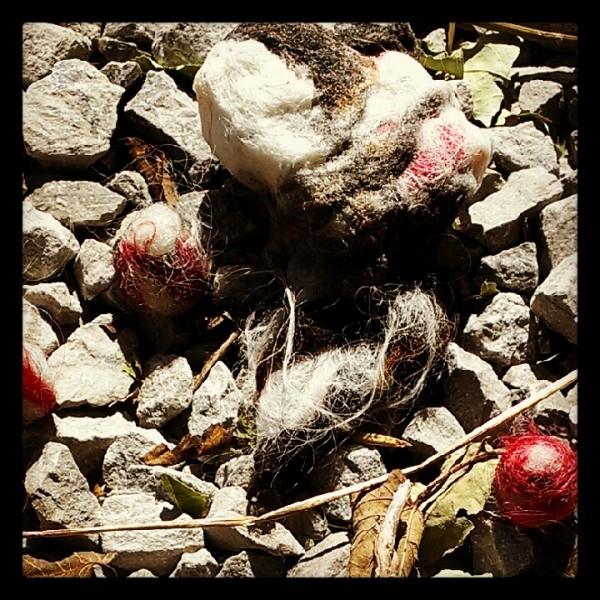
I presented pokeberry scarlet, natural black, and natural white wool for felting during our second session. Each participant had a small plastic container filled with warm water and a little soap. They wet and rubbed a small piece of white wool to create a mat or ball, adding wool to make the piece larger. Some chose to add color details on outer layers; some felted around plastic balls to later cut open for bowls.

After everyone had some experience felting, I offered bars of locally-made soap. When a bar is covered with felt, the wool provides pleasing color, an exfoliating texture, and an easy way to grip the slippery soap. Participants of every age enjoyed felting.

Weaving the Rainbow concluded our felting day. Soft, detailed watercolor illustrations tell the story of an artist using dyed wool to weave and felt a landscape wall hanging in this book.

pink pokeberry dyed wool

Week Three: Weaving

Finally we made our way closer to a sweater, what most kids said they wanted to make at the beginning of the Studio series. We made fabric from wool.

Lil showed the others how to finger knit. This required too much coordination for some of the group but others completed a small rectangle of knitted fabric.

I made available two looms: a plastic, craft store version and a homemade cardboard box loom with a cardboard shed. The plastic loom used a long dulled needle to weave and the cardboard box used shuttles. Everyone tried both looms and realized quickly why hand-woven garments are so expensive - we barely created four inches of fabric in the whole class.

A few kids tried branch weaving. We wrapped wool horizontally across a v-shaped tree branch for the warp and used needles to pull yarn through as weft. These came out a little funky but I love the haphazard natural look.

We finished the class with Charlie Needs a Cloak by Tomie de Paola. Young shepherd Charlie shears a fleece, dyes the wool with pokeberries, spins yarn and weaves himself a new coat with a meddling sheep companion.

Join Homestead Studio!

The next Homestead Studio will be Mondays November 12-26 from 2-3 pm at City Folk's Farm Shop. We'll make home goods like cleaners, bath and body products, and candles from all-natural materials and scents. The projects are geared to appeal to children ages five and older and adults alike. Register on the Homestead Studio page.