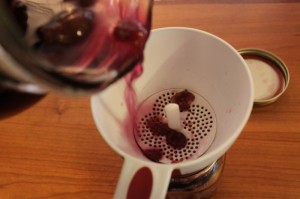
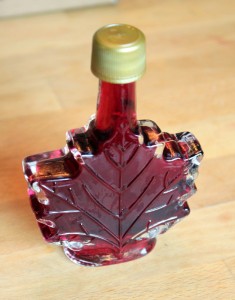
How to Blow Out Eggs with Photo Kitchen

The lovely Catherine of Photo Kitchen came over last week to take photographs. We ended up doing so many fun things with eggs, including decorating and eating them, that will be sharing them for the next five days during Hounds in the Kitchen Egg Week. Inspired by Vanessa Prentice's workshop at the Ohio Ecological Food and Farm Association annual conference, I wanted to try my hand at making natural egg dyes this year. I suspected they might be really cool and wanted to create eggs that would last for years. A boiled egg in shell wasn't going to cut it and, besides, there are only so many boiled eggs our family wants to eat.

So I blew out some eggs. Removing the raw yolk and white from the shell to preserve the shell is relatively simple and allows the eggshell to be decorated and displayed for years to come. Here's how I do it:

making hole in egg for blowing out First, create a small hole in each end of the egg. I find that a sharp short nail (this one came from a picture hanging kit) works well. I grasp it and the egg firmly and tap gently until a hole is started. I try to punch through the hole so that it takes the round shape of the nail.

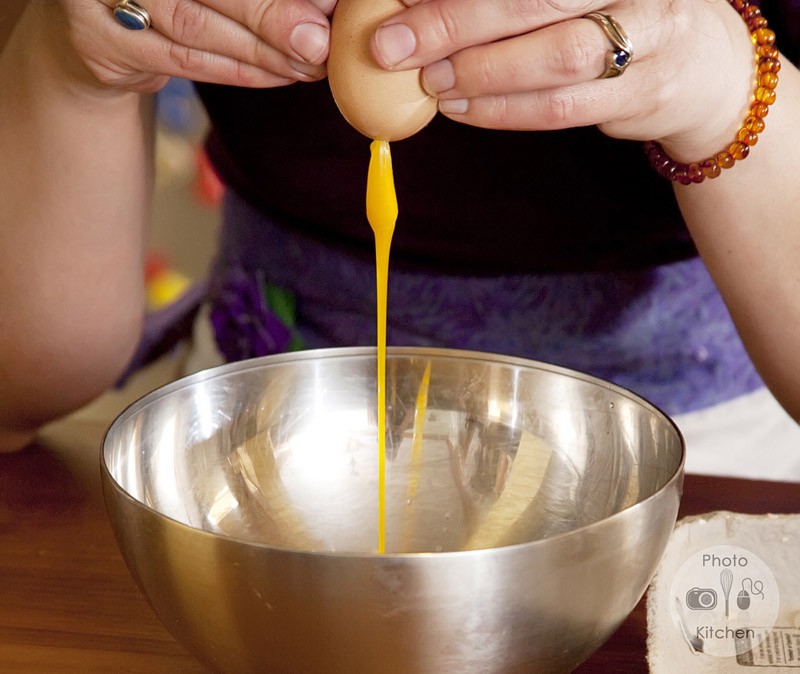
Gently shake the egg to break the yolk. Then, place your lips over one hole and blow with pressure over a bowl. To be sure you aren't going to contract salmonella, use a fresh egg from a known source and try not to ingest the raw contents. The white and yolk will slowly drip into the reservoir.

blowing out egg yolk

When the white and yolk have totally escaped, rinse the egg. Put it somewhere safe to dry thoroughly before decorating. You can use the egg contents for cooking. They keep in the refrigerator for a few days.

Come back tomorrow to see how we made and used natural dyes from edible materials.

All photos with the Photo Kitchen watermark were taken by Catherine and generously shared here. You may purchase copies and view the whole set of photographs in the online gallery with password lileaster. Use the coupon code houndscrossover to receive 25% off prices until May 15.

First Cache of 2011: Firewood

man chopping firewood Our family spends countless hours harvesting and preserving foodstuffs for times when they are unavailable fresh. We preserve tomatoes, cook up jam, press cider, can applesauce, and dry herbs summer through fall.

Our winter stores for 2011-2012 began Sunday, just as the winter of 2010-2011 violently passed on. Alex chopped and I hauled ash wood from generous friends who had to remove the dying tree. We went back today and will make one more trip to fill our wood pile. We believe with this week of hard work we will have enough fuel for our wood stove to last the whole winter next year.

What are you planning to 'put up' in 2011?

Miracle of Doing Nothing: Making Cider Vinegar

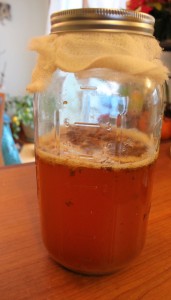
making homemade cider vinegarSometimes it's better to just do nothing at all. That's what I did when a dinner guest commented, "Ew! Gross!"

And when my daughter sneered, "Mama! It's different!"

Friends and family members, including Alex, regarded the open jar of smelly cider with raised eyebrows and pinched noses. I maintained that I was following the vinegar recipe: pour fresh raw apple cider in a jar, cover with an air permeable top, and set it aside for months.

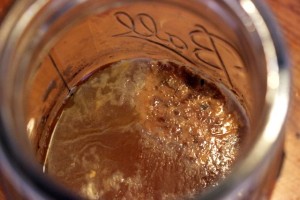
Wouldn't you know, when I pushed the 'mother' aside with a spoon on Sunday, the underlying clear tan liquid smelled and tasted exactly like cider vinegar! What an amazingly simple homesteading success!

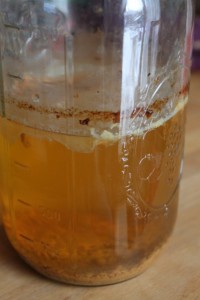
cider vinegar motherfinished cider vinegarhomemade cider vinegar

Science says that natural yeast in our home pressed cider converted the sugars to alcohol. Natural bacteria then fermented the alcohol to acetic acid, or vinegar.

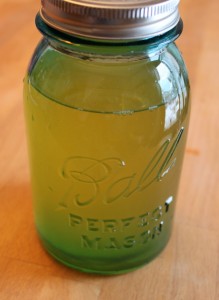
To store and use the vinegar, I removed the mother and strained out the flocculate, i.e. yeast poopies. I poured the vinegar into a vintage blue Ball jar and it's ready for salad dressing, mayonnaise, soups, and sauces.

Sometimes doing nothing turns into something amazing.

Added to Simple Lives Thursday 27.

Pantry Month & Meal Plan Monday January 3, 2010

home cook thinking about recipes in the kitchenThis month we are going to do our best to eat solely from the foods we have in the house right now. I gave our family this challenge to:1) save money (resolution number 1 isn't going to be cheap) 2) clear out massive stores of pantry stuffs and 3) resist boredom in the cold mid-winter.

I put $100 cash in an envelope for us to use for restaurants and grocery purchases as necessary (I know we'll have to buy milk, for instance) but with careful planning I hope we will feed ourselves from the freezers and pantry shelves nearly all the time. We put up a lot of jarred things this past summer, are well stocked on meat and flour, get two eggs a day, and have a full liquor cabinet. We can do this!

Anyone want to join Pantry Month? I plan on updating each Monday with our meal plan for the week.

I figure planning is key to keeping our meals enjoyable. Here's what we will eat for dinner this week:

Monday - ricotta gnocchi and greens (make pumpkin something during the day for snacking and lunches)

Tuesday - Pulled pork sandwiches, coleslaw, and rice

Wednesday - spaghetti, veggie chili, and cheese

Thursday - macaroni and cheese

Friday - baked fish, stuffed squash, and frozen green beans

Saturday - possible trip to Cincinnati or fried chicken, mashed potatoes and frozen peas

Sunday - family dinner, bring bread or other baked good

Friday Five: What's Preservin'

My friend Jill (and her friend Maya) are writing Friday Five posts on their blog Itinerant Foodies. It's a great idea for a quick post before the weekend and starting today I'm going to steal it! homegrown meyer lemonThis week, I want to share five things that are aging in the house. Sometimes I feel like I have no space and this is why: tucked into every corner and counter are jars of foodstuffs fermenting, drying, and infusing. In the end, the customized all-local flavors are totally worth the sacrifice of space.

1. Limoncello - We have had a bumper crop of meyer lemons from our potted tree this year. It's the first significant harvest we've ever had in seven years of keeping the tree and I am committed to preserving the flavor so that we can enjoy it for some time to come. I'm using a version of the Restaurant Widow recipe for home brewed limoncello.

2. Candied Meyer Lemon Peels - For my sister and father in law's birthdays (Happy Birthday Heather and Tom!) I was tasked with making a dairy free dessert. I juiced some of our homegrown lemons and made meyer lemon sorbet ala Simply Recipes. I could never discard the peels of a fruit so long in the making, so I candied them. They are drying over the pot rack.

3. Hard Apple Cider - Four gallons of home pressed cider from Ohio apples is still bubbling away in the carboy. It's been stewing for about a month now and we hope to bottle soon.

attempting to make homemade cider vinegar4. Apple Cider Vinegar - Last weekend we pressed the last of the apples. I made some into cider syrup and we kept a bit fresh. I put 1 1/2 quarts in a half gallon jar topped with cheese cloth to make vinegar. According to the Ohio State Univeristy Extension, raw cider will naturally ferment into alcohol and then natural cultures change the alcohol to acetic acid. Right now there is quite a bit of 'funk' on top and I'm not sure what exactly is happening...

5. Pancetta hanging - Alex cured some pork belly in the refrigerator this week. It is now hanging in the basement to dry as pancetta.

Yay for yeast and salt and sugar and dehydration! Yay for home preservation! Yay for Friday!

How to Make Fruit Liqueur

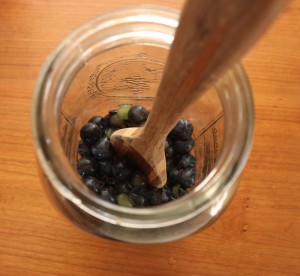
Homemade flavored liqueur is one of the simplest ways to preserve the flavor of fresh fruit.  I posted a recipe for cranberry liqueur last year, but one can make liqueur with any fruit with the following simple method. fresh grapes to make liqueurmascerating grapes for liqueur recipe

Local, in season fruits make the best liqueurs because they have the strongest fresh flavor.  Choose clean washed fruit.  Smash berries, chop stone fruits, or juice citrus and place in a clean large glass container, like a half gallon ball jar.  This series of photos uses some local concord grades from our fruit CSA.

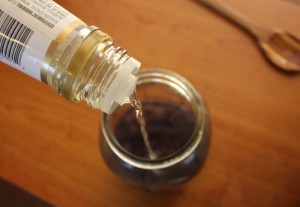
sugar syrup added to grape liqueur recipeadding vodka to liqueur recipe

Add an equal volume of cooled sugar syrup or honey. (Make sugar syrup by boiling an equal amount of sugar and water until the sugar is dissolved.)

Top that off with an equal amount of full strength (80 proof) or higher vodka.

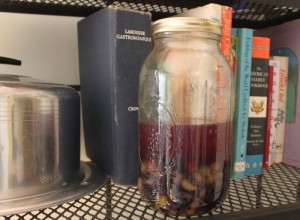
liqueur resting on cookbook shelf

Add the lid and give the mix a swirl.  Find a spot for the jar to rest at room temperature.  Swirl once a day, tasting each day. At first the taste will be very alcohol forward, but the flavors mellow the alcohol over time.

straining grape liqueur recipe

When the taste is to your liking, usually in five to seven days, strain out the fruit.  Strain through cheesecloth for the most clear result.

finished grape liqueur

Bottle in a jar with a tight fitting lid.  You can reuse jars or buy new Swing Top or Flask Bottles online.  Add a personalized label, perhaps with a suggested cocktail recipe, for a special gift.

The color may mute over time but the flavor will remain fresh for years.  Serve in a cordial glass or mix into a cocktail.

Homemade Fruit Liqueur

1 part crushed fresh fruit

1 part sugar syrup or honey

1 part 80+ proof neutral tasting vodka

1. Mix all ingredients in a clean glass container.

2. Keep at room temperature, swirling and tasting once a day.

3. When the flavor develops as you like, strain out the fruit through cheesecloth.

4. Adjust alcohol content or sweetness by adding vodka (to strengthen), water (to weaken), or sugar syrup.

5. Store in a closed bottle in a cool dark location for best results.

Post added to Hearth and Soul.

Making Pickled Beets with a New Knife

Roasted beets are my favorite.  Earthy, sweet, and purple, my favorite color!
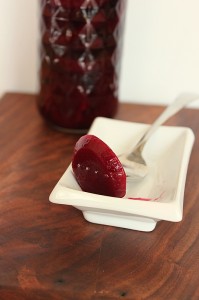
pickled fresh ohio beet recipePickled beets are my grandmother's favorite.  Last year my mother made them for her and this year I decided to do the same.

I shared that I was pickling on twitter and discovered that my friend Susan of Travels with Pirates also loves pickled beets.  We made a deal that if she bought the beets (locally from Sippel Farm) I would pickle them.
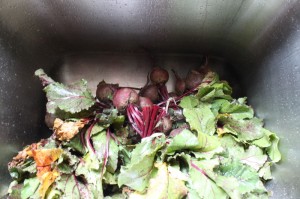
beets in the sinkbeets boiling before picking

So it was on a recent Saturday that I set out to make pickled beets for the first time.  I removed the greens from the beets and scrubbed off the dirt. I boiled them in water until tender.
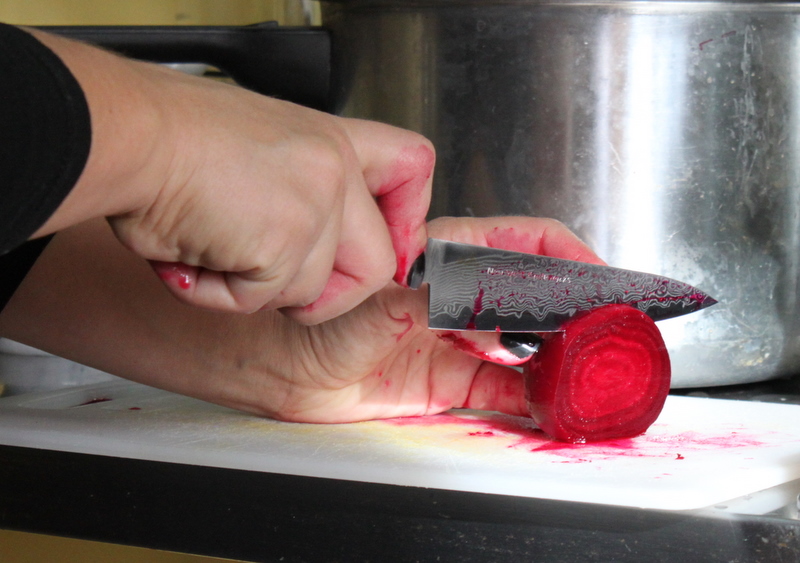
cutting beet with new west knifeworks

I removed skins, trimmed, and sliced the beets with my New West Knifeworks Petty Utility Knife.  I won this knife by correctly guessing the weight of the White on Rice couple's biggest beet.

new west knifeworks perry knife cutting beets

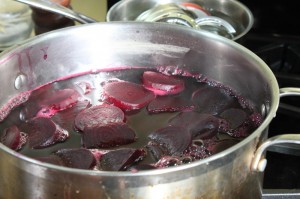
I LOVE this knife.  It is perfectly suited to my sized hands, ridiculously sharp, thin enough to be flexible and full tanged for sturdiness.  It came with a custom fit sheath and I know it will accompany us often on camping and road trips. beets pickling in brine Anyways, back to the beets.  After slicing the beets boil in a vinegar brine flavored with allspice, clove, and cinnamon for five minutes.  Then I hot packed them into jars and water bath canned the jars.
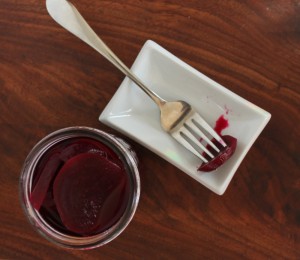
pickled beets in jar

One jar didn't seal so I kept that for myself and am learning to like pickled beets.  Pickling adds flavors that marry well with the natural earthiness of beets. The color remains as stunning as a harvest sunset.

Pickled Beets

I used the recipe from PickYourOwn.org without onions.

  • 7 to 8 lbs of fresh beets
  • 4 cups vinegar (5% acidity)
  • 1½ teaspoons canning or pickling salt
  • 2 cups sugar
  • 2 cups water
  • 2 cinnamon sticks
  • 12 whole cloves  - about 1 tsp
  • 12 allspice nuts (whole) - about 1 tsp

1.  Scrub beets and remove tops.

2. Boil in water for 20-30 minutes or until beets are cooked through but not mushy.

3. Remove skins (they should fall right off after being in boiling water) and slice evenly into 1/2 inch slices

4. Meanwhile, mix vinegar, salt, sugar, water, and spices.  Bring to boiling in a large pot.

5. Add beet slices to vinegar brine and simmer for five minutes.

6. Remove beets with slotted spoon and place into sterilzed jars, filling to 1/2 inch from the top.

7. Ladle hot vinegar solution on top to reach 1/2 inch headspace, using a knife to release any air bubbles.

8. Wipe rims and screw on sterlized lids.

9. Place in boiling water bath for 30 minutes.

10. Remove from water and allow to cool for 24 hours.

11.  Remove rims, clean jars, label, and store in cool dark place for up to 1 year.